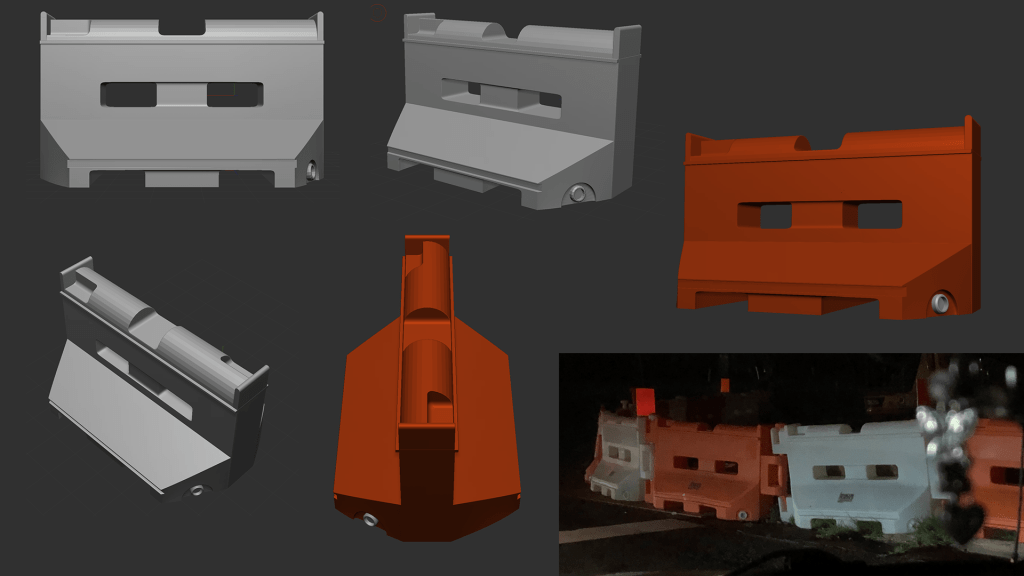
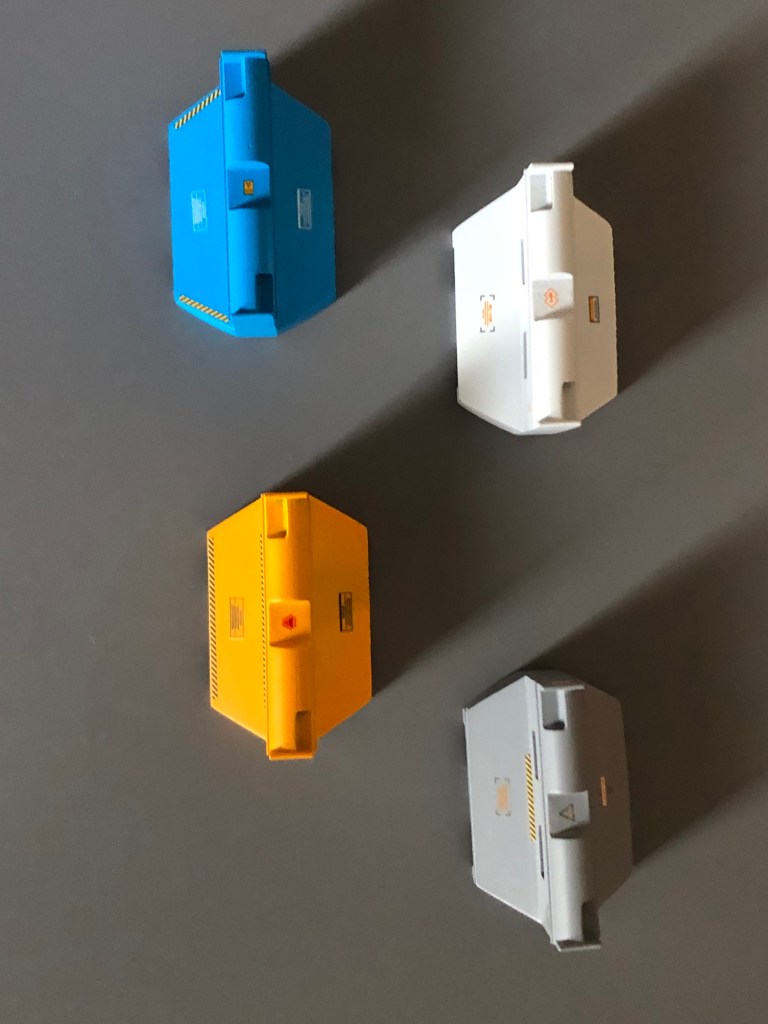
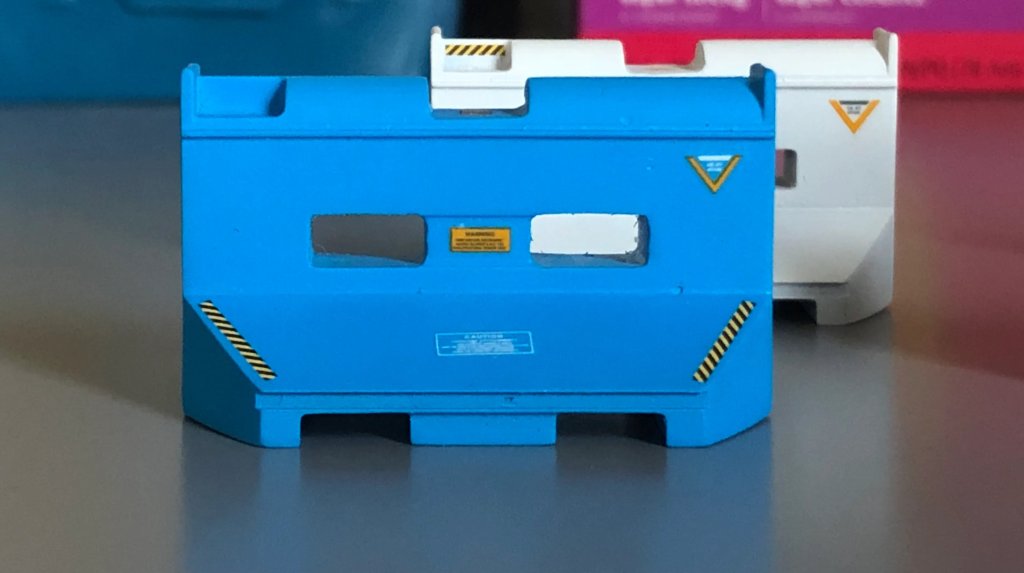
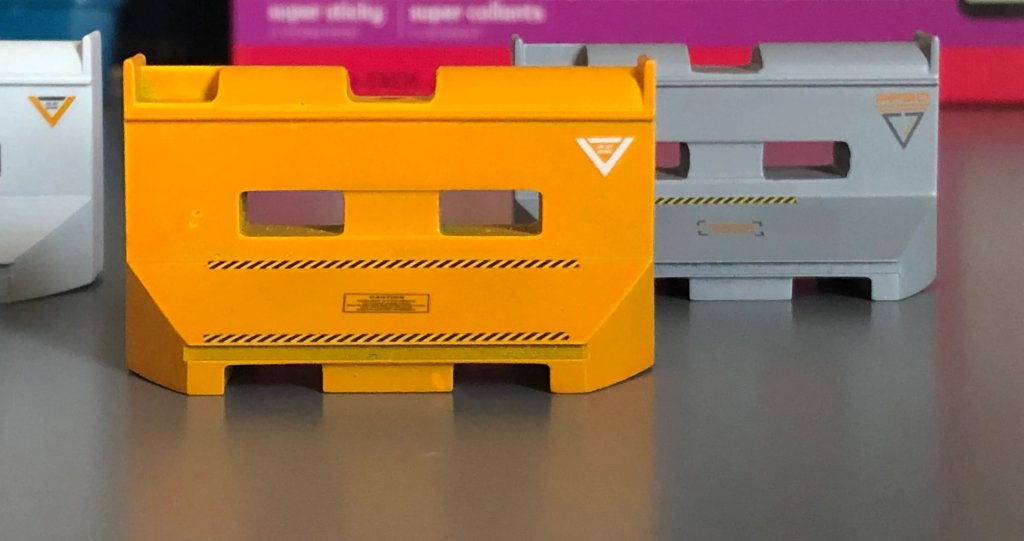
This week I focused on finishing the Barricade model I printed last week, it was a great experimentation on color style, decals and painting techniques. I used straight-up paint cans as I don’t have access to an airbrush at the moment and they came out very nice.
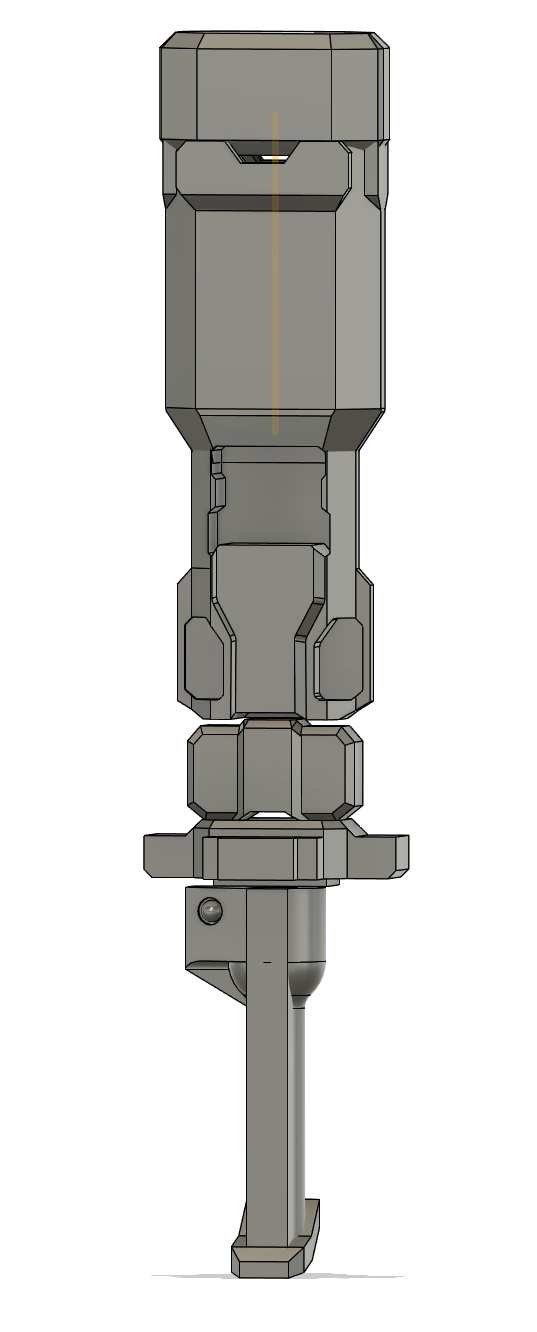
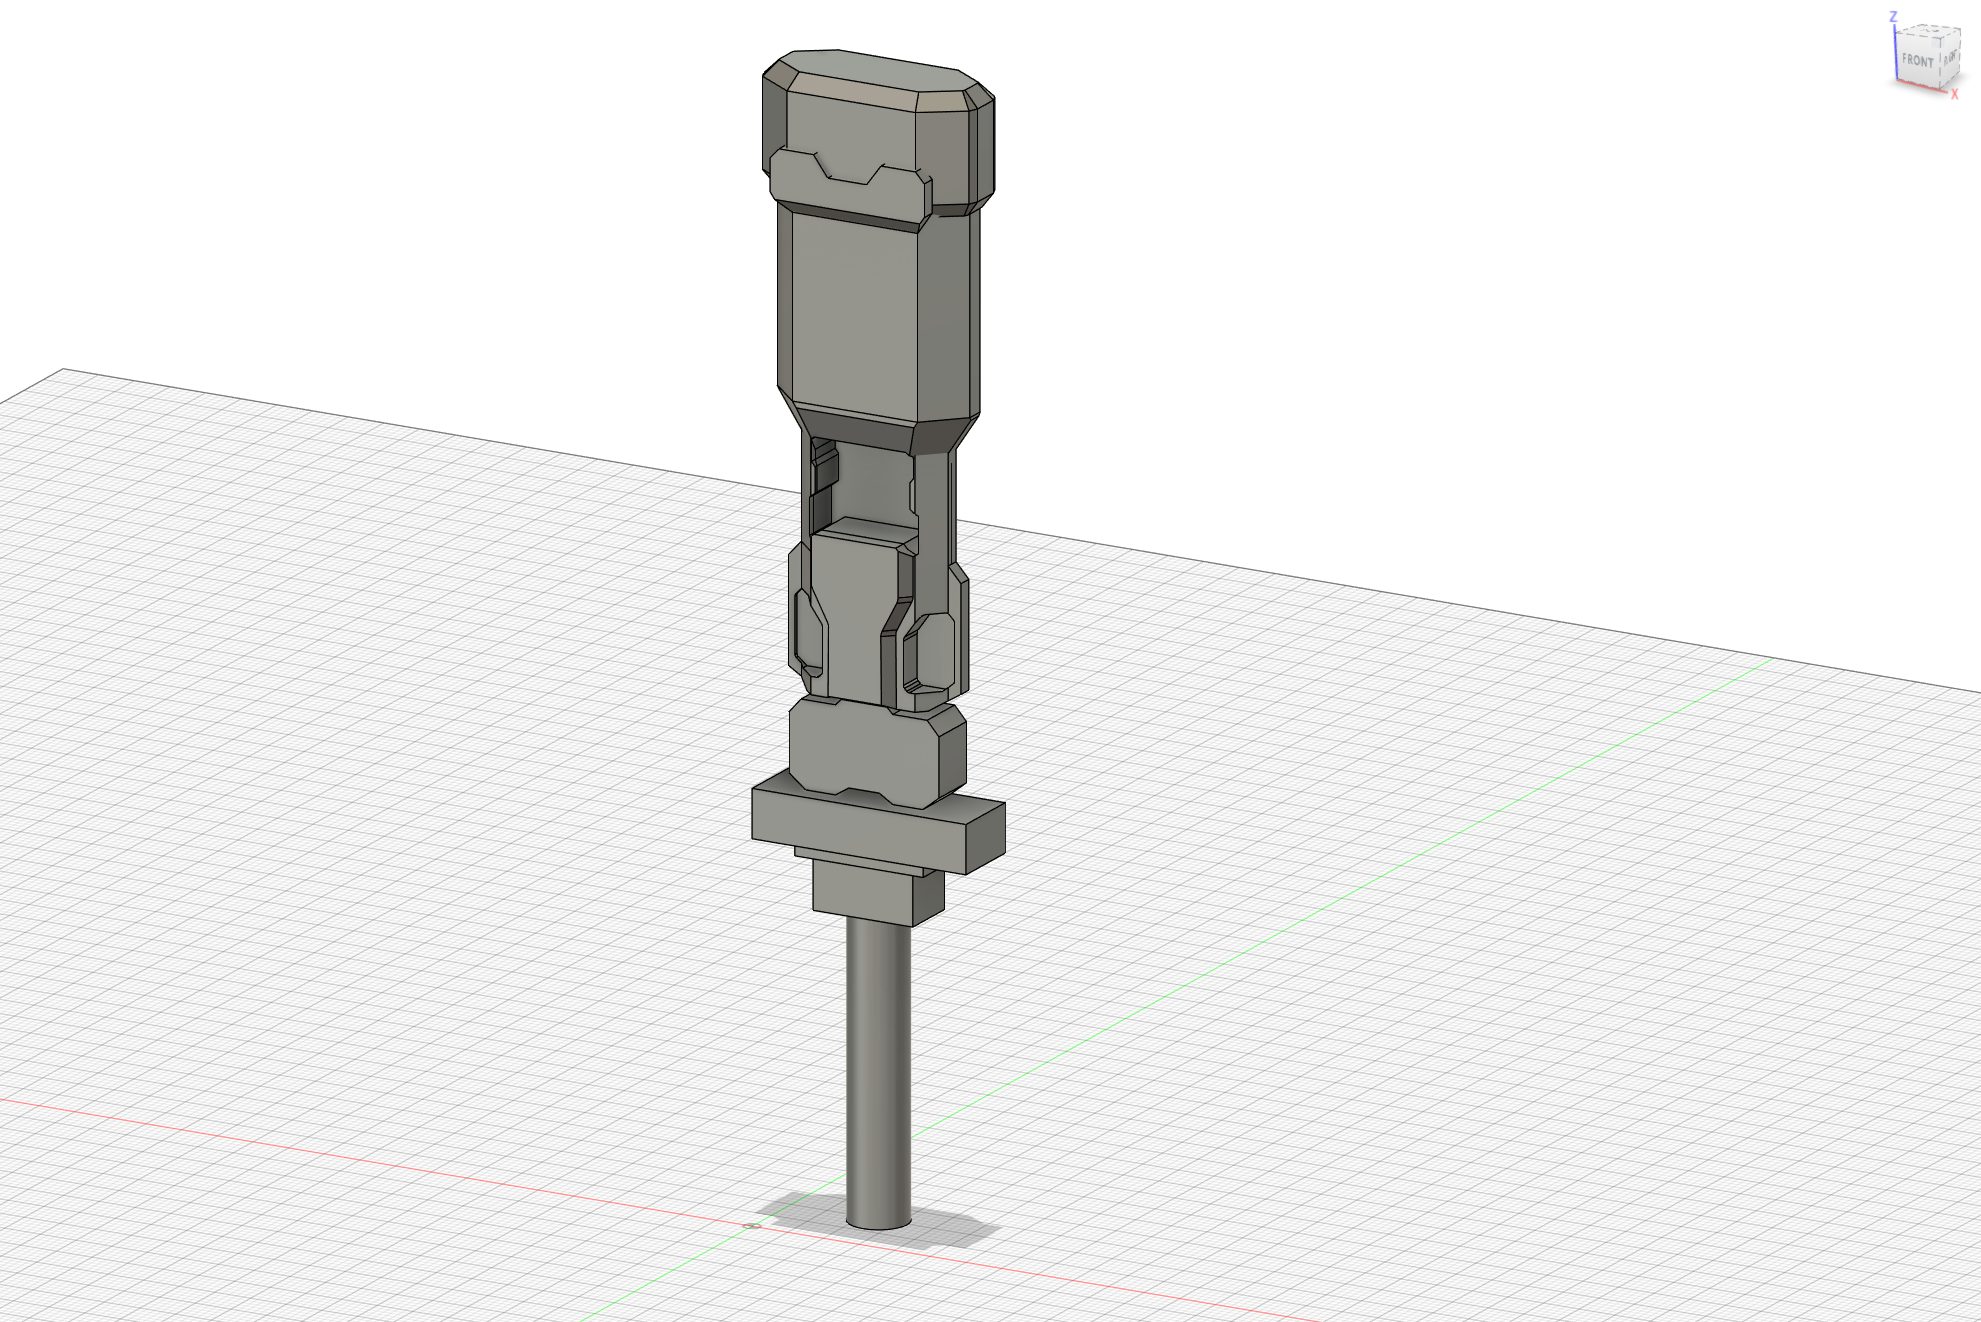
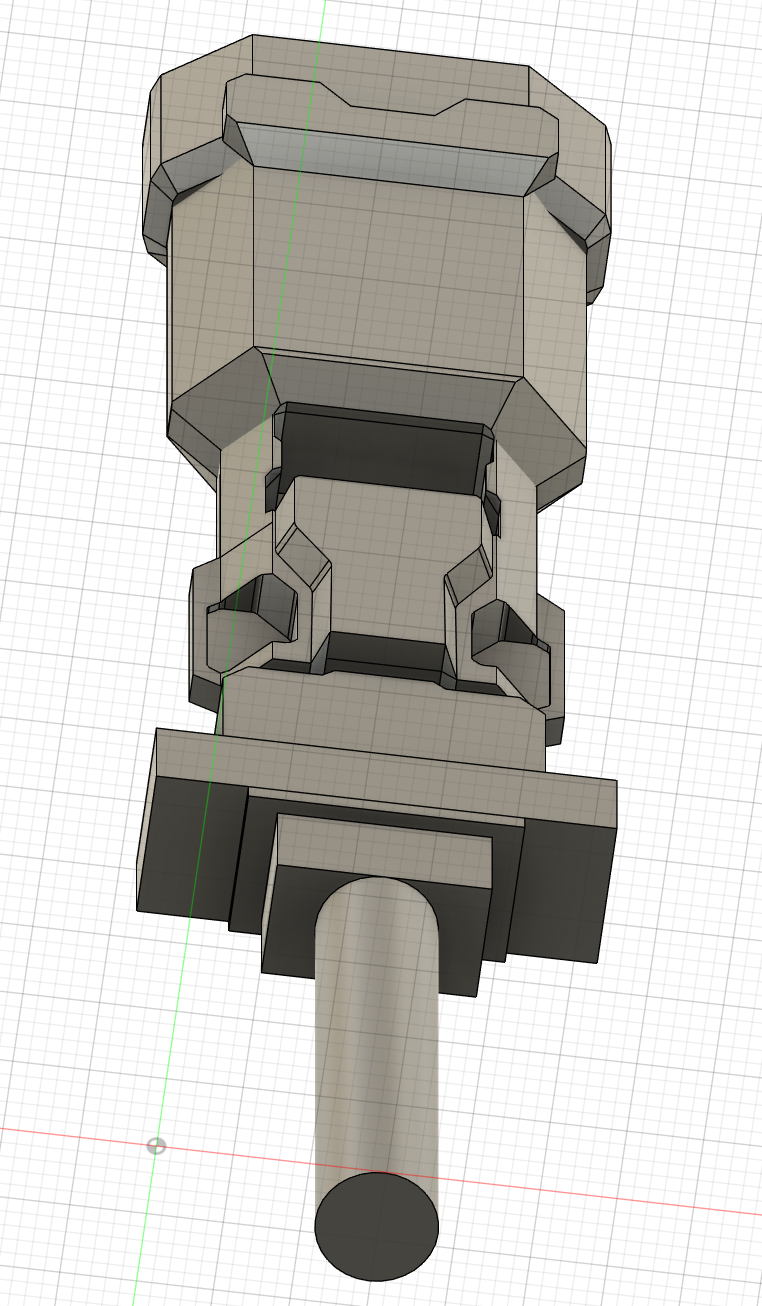
I continued modelling the Batter Hammer (weird name, to be changed in the future…) and got more details done. My goal is to complete the modeling of all parts in one go and then separating them to 7 – 9 parts for printing.
This week I focused on modeling the Batter Hammer on Fusion 360, tried to get it done this week but it was a busier week than usual. Modeled what I could and printed a “Beta” version, will work on building out the handle and details next week.
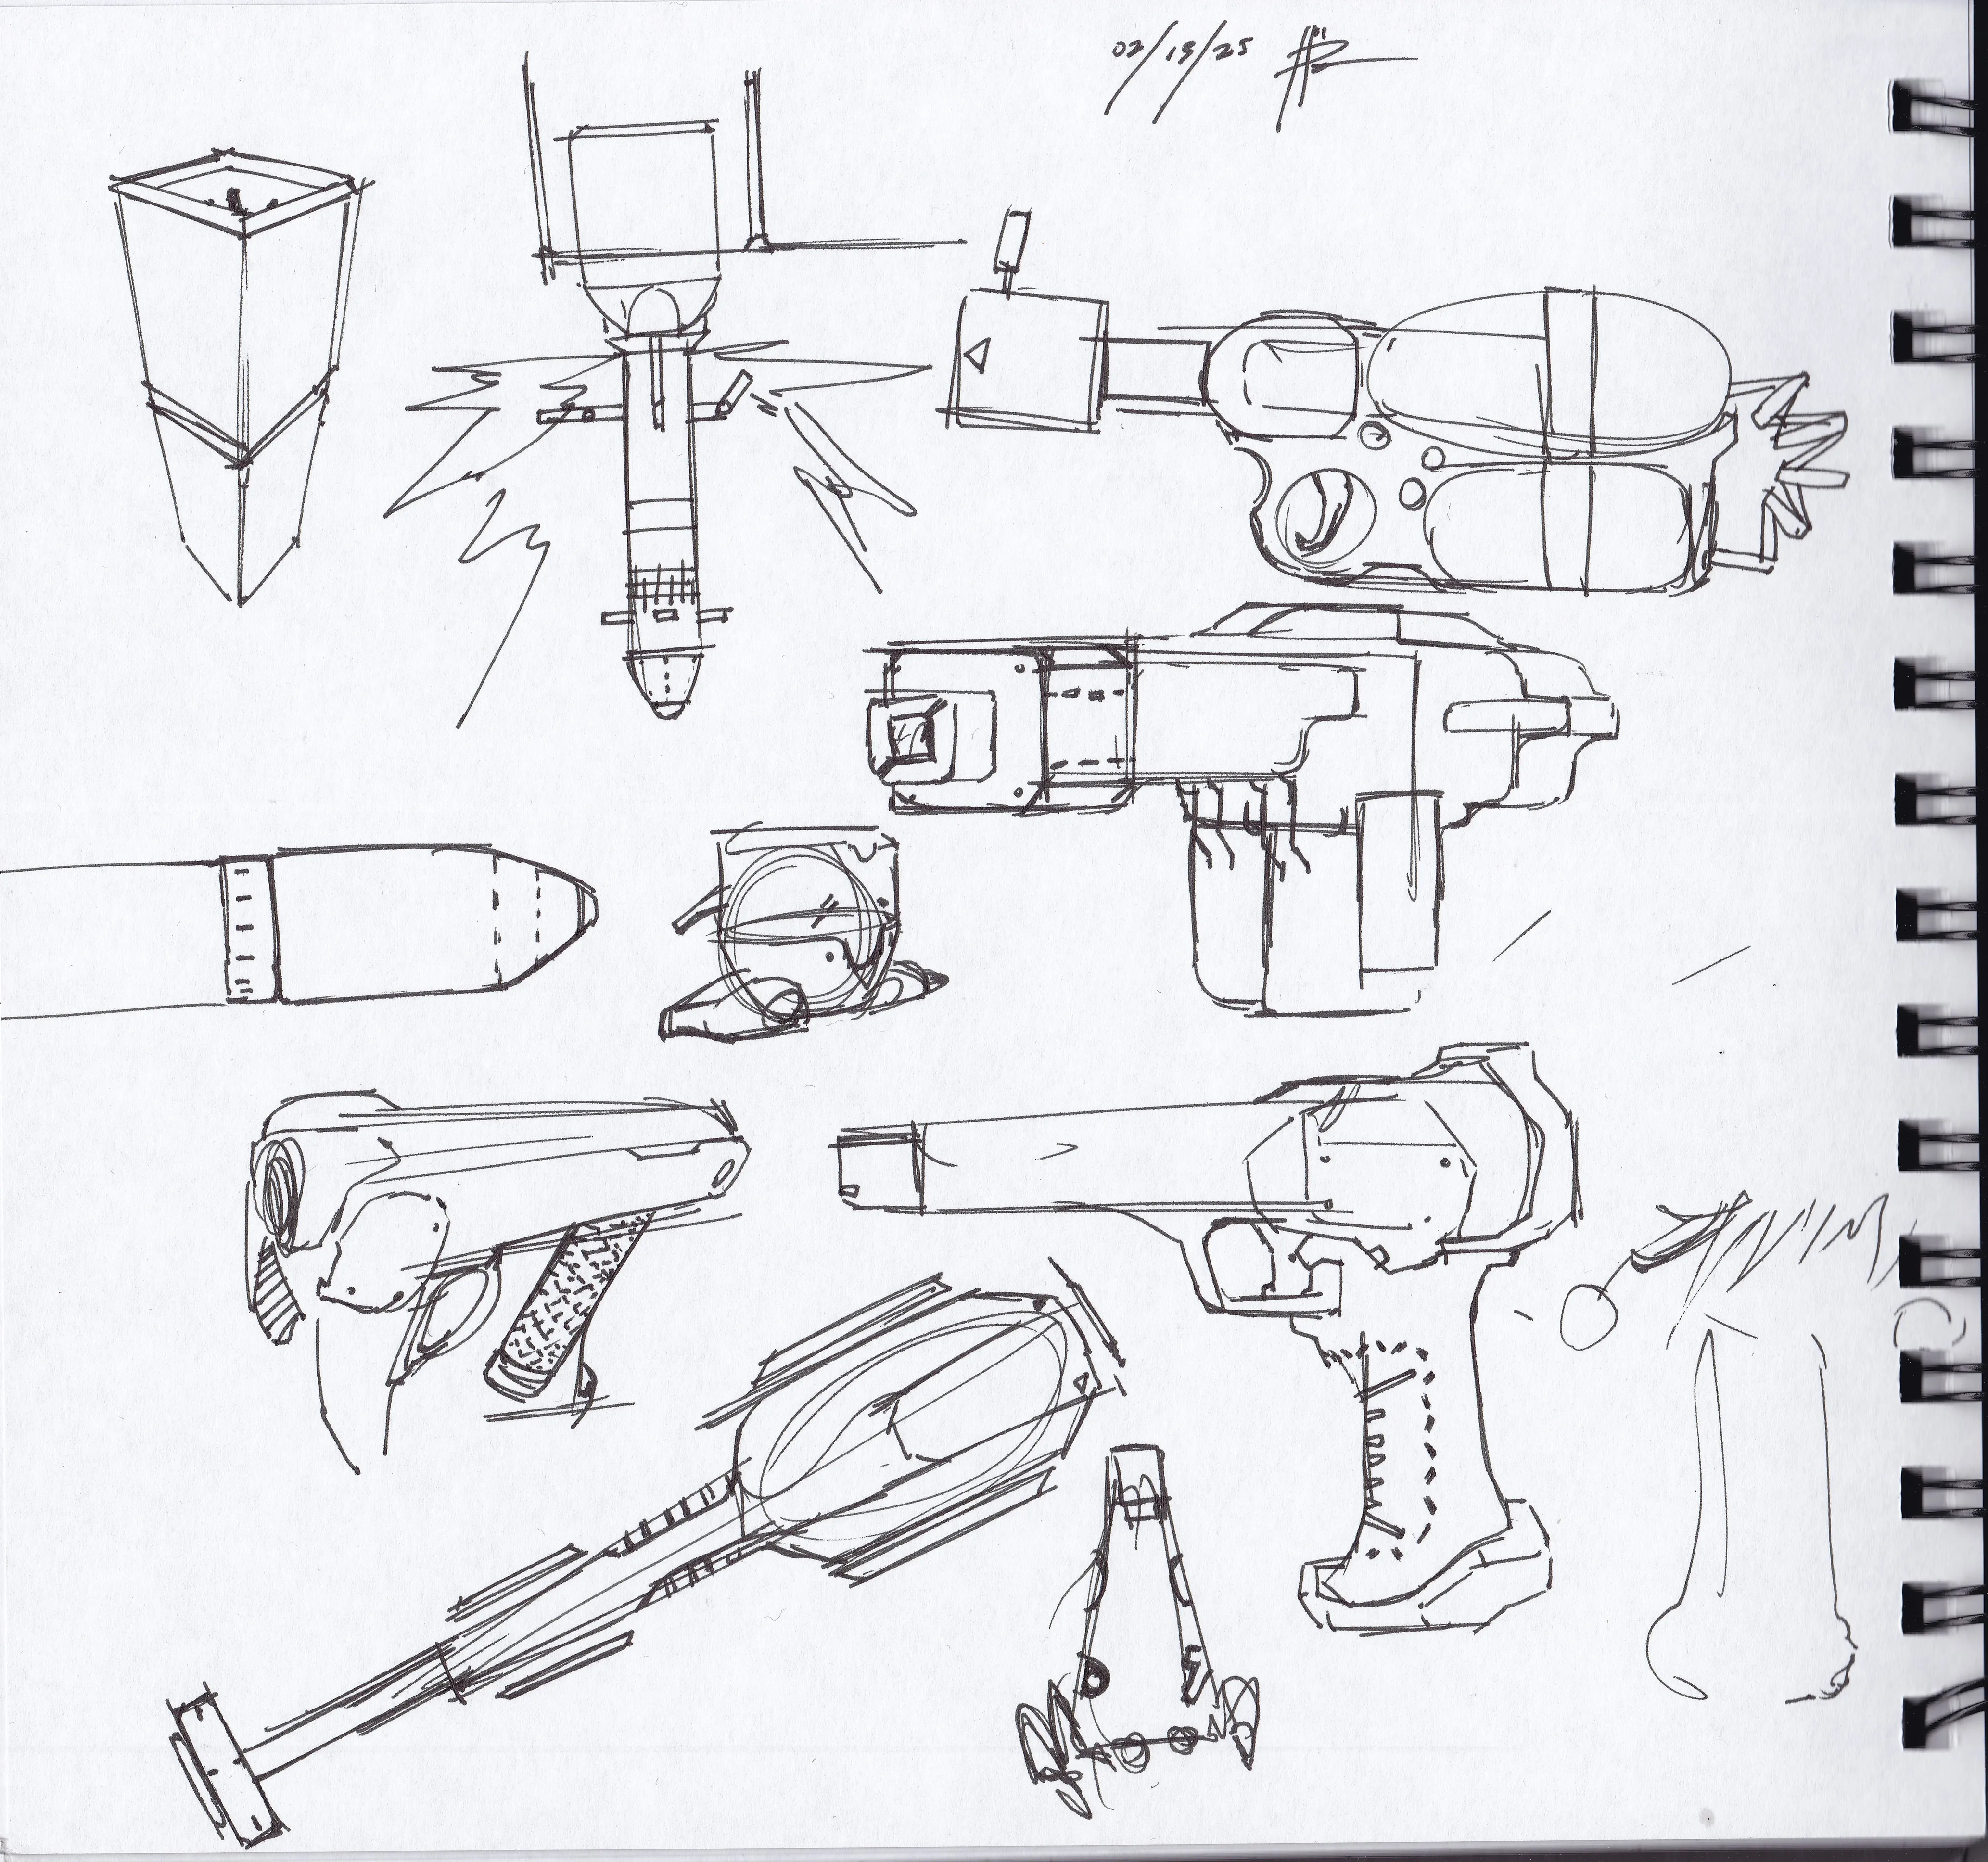
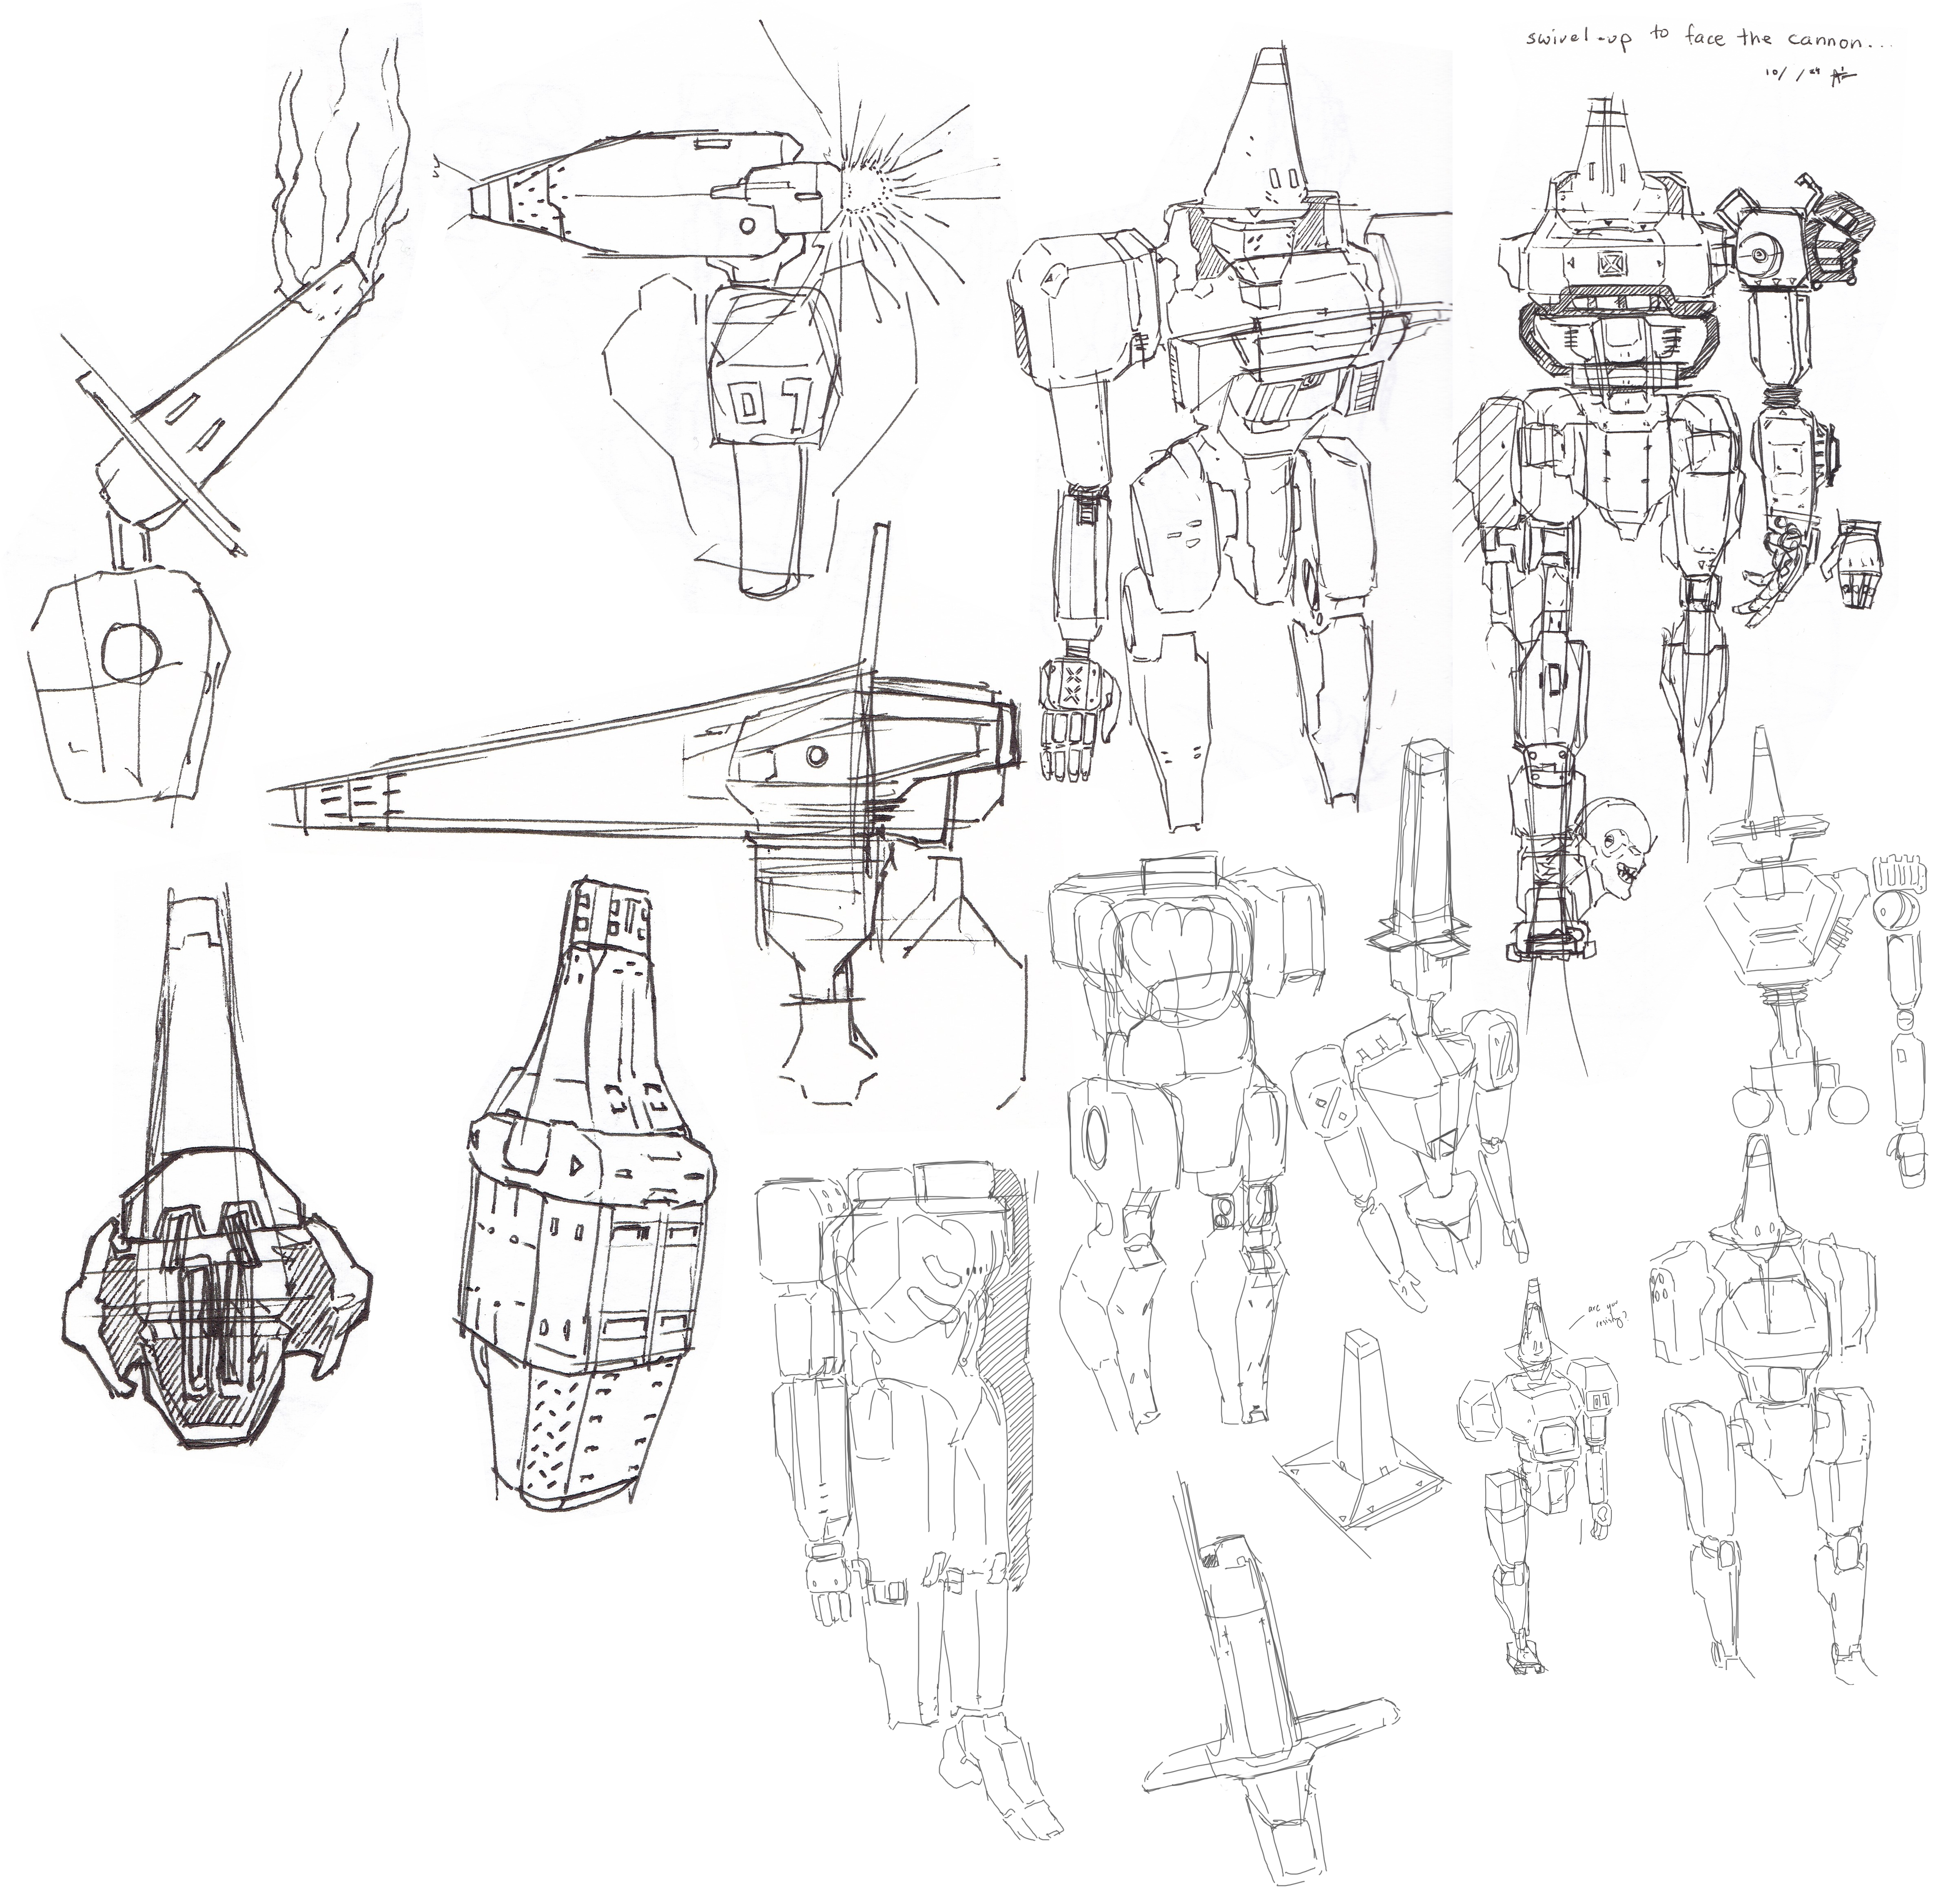
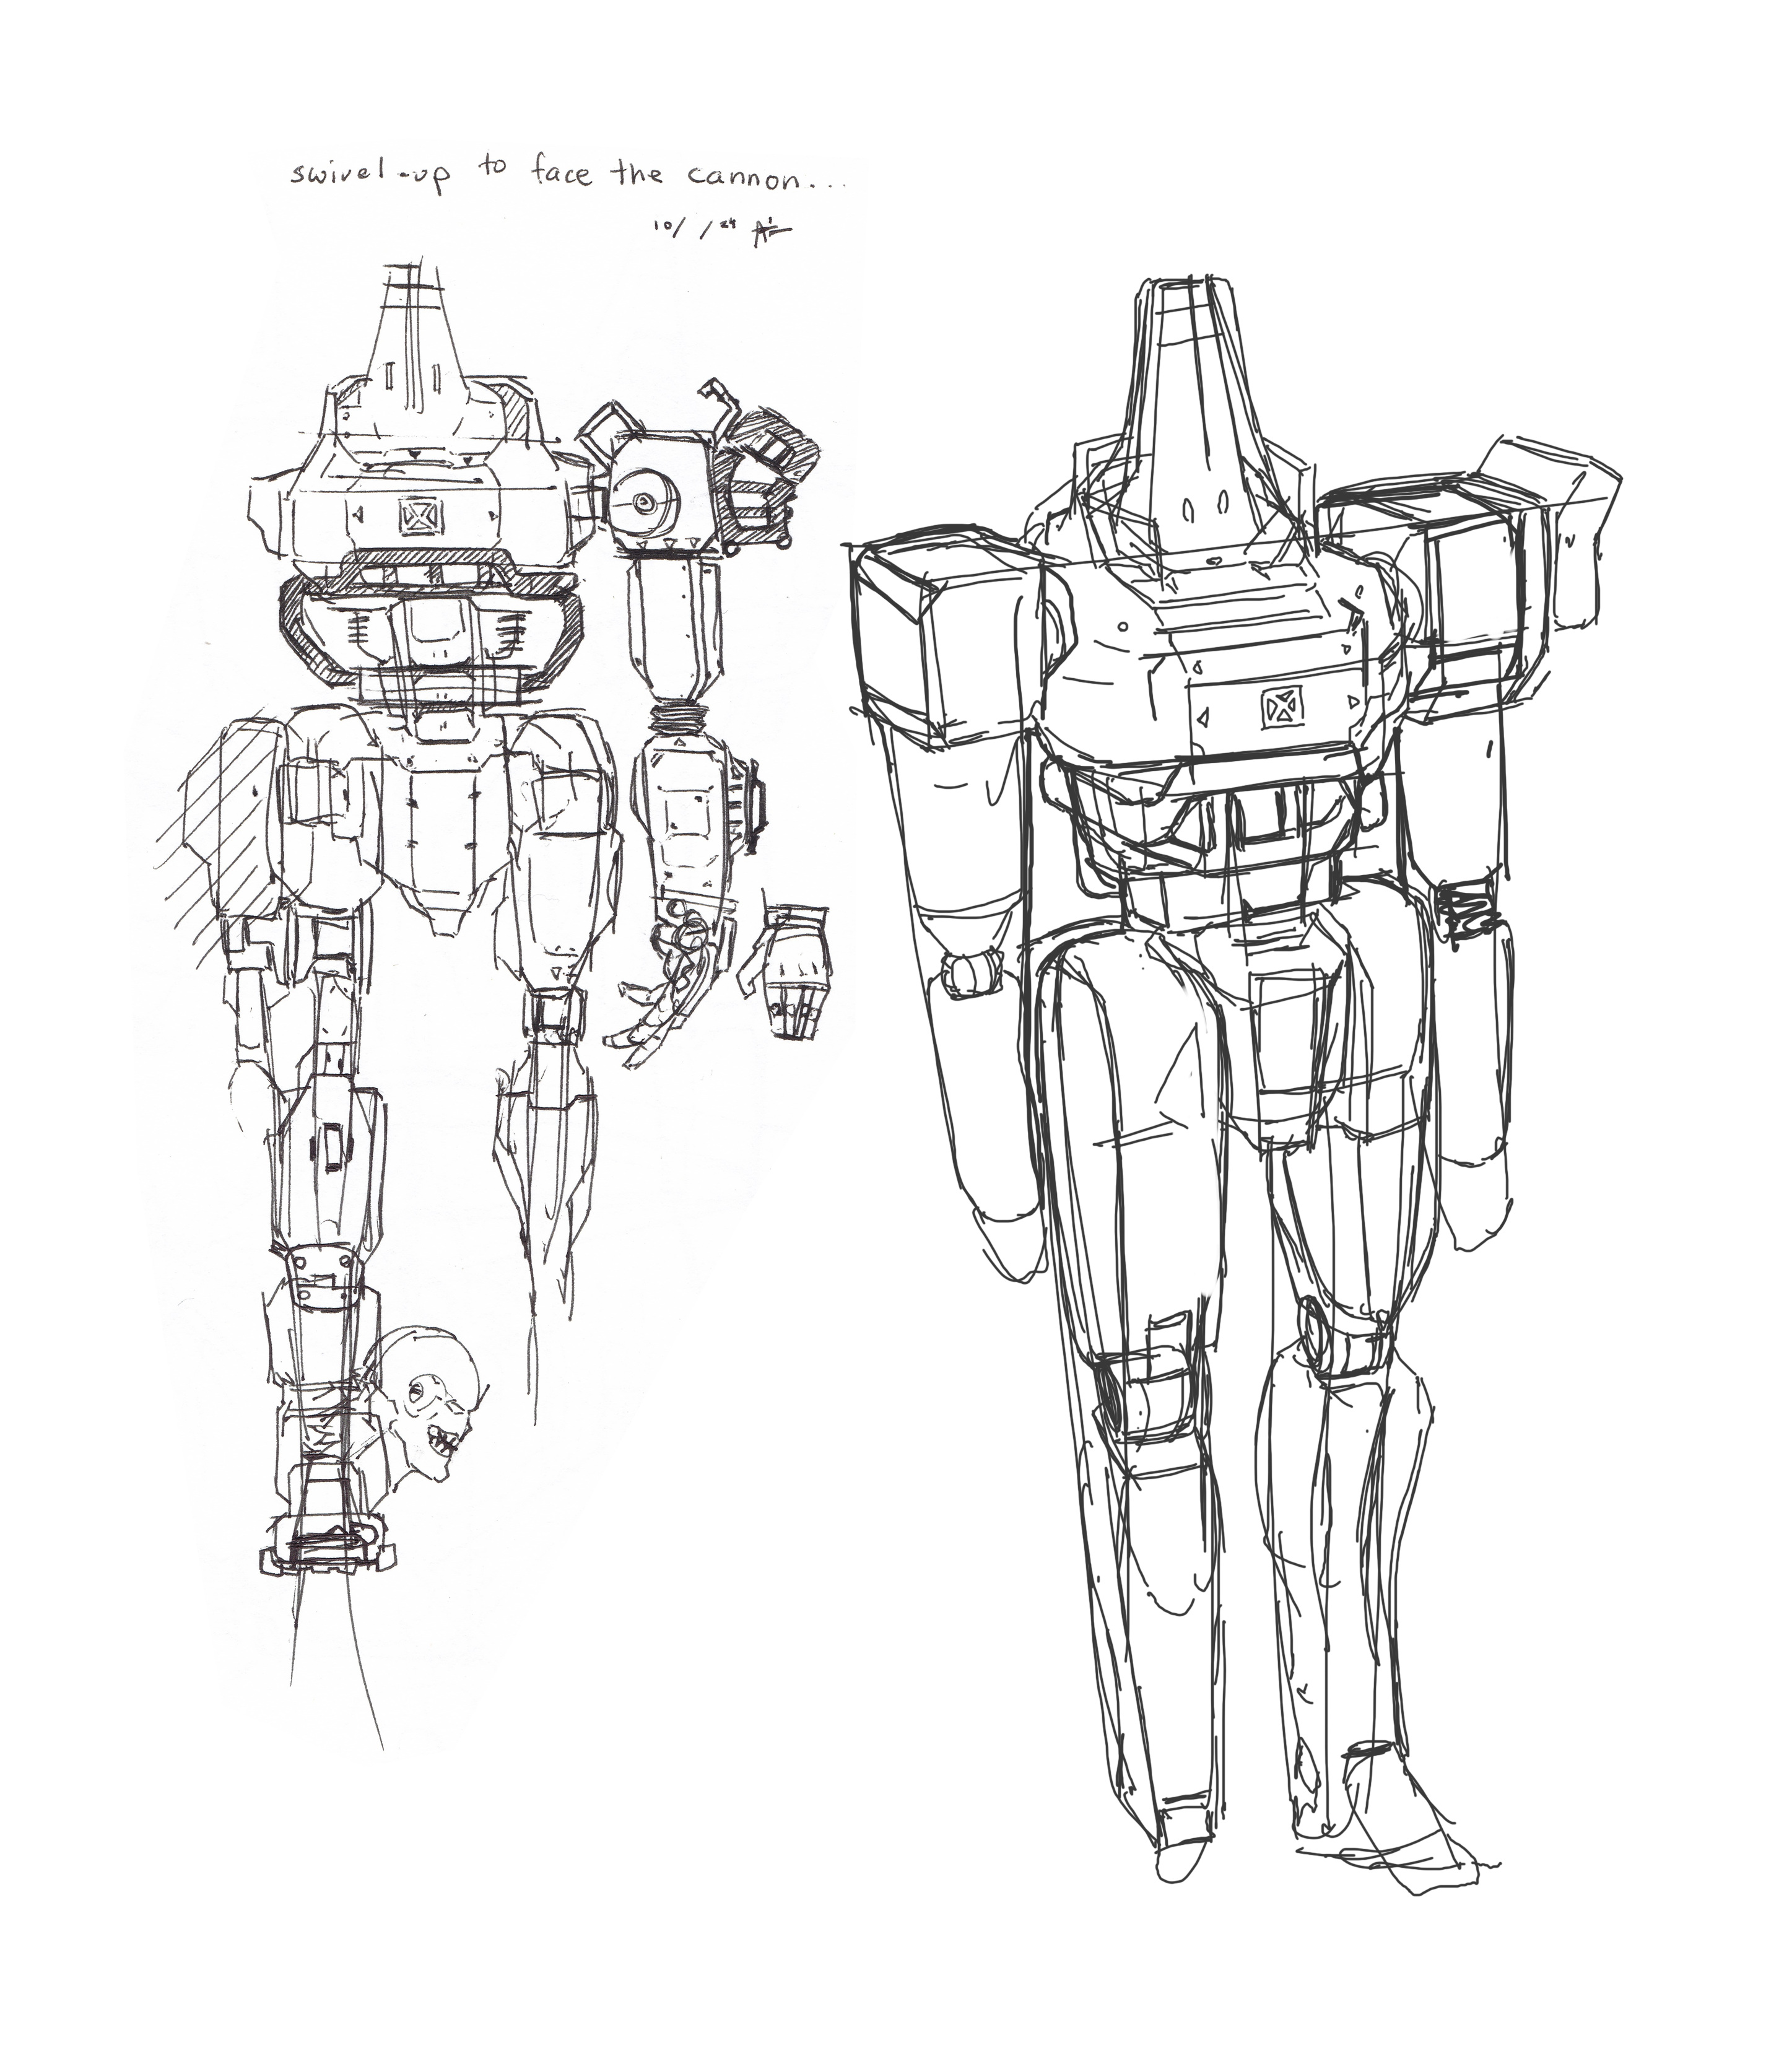
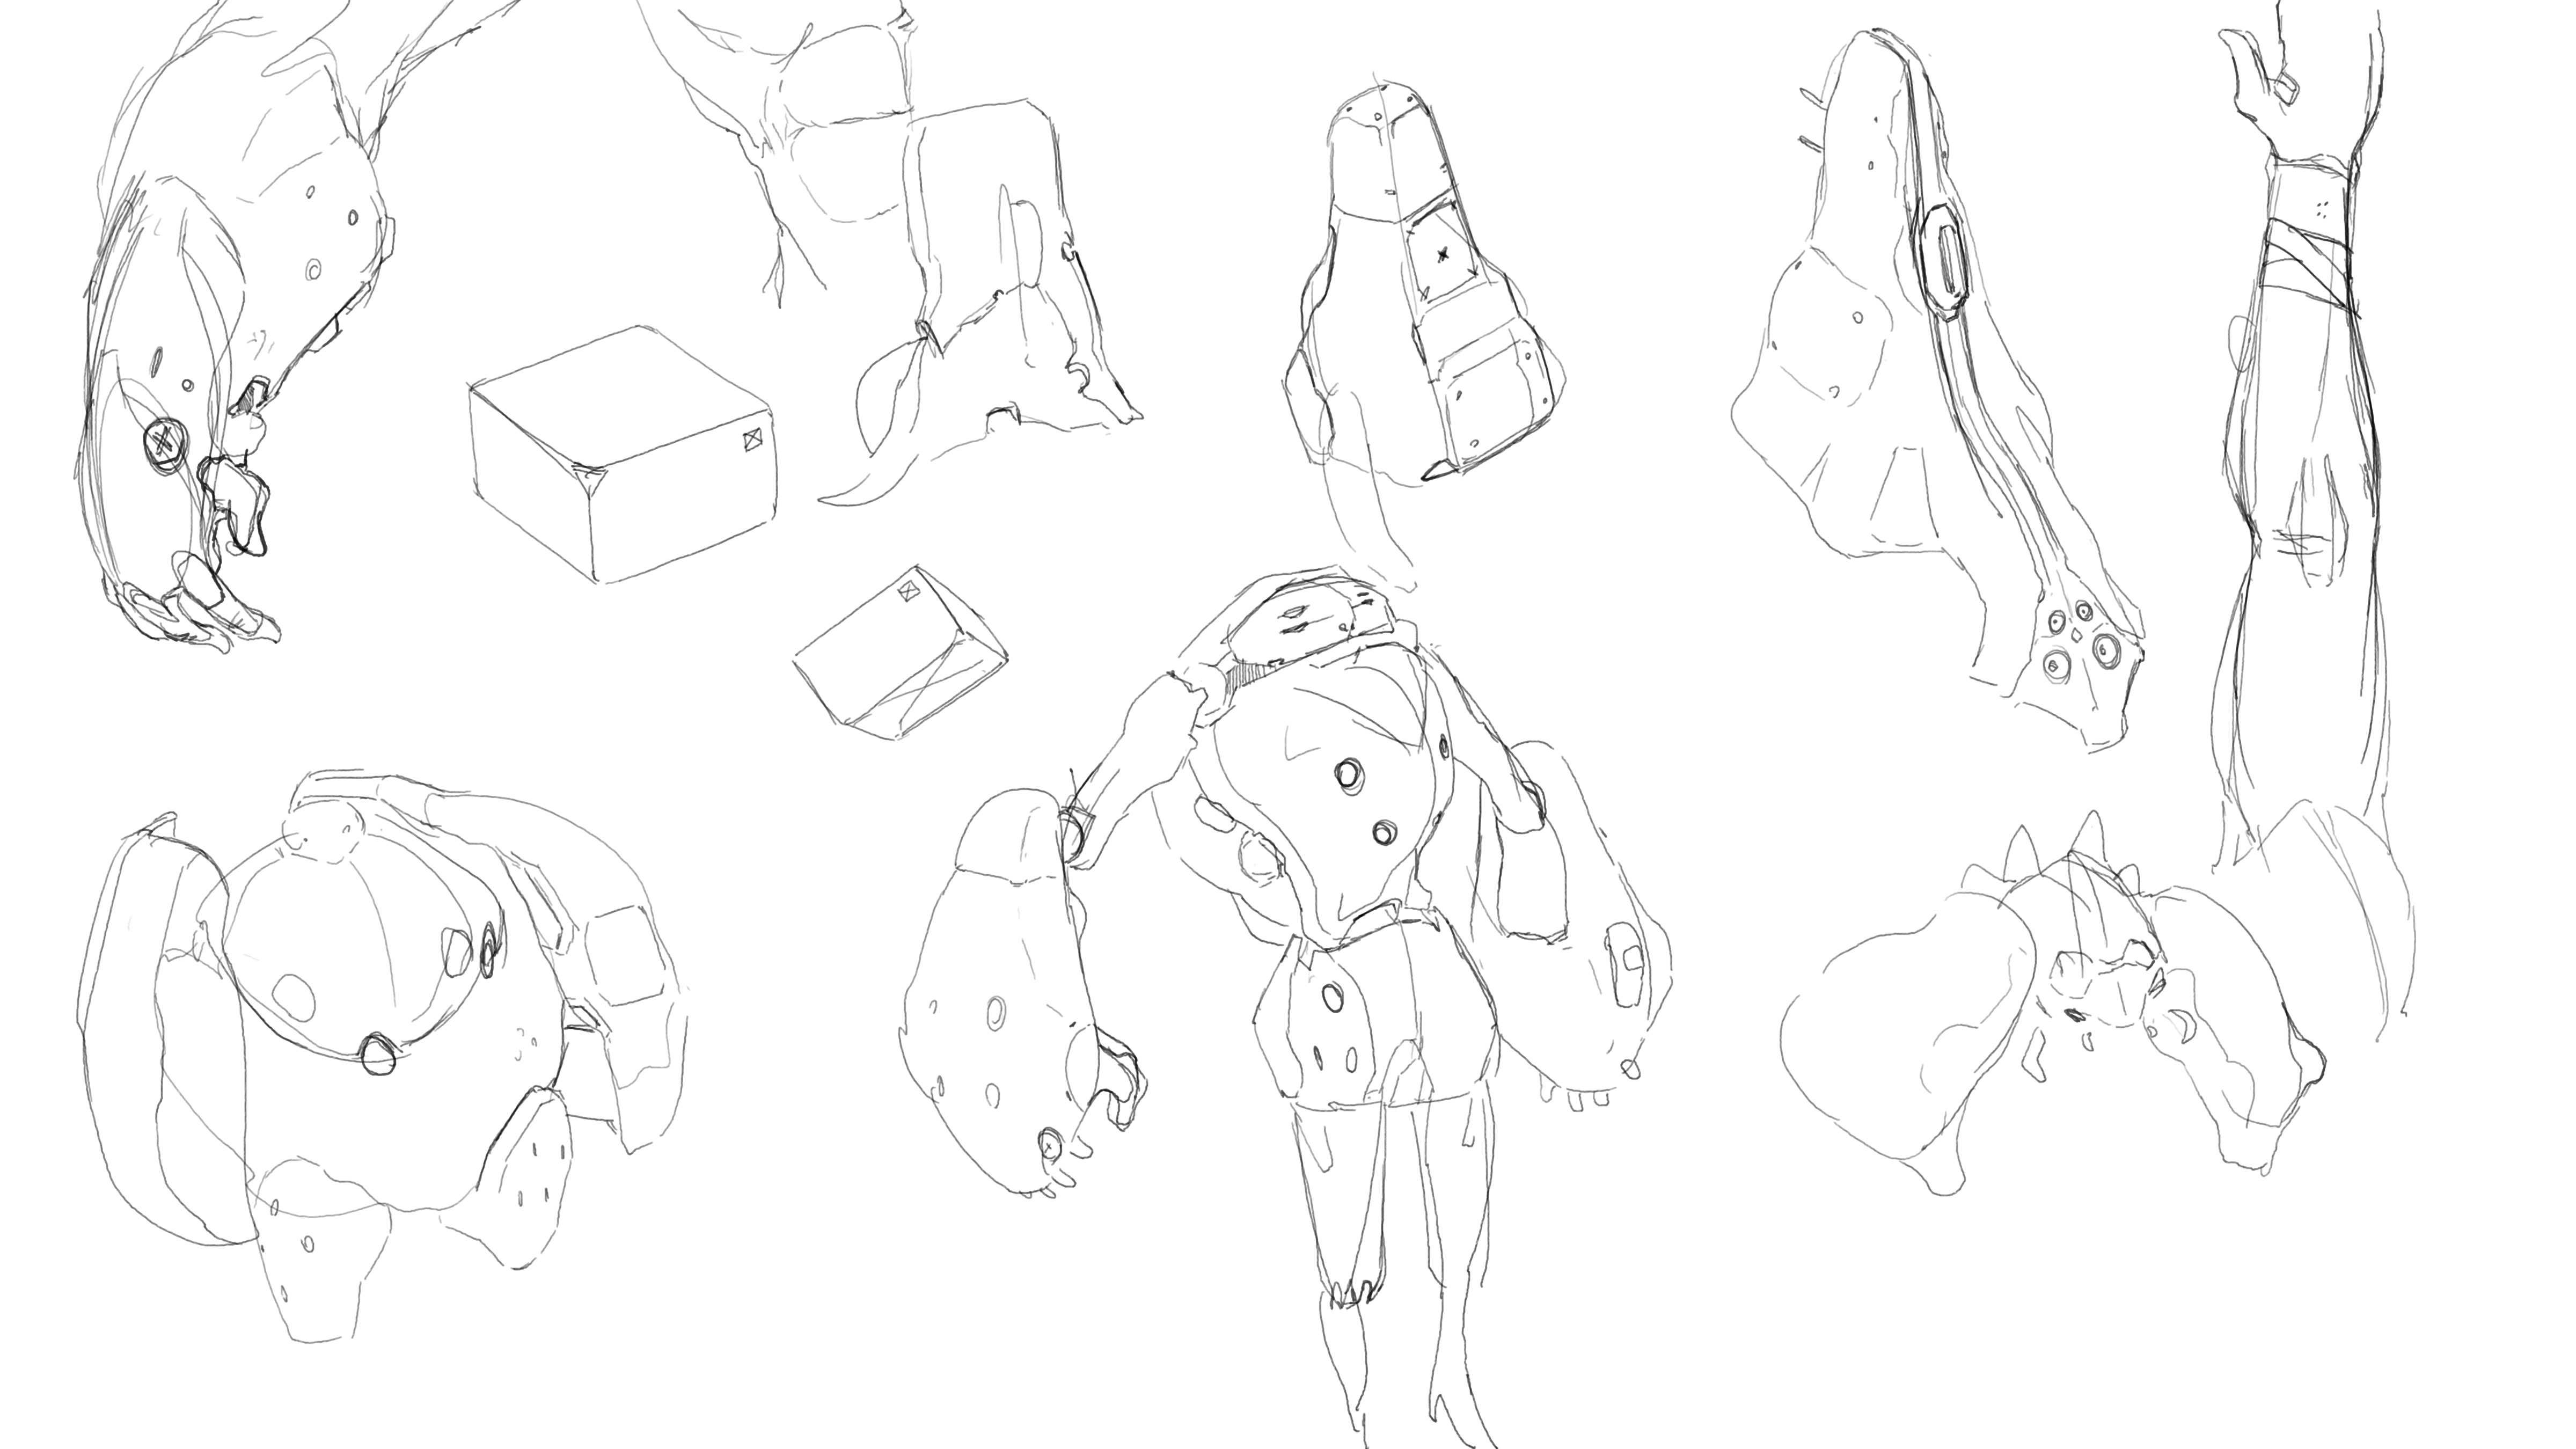
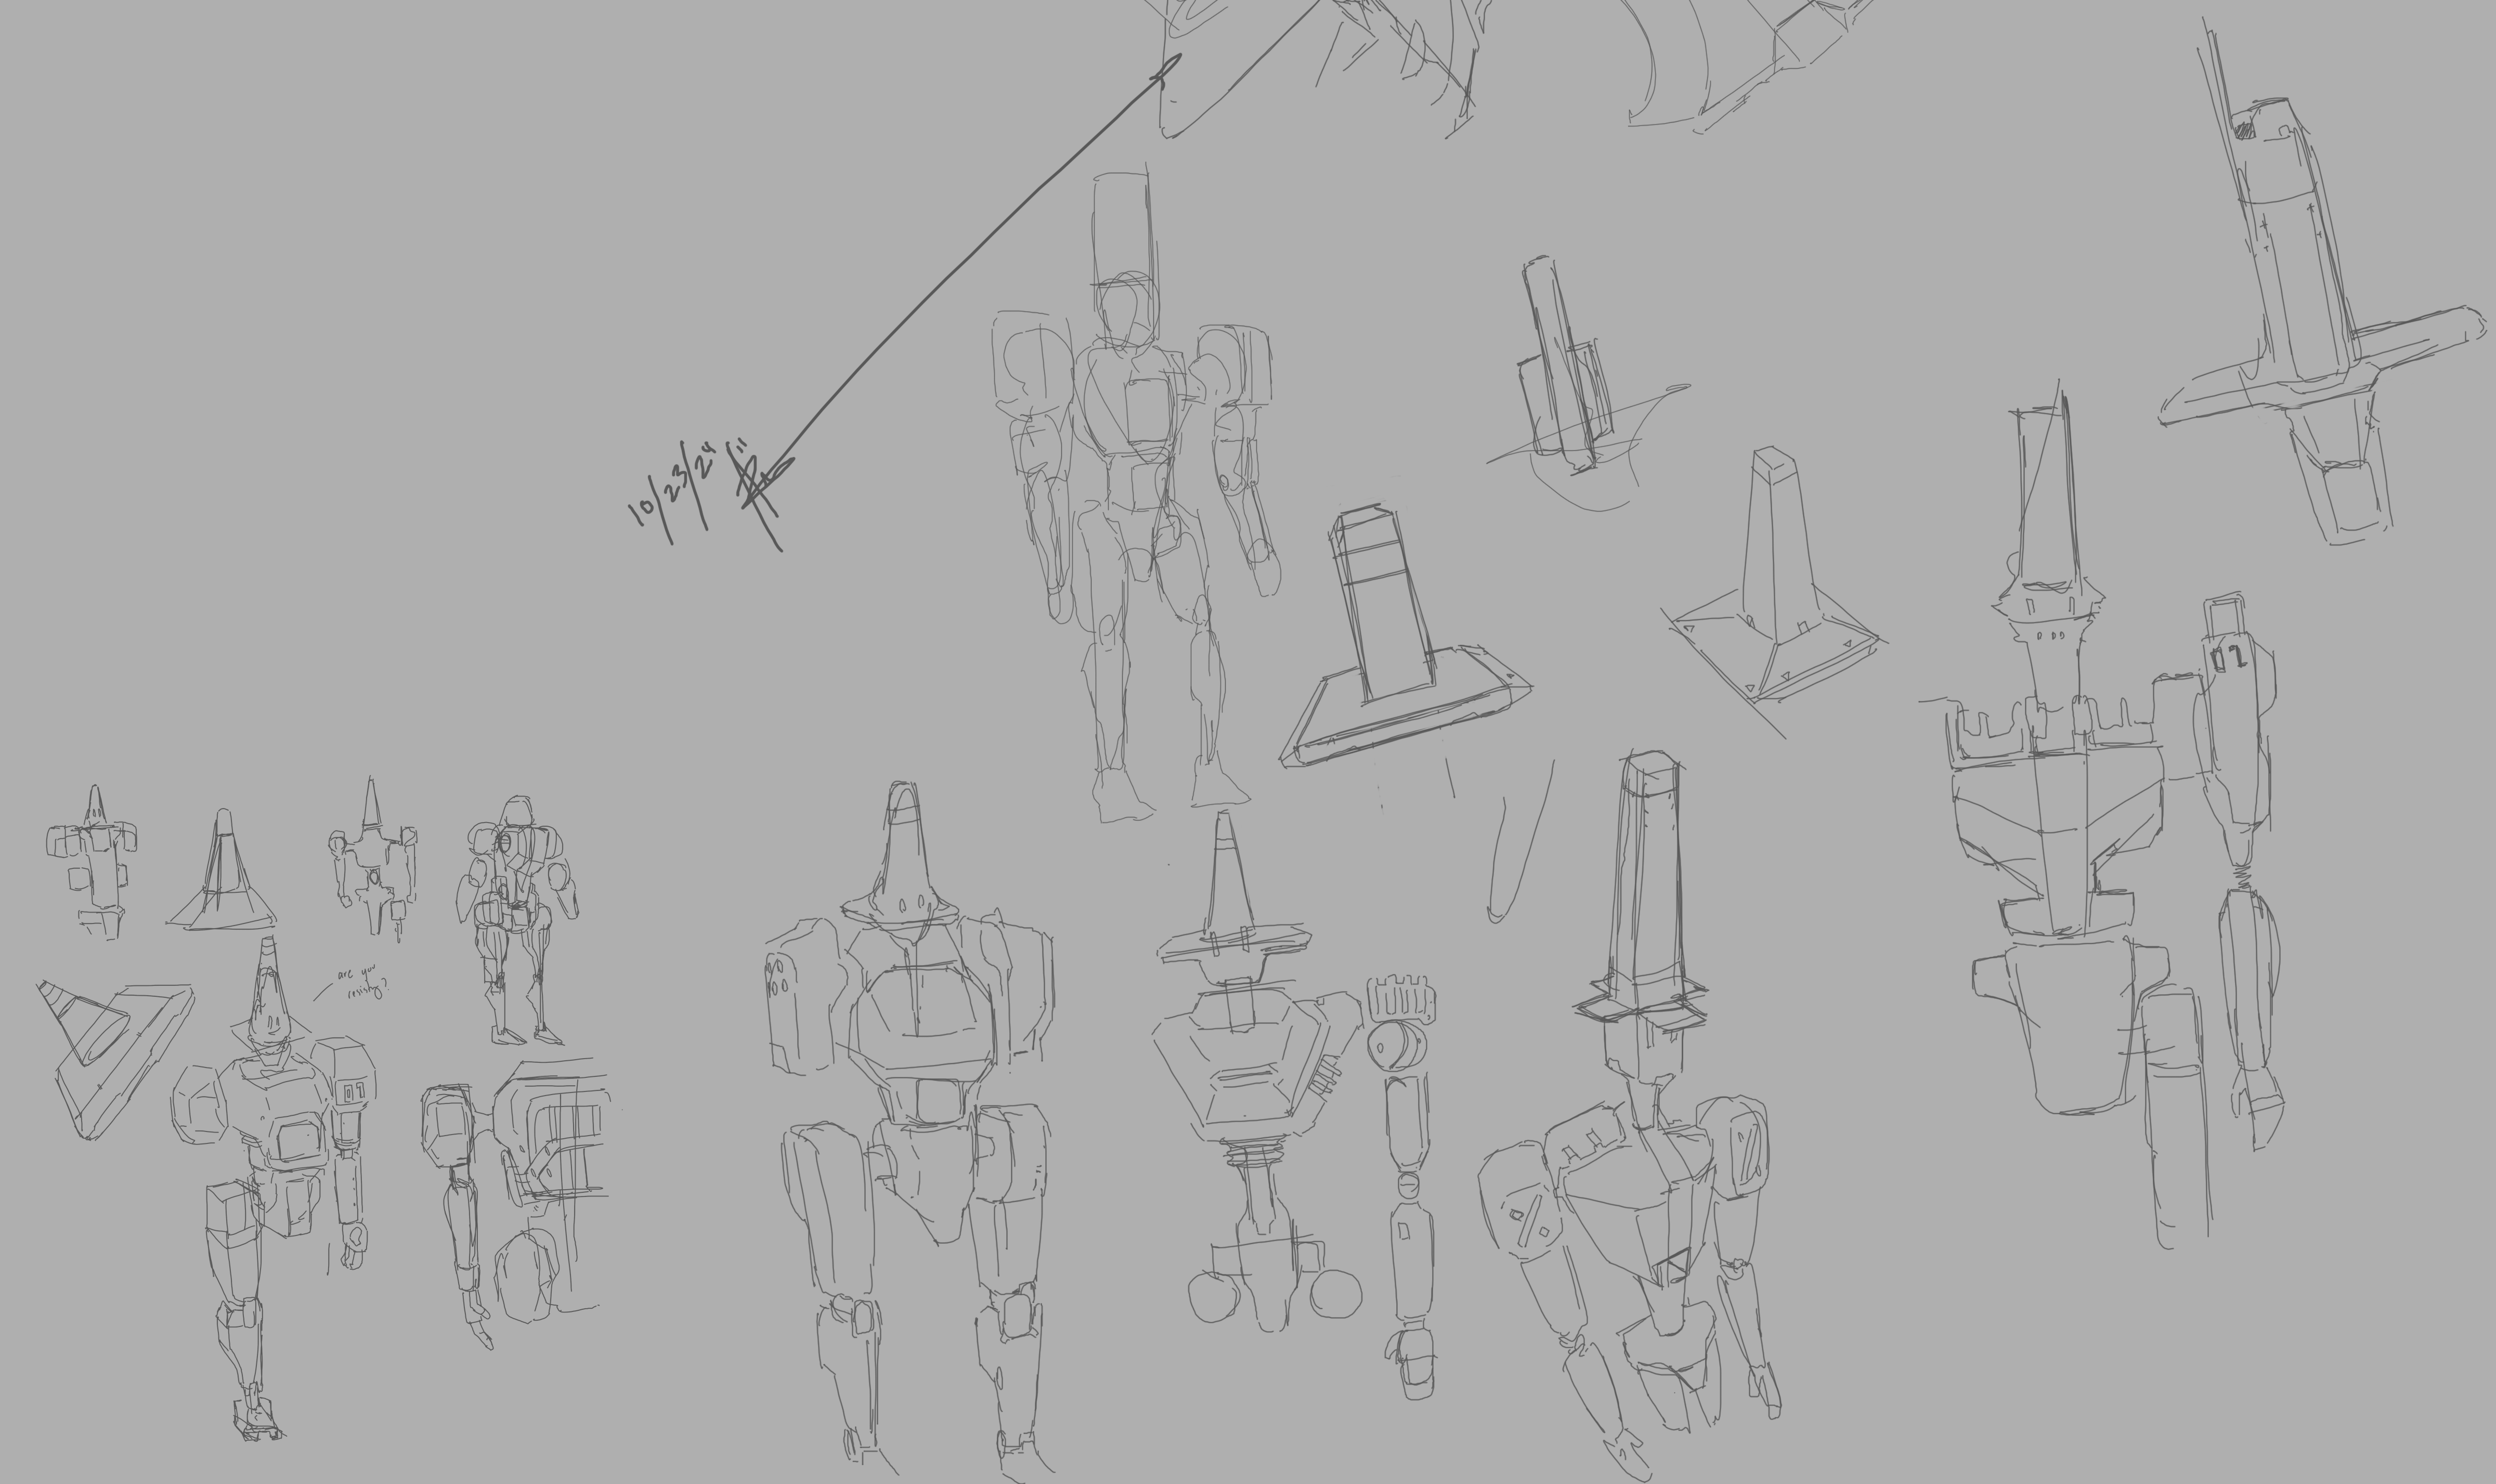
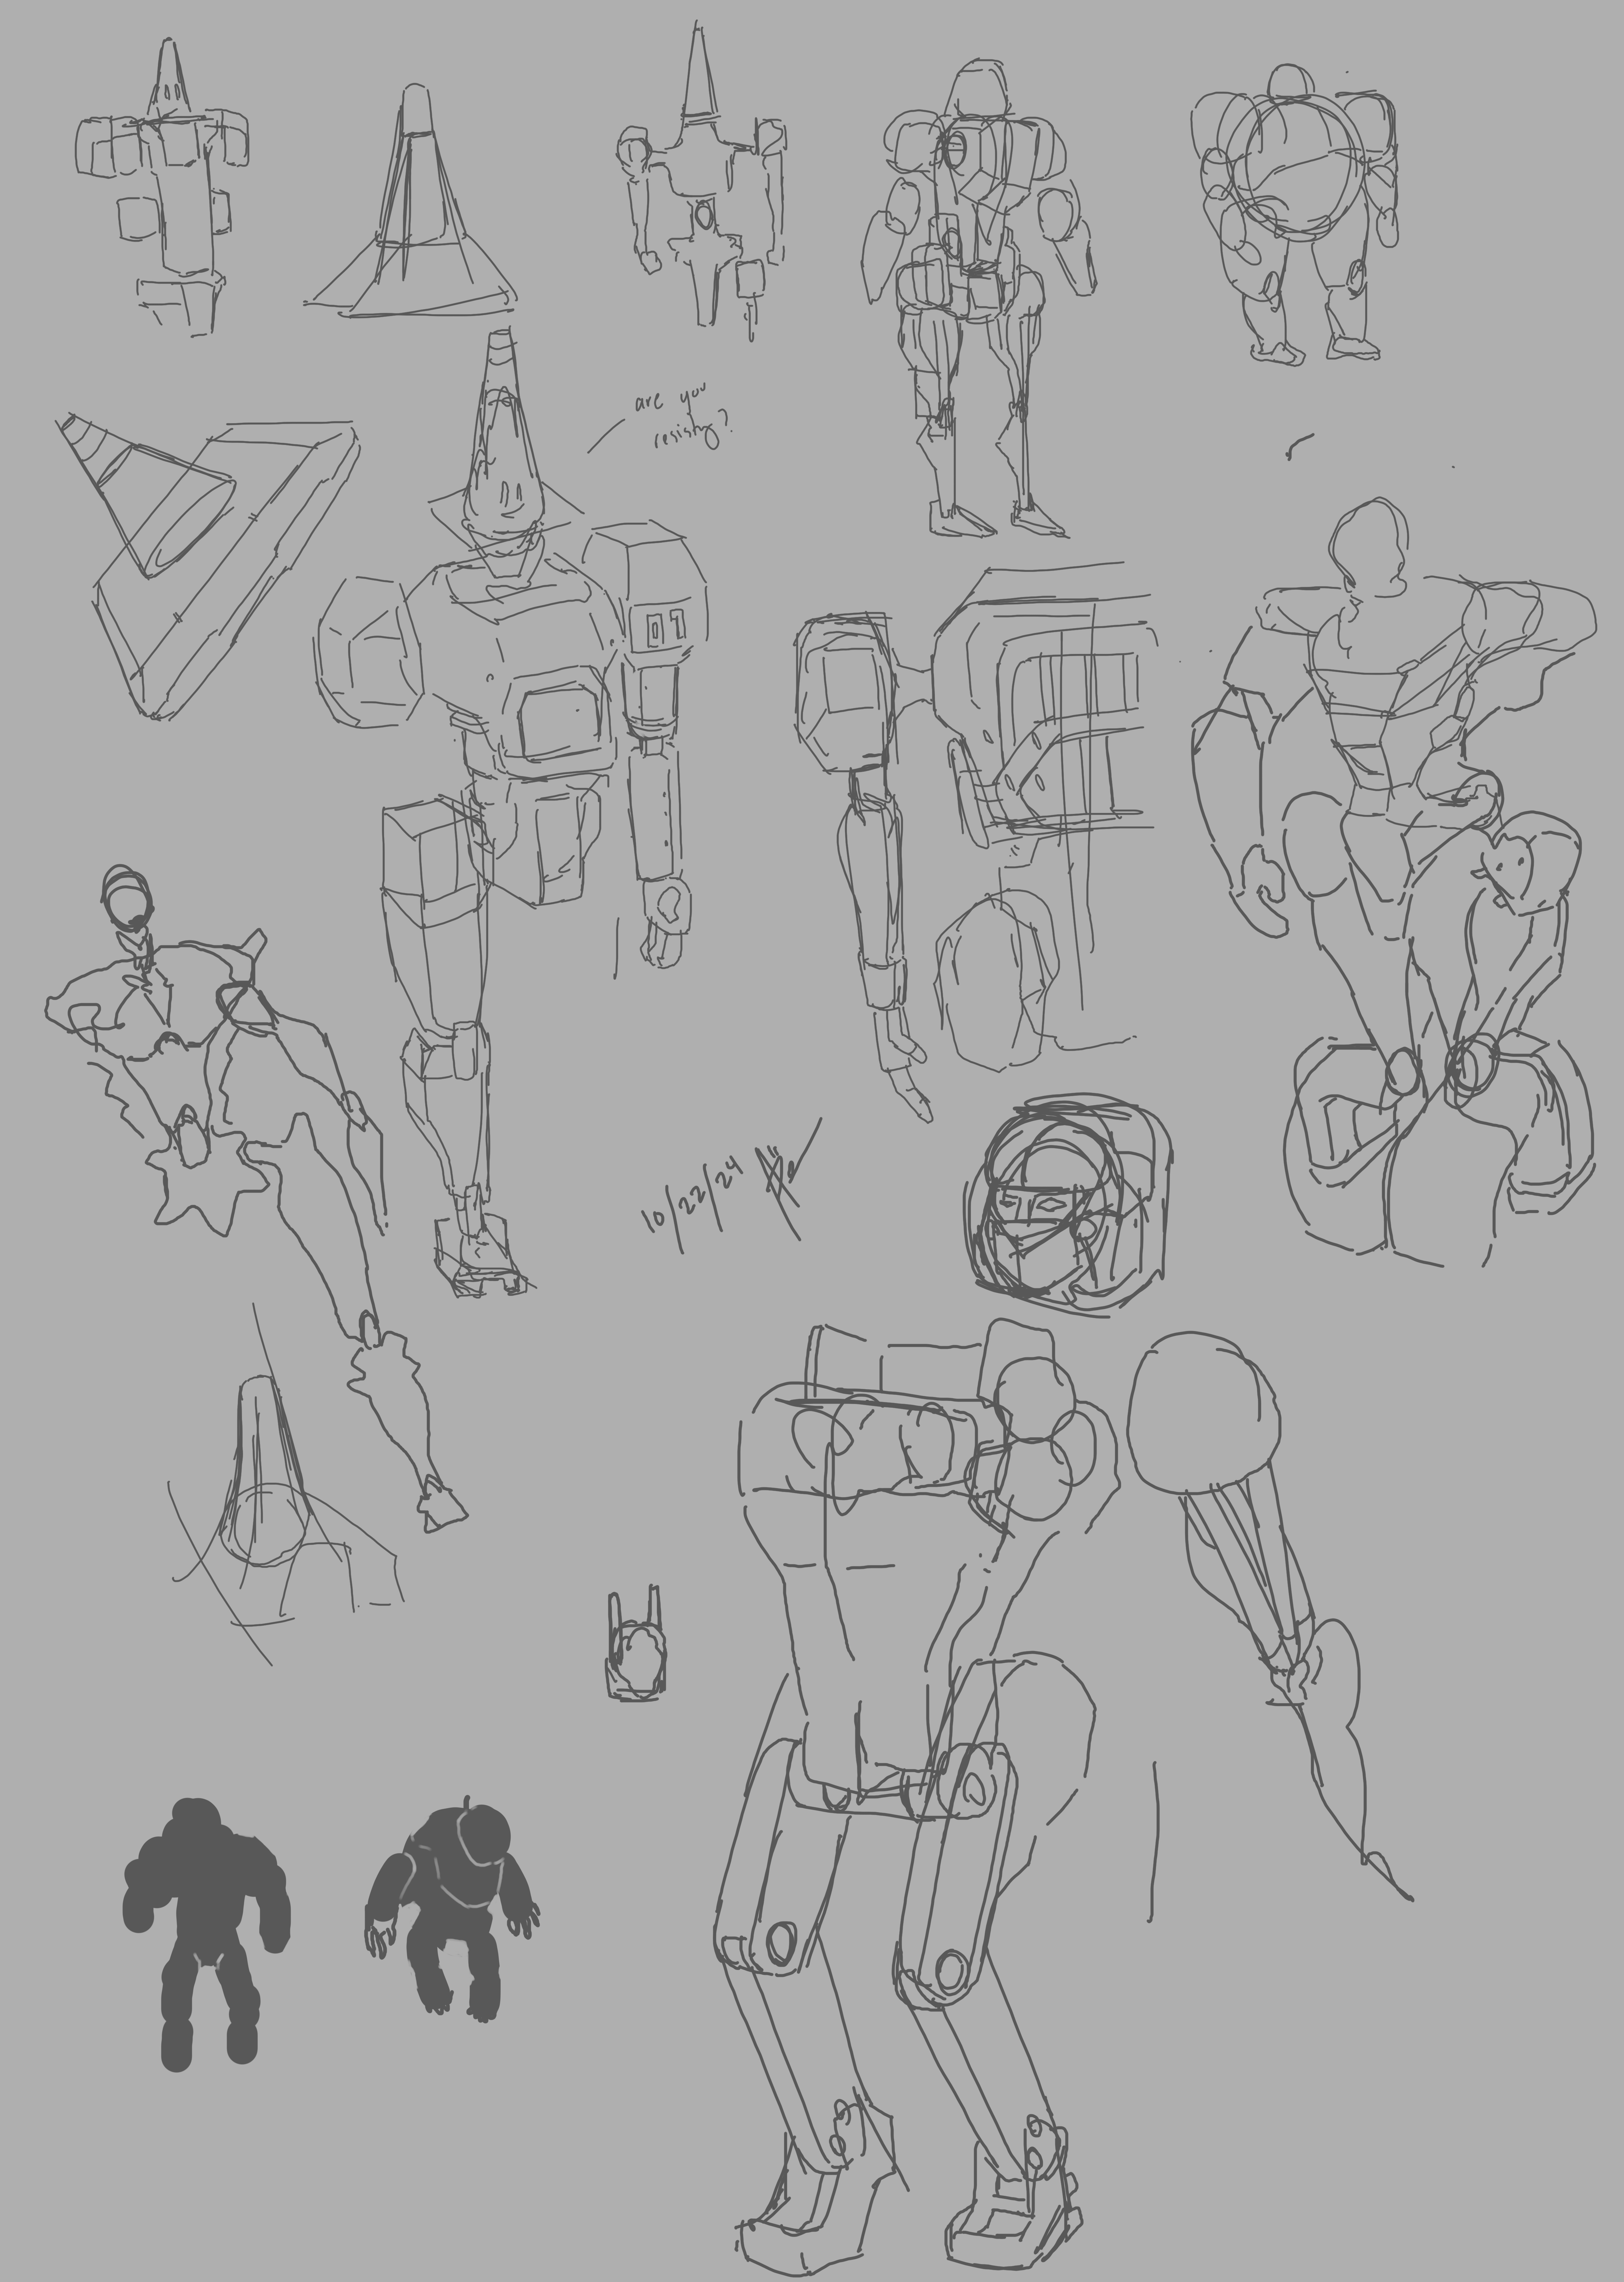
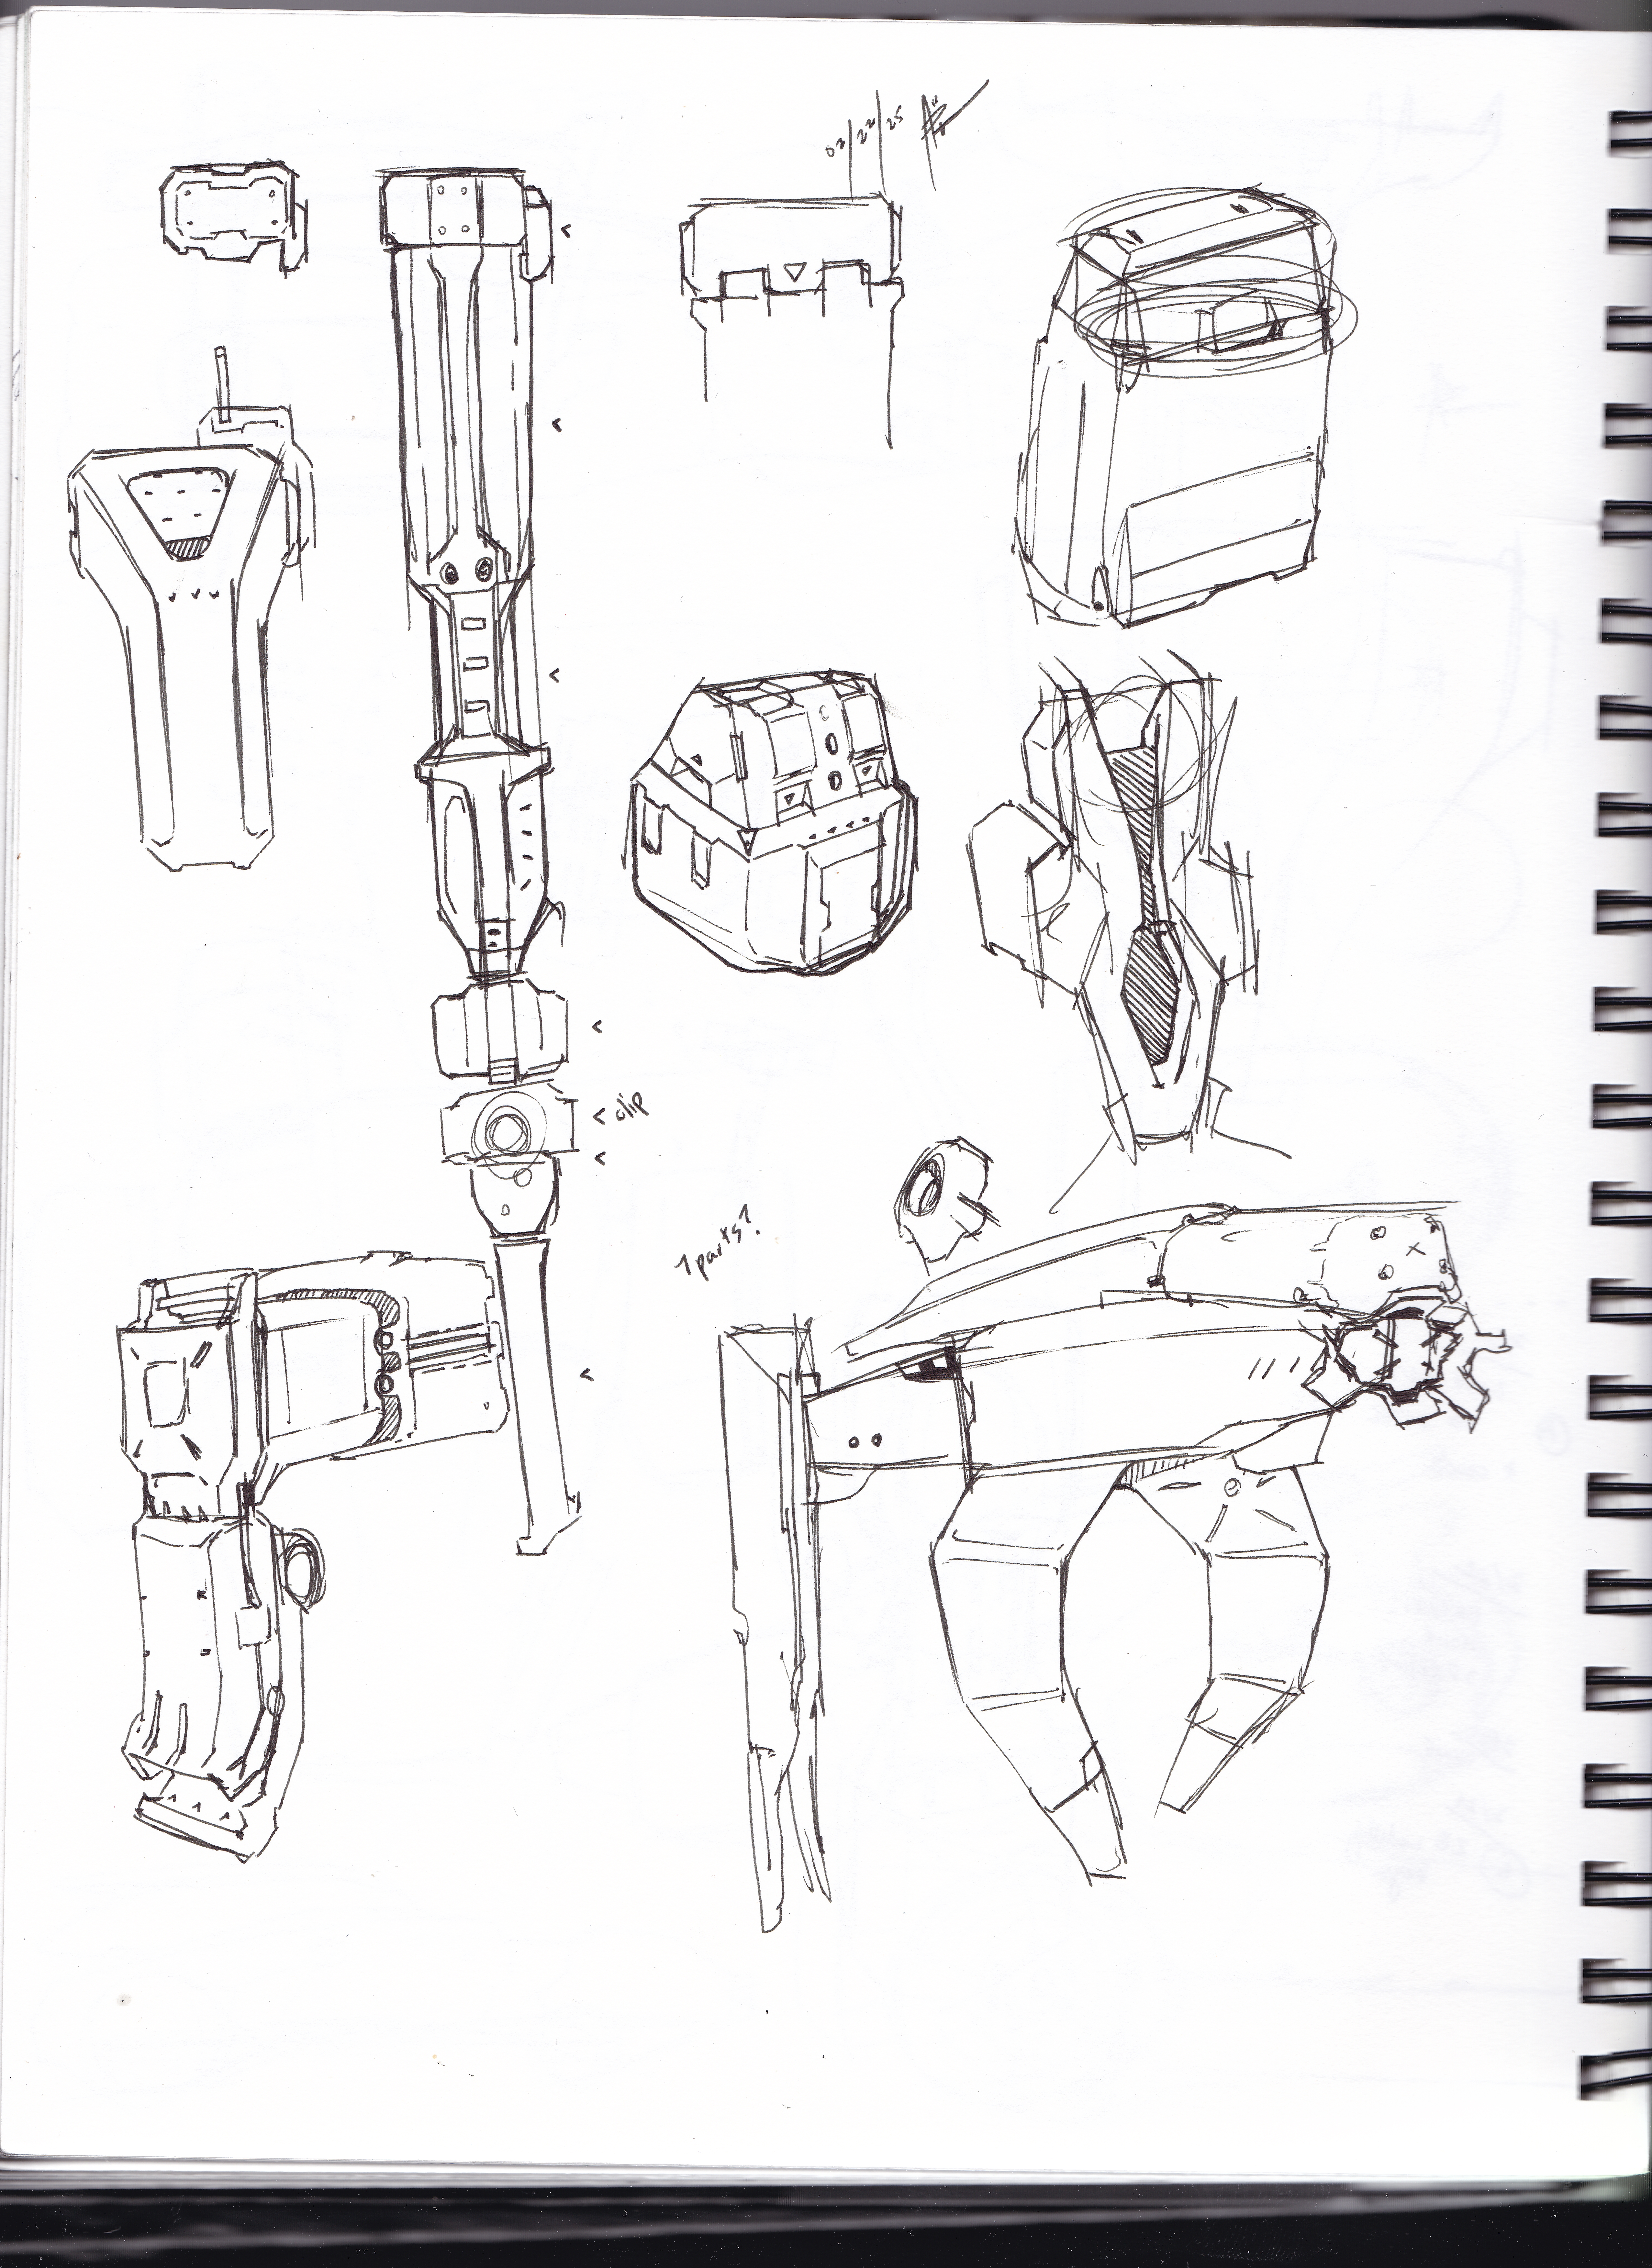
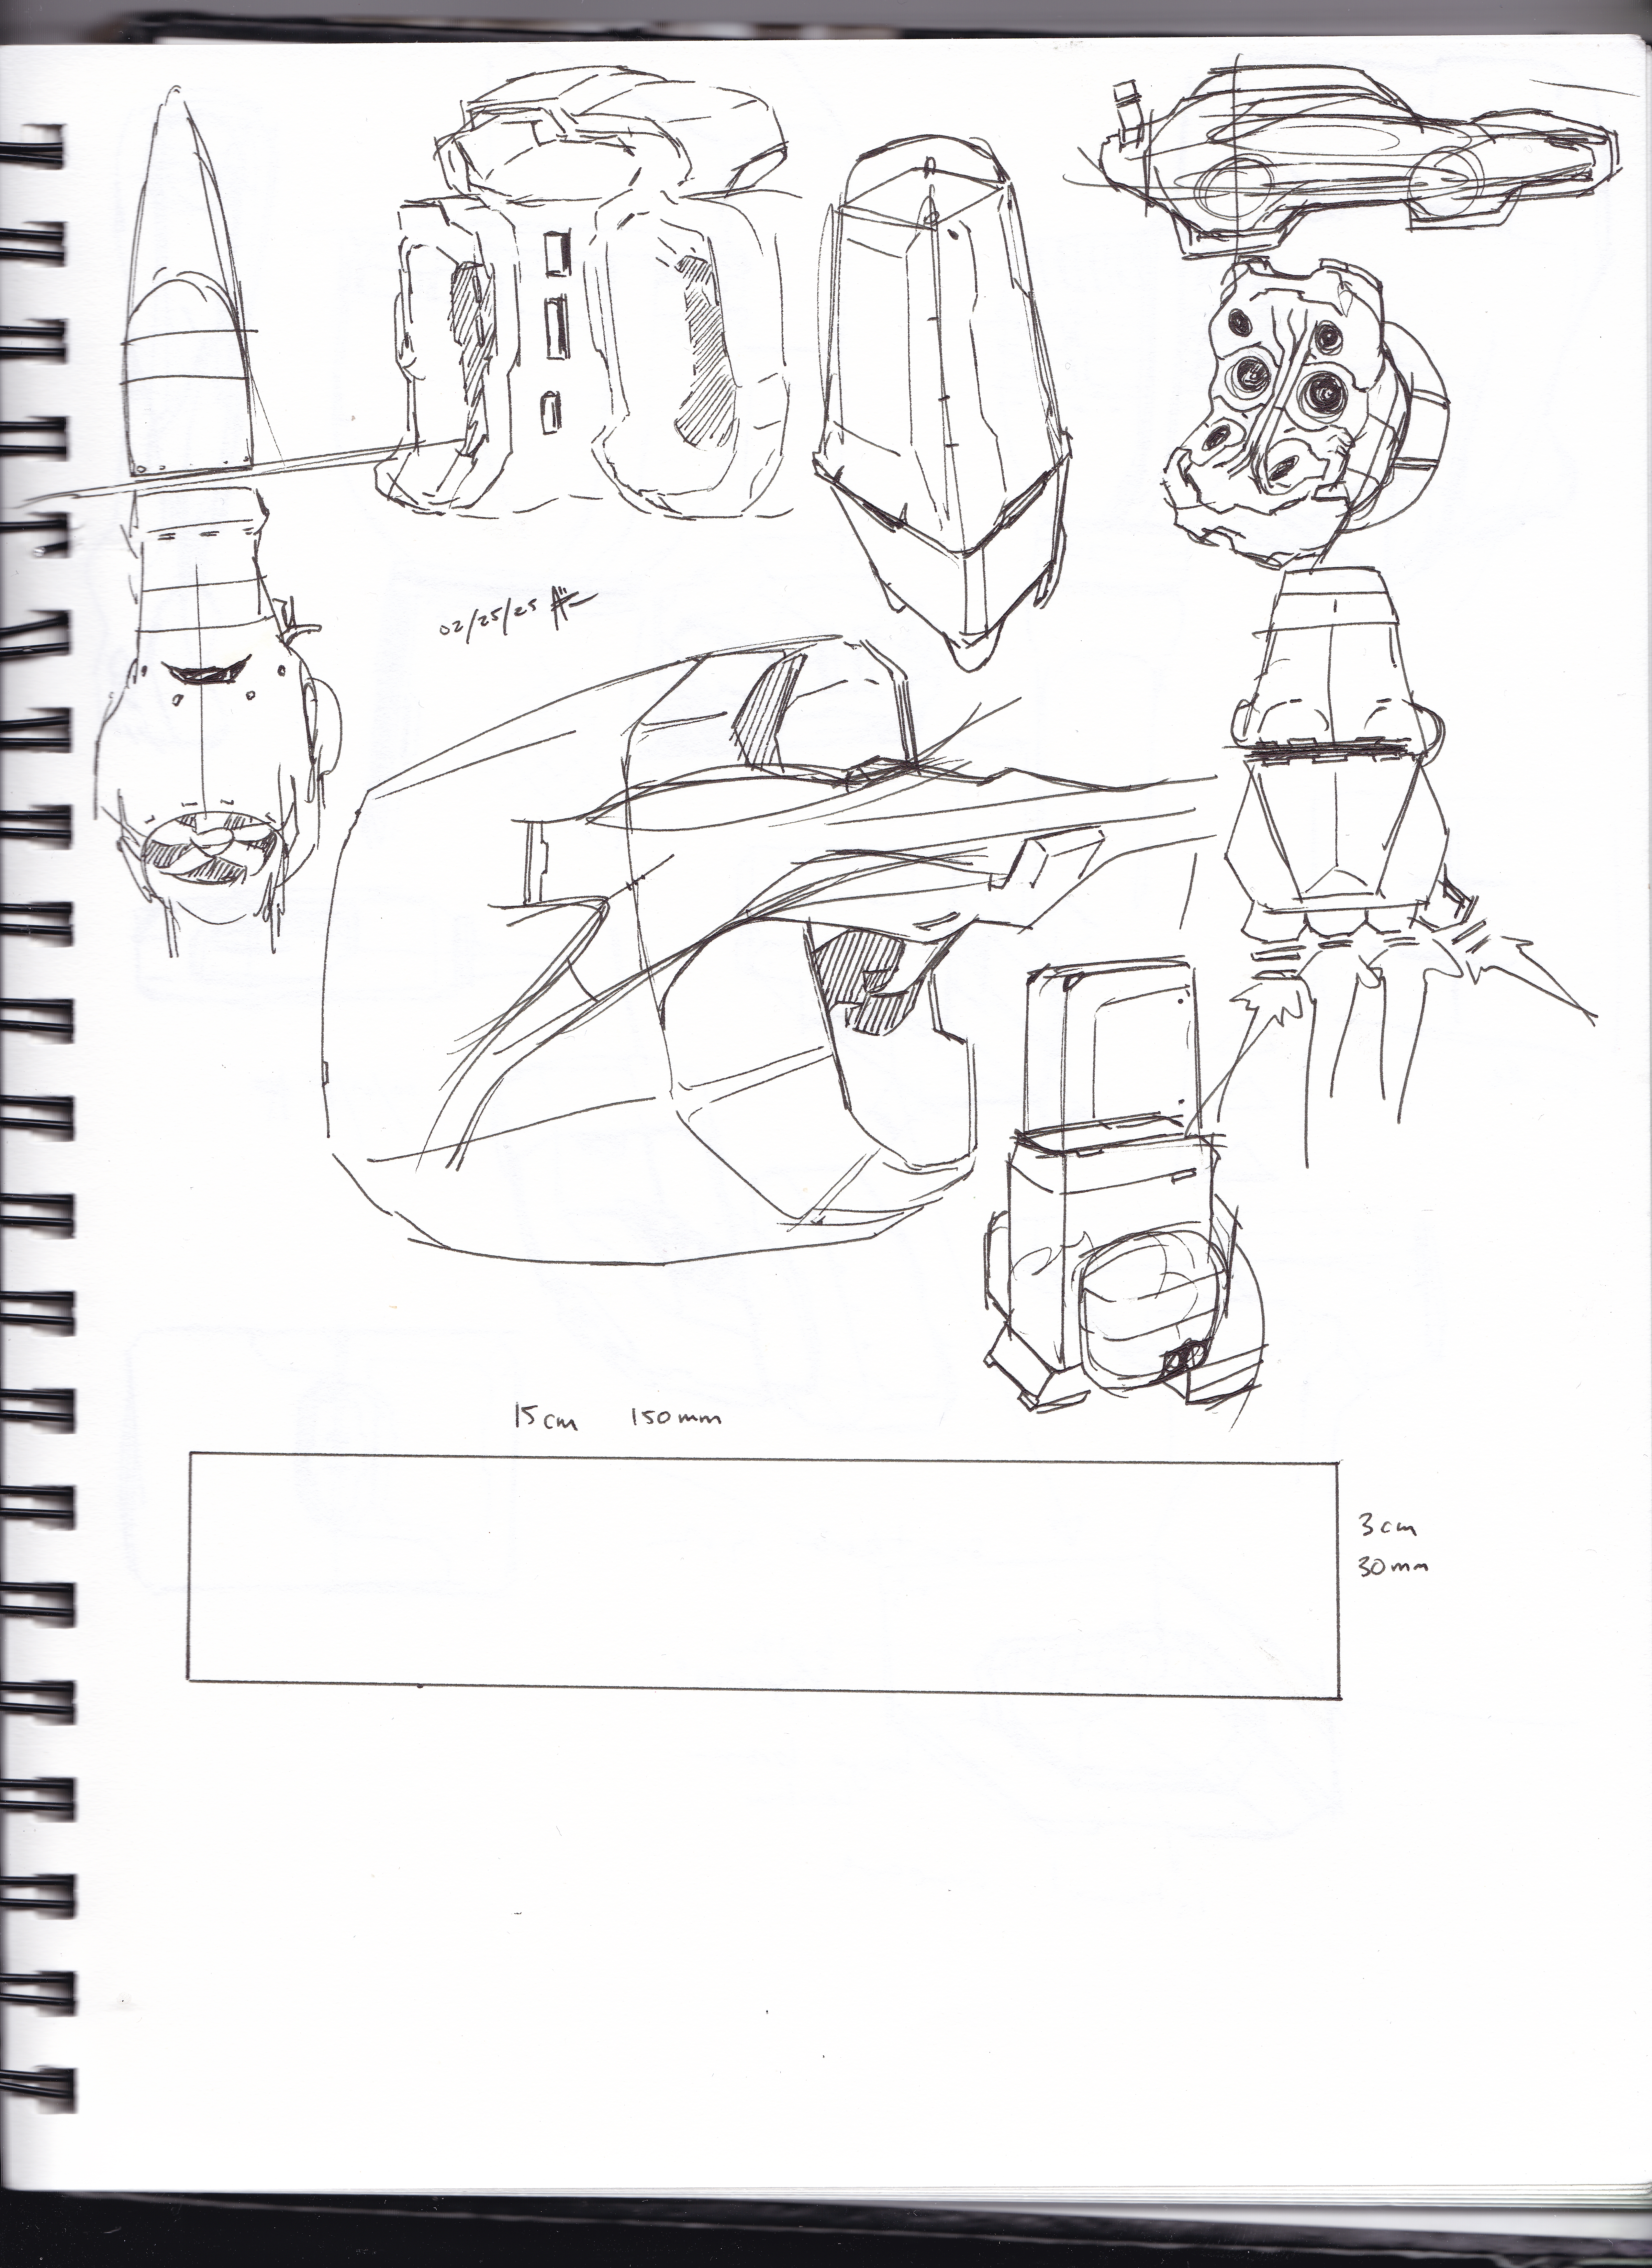
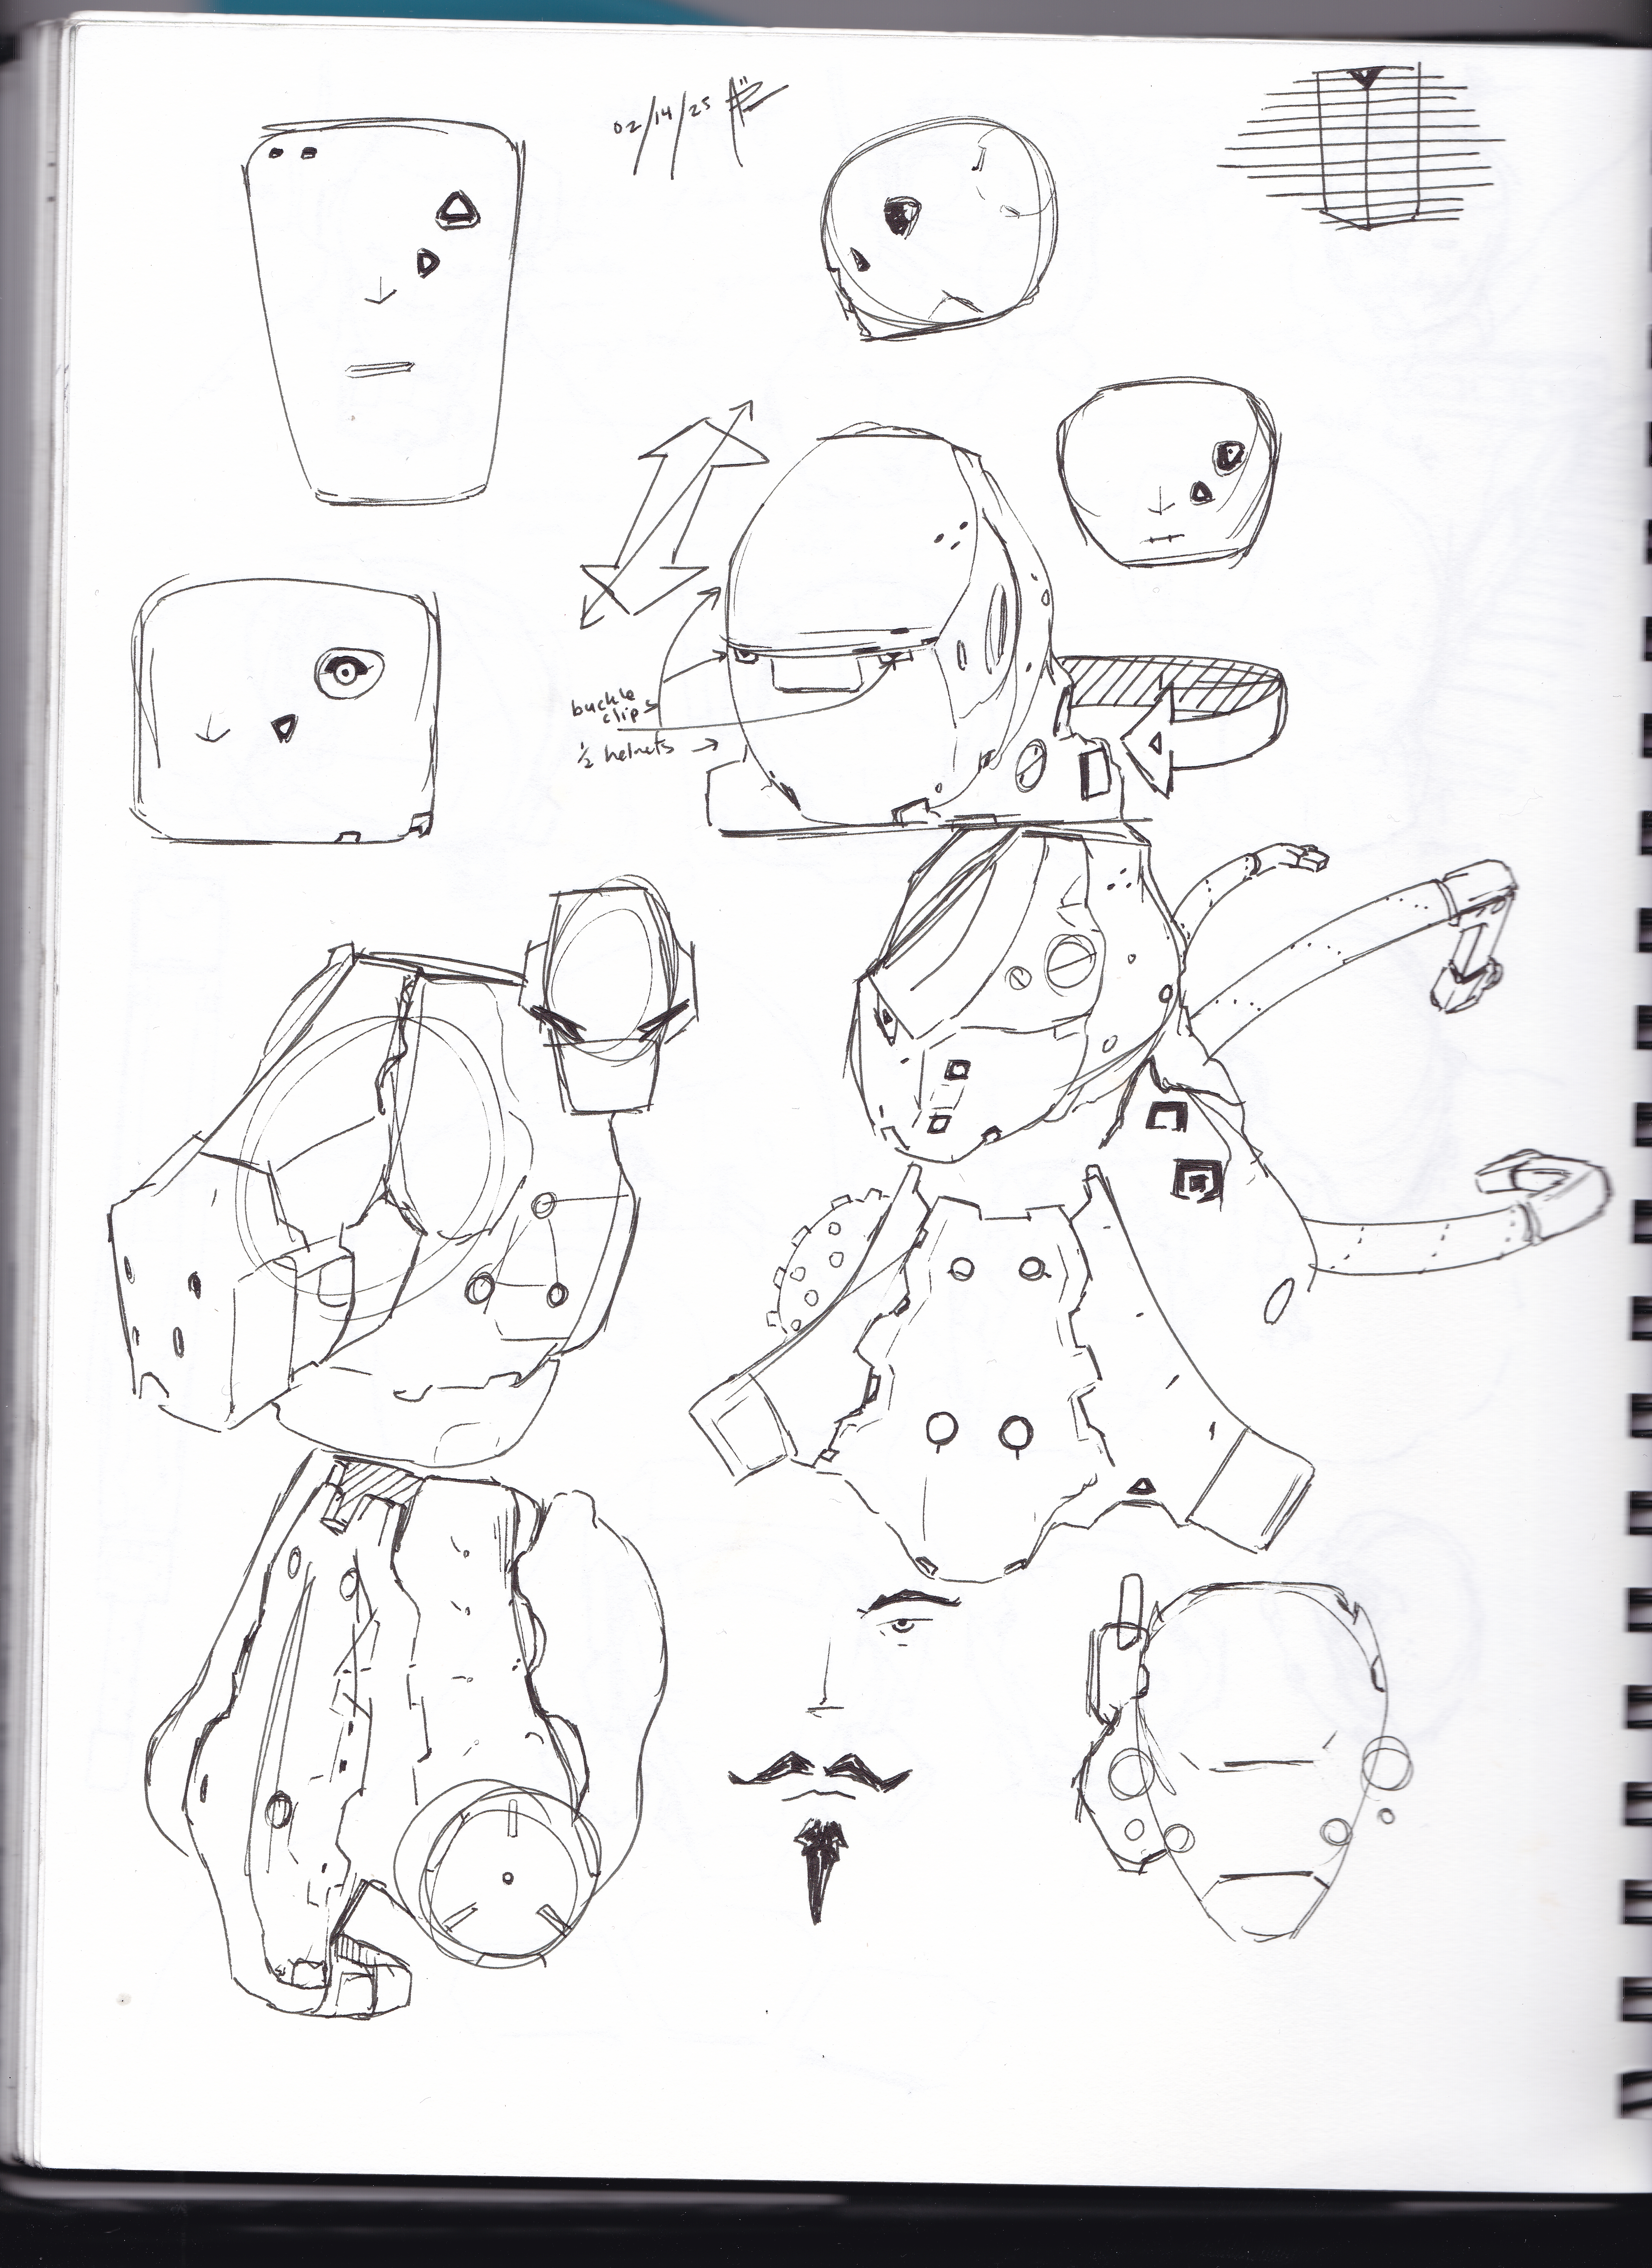
Sketches from my time at the coffee shop this week:
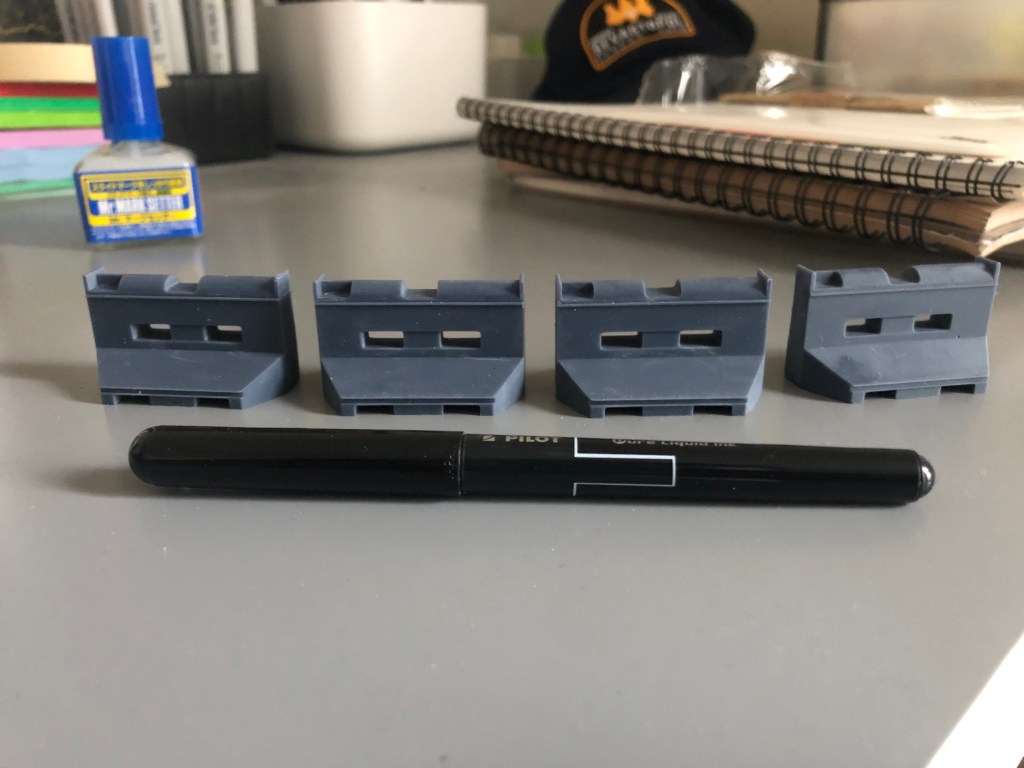
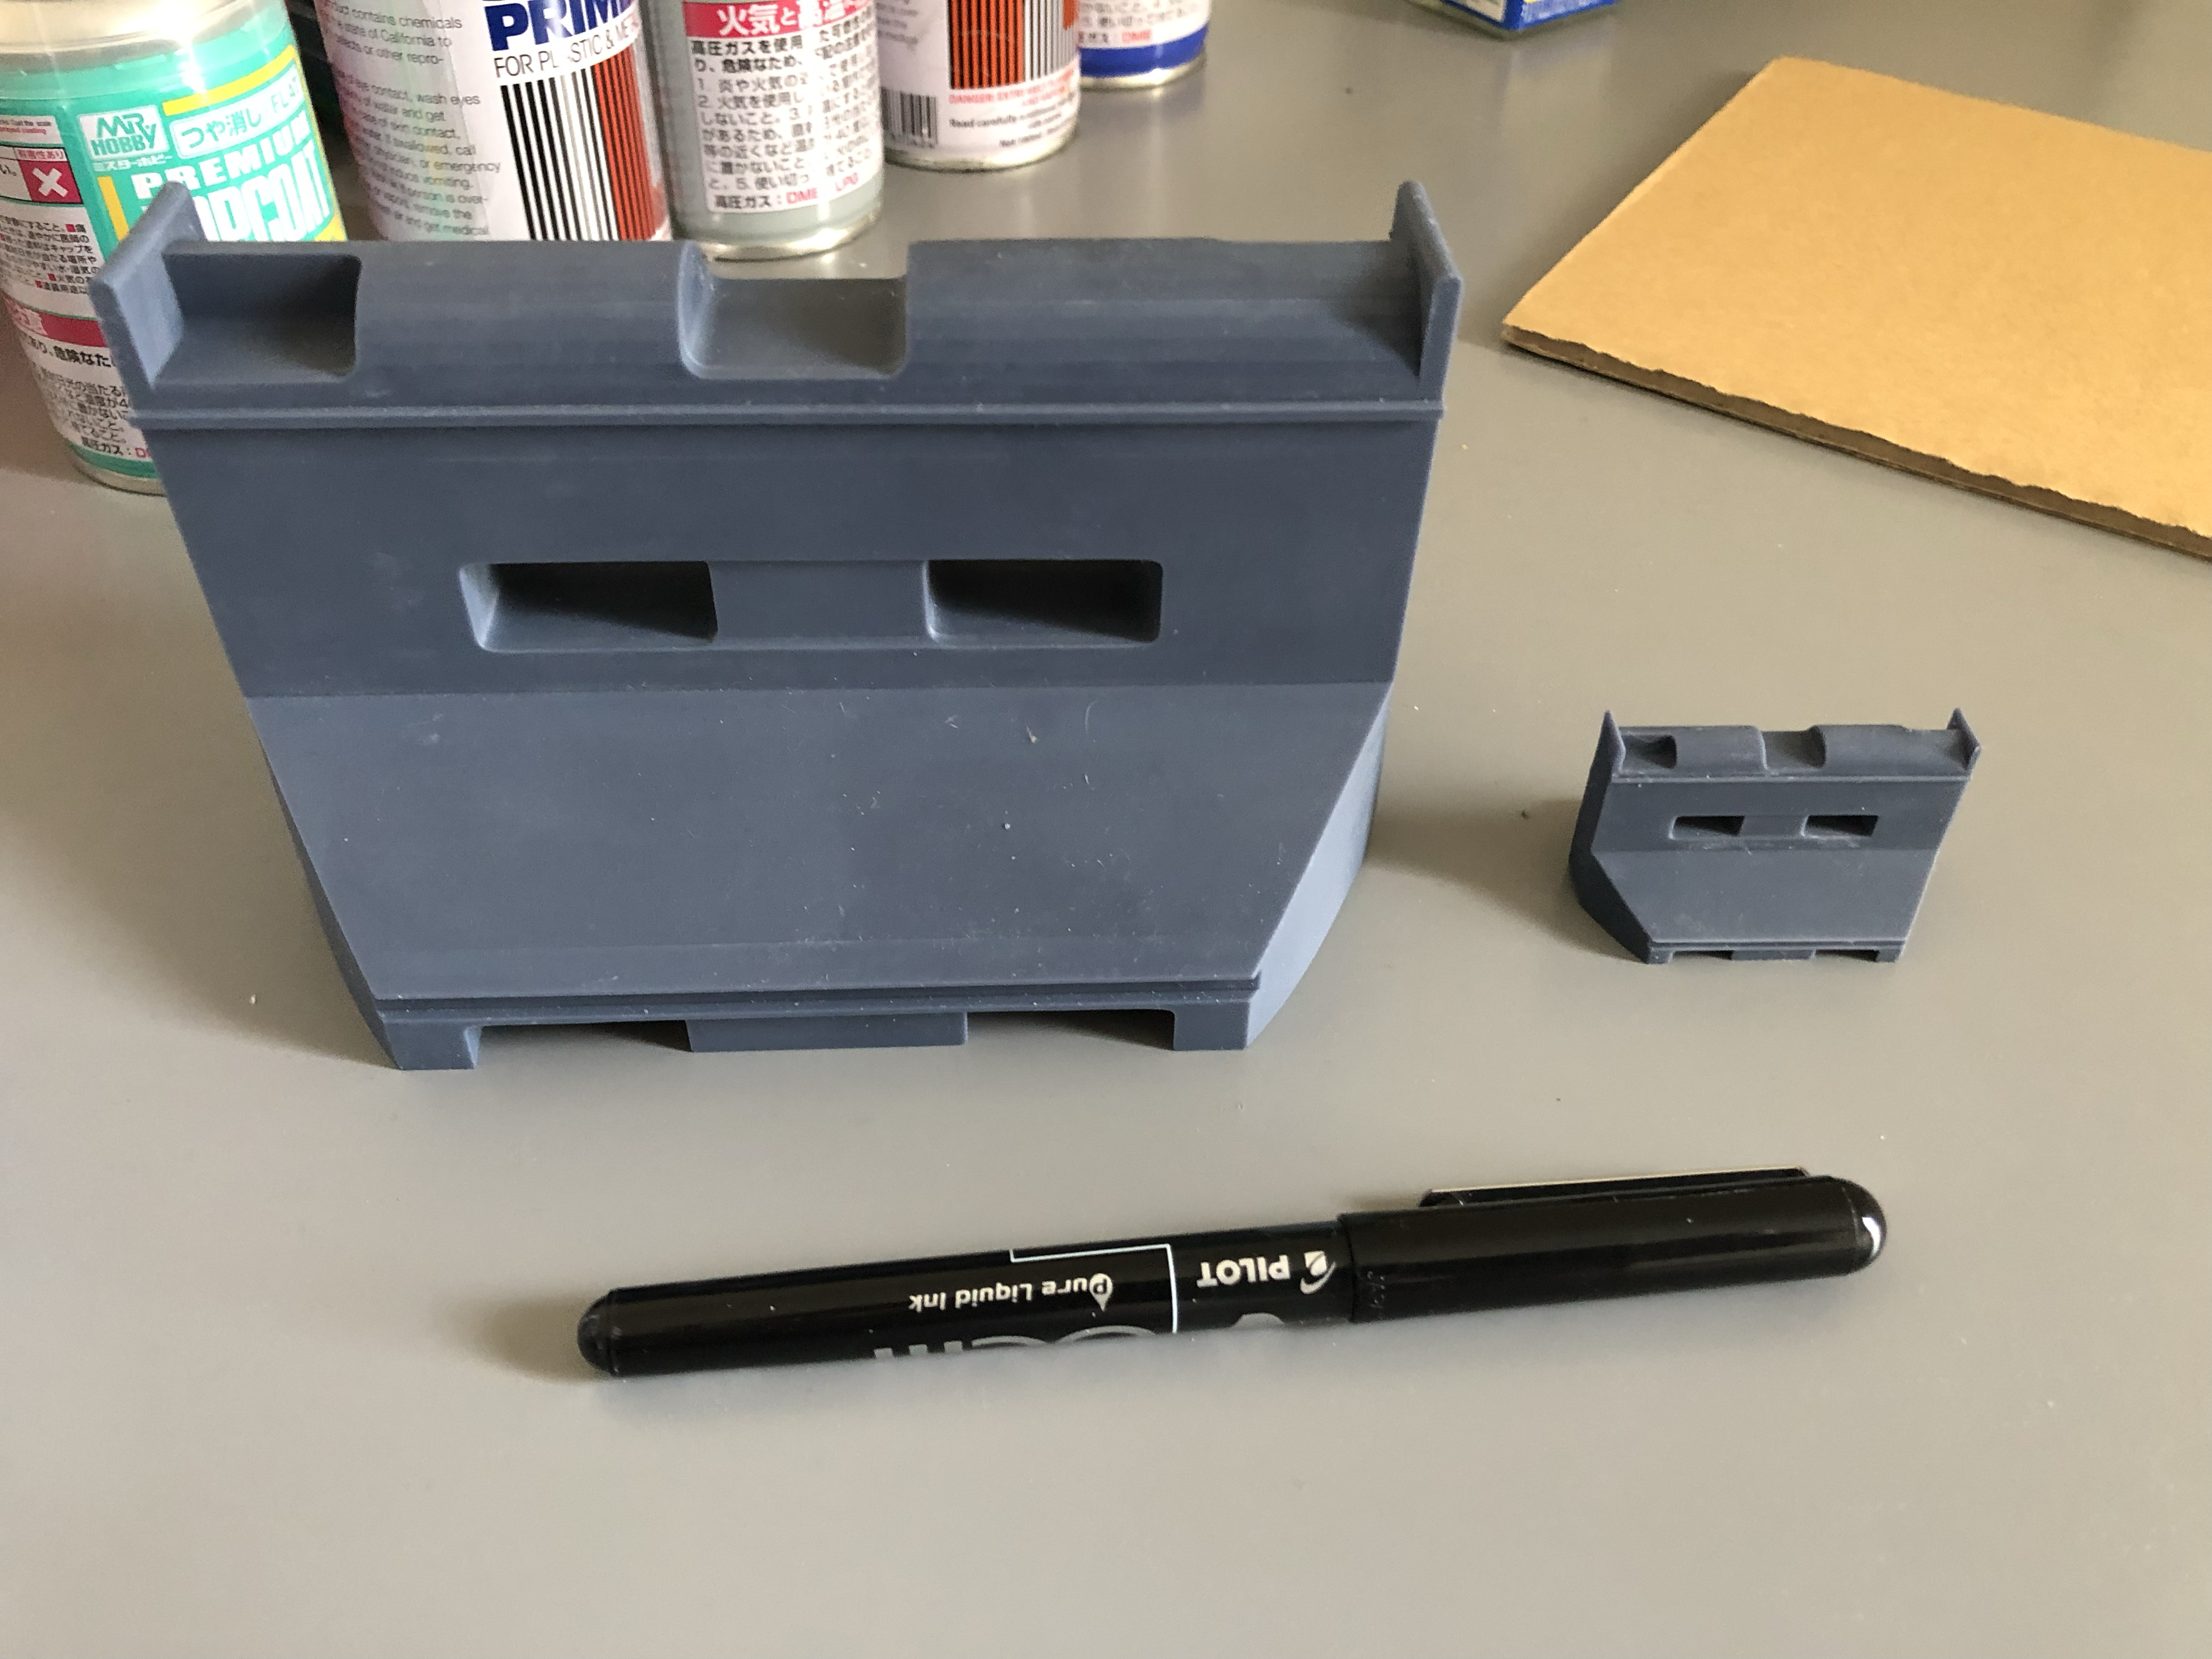
Also after the tiny barricade prints from last week, I got the “Jumbo” version!
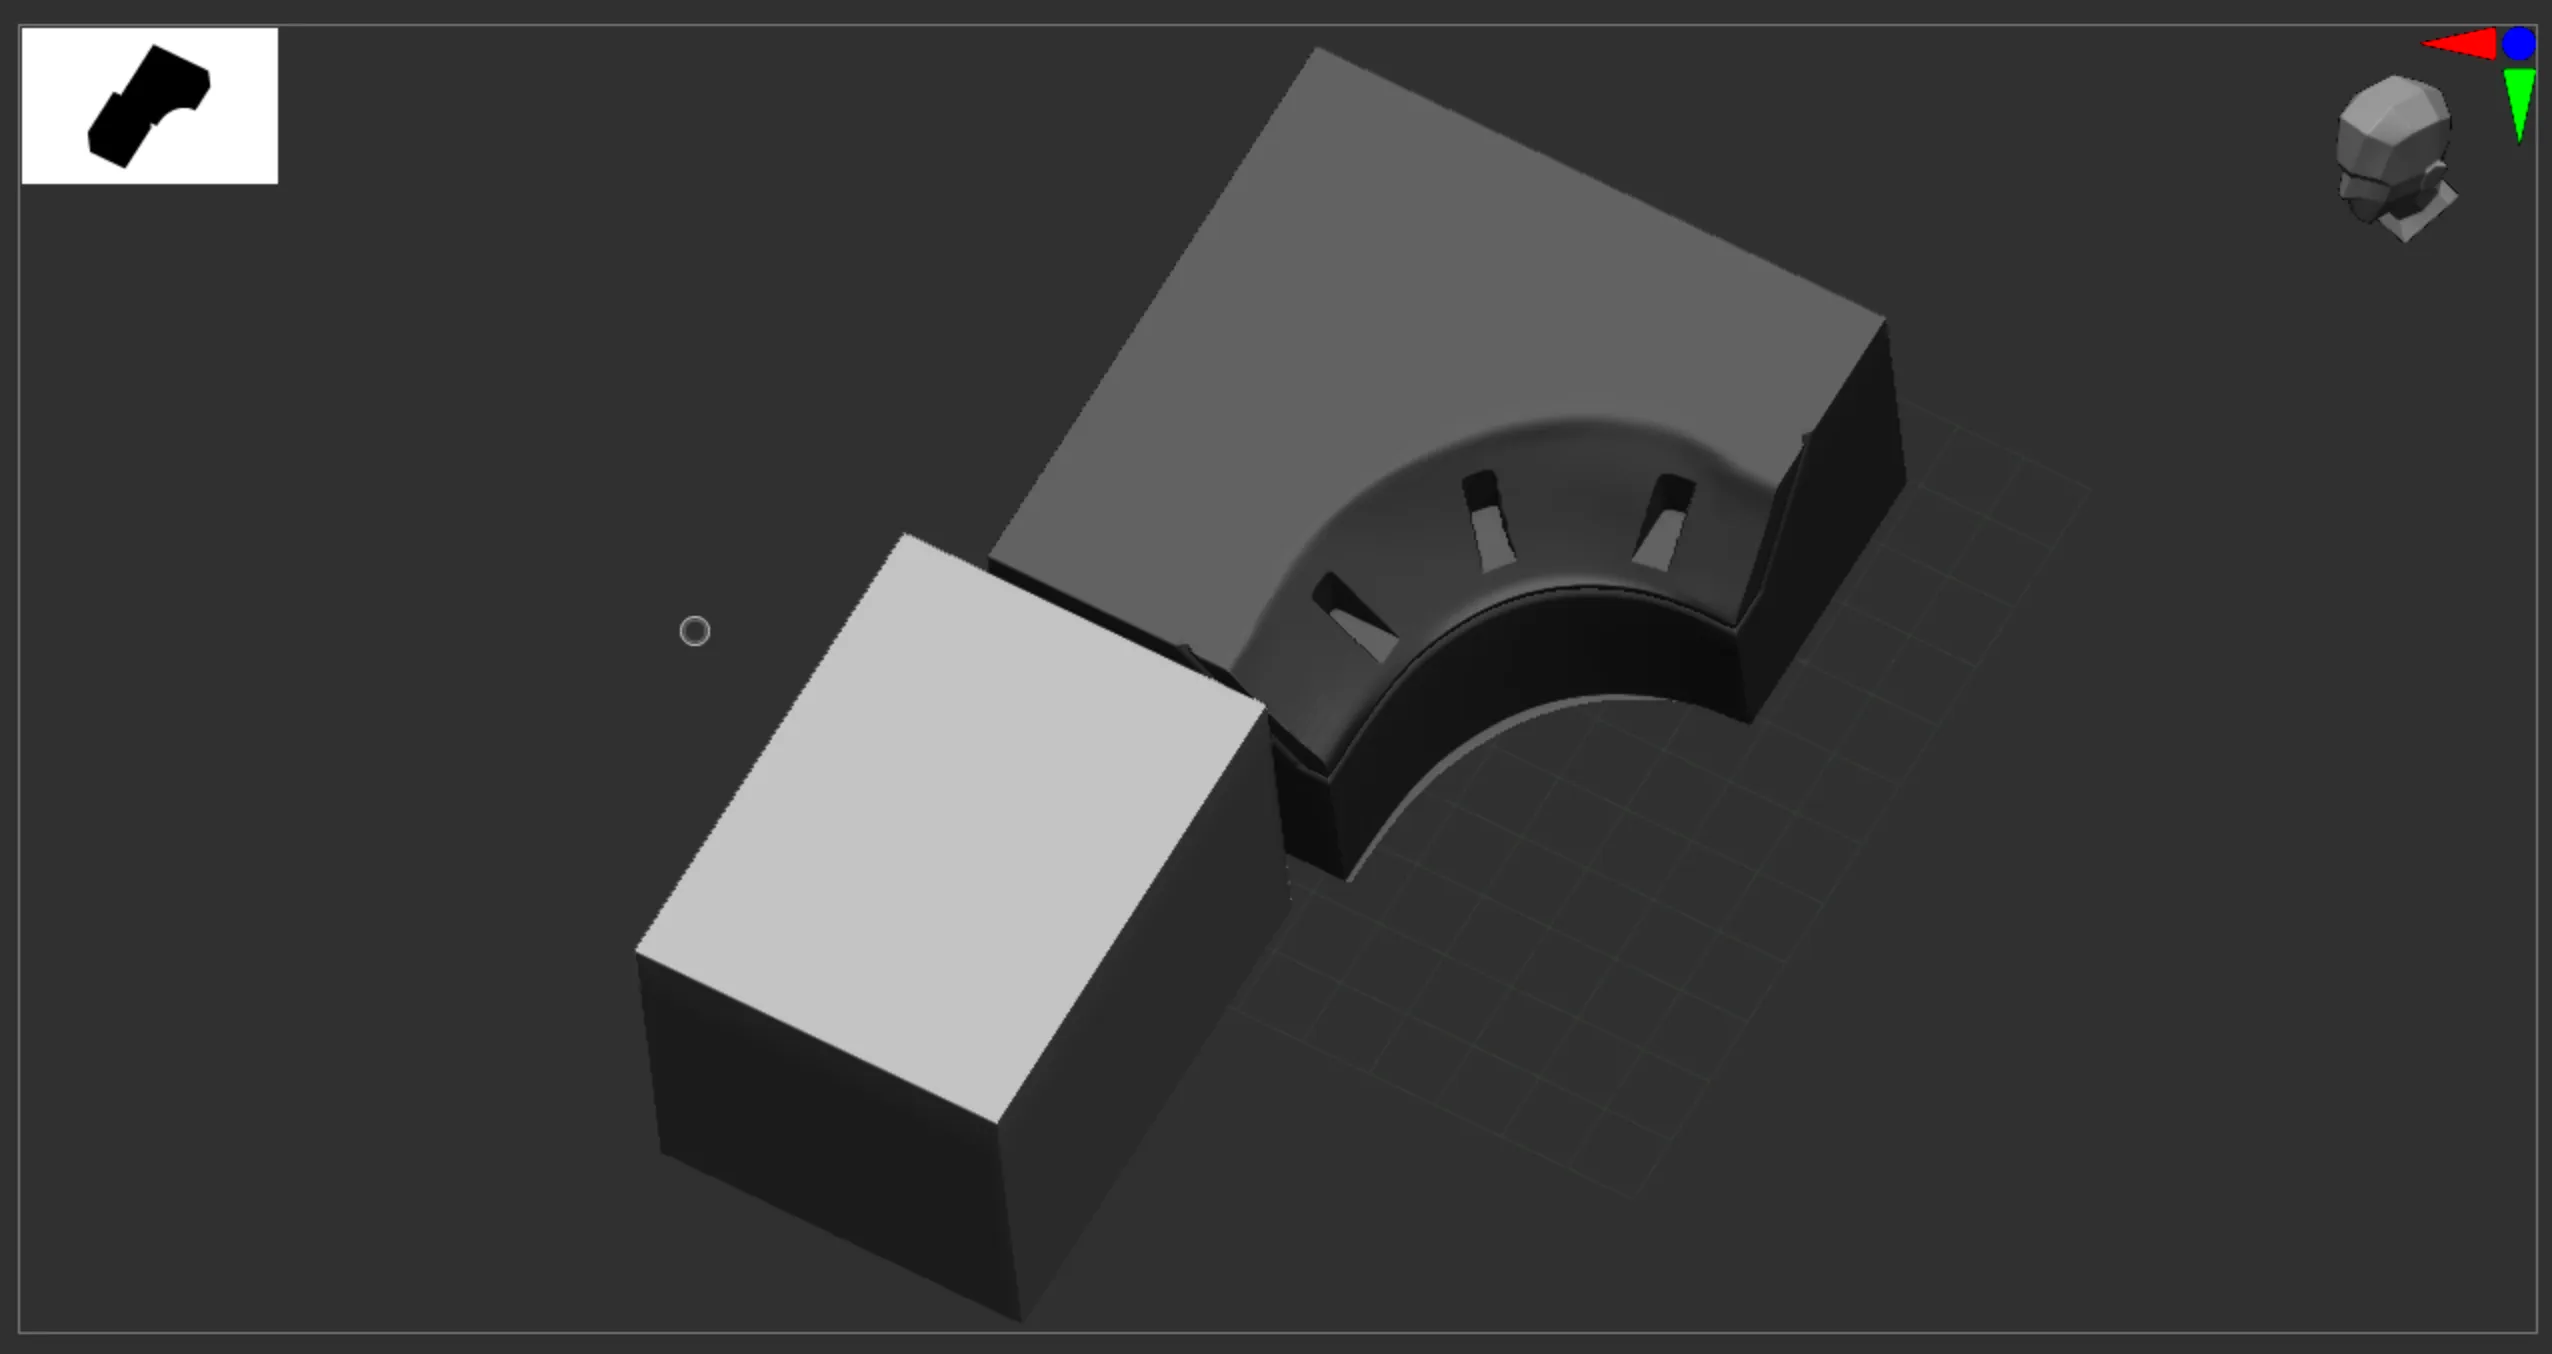
This week not much work on the Lab nor UE5… But this week I focused mainly on ZBrush hard-surface modeling working on practice exercises
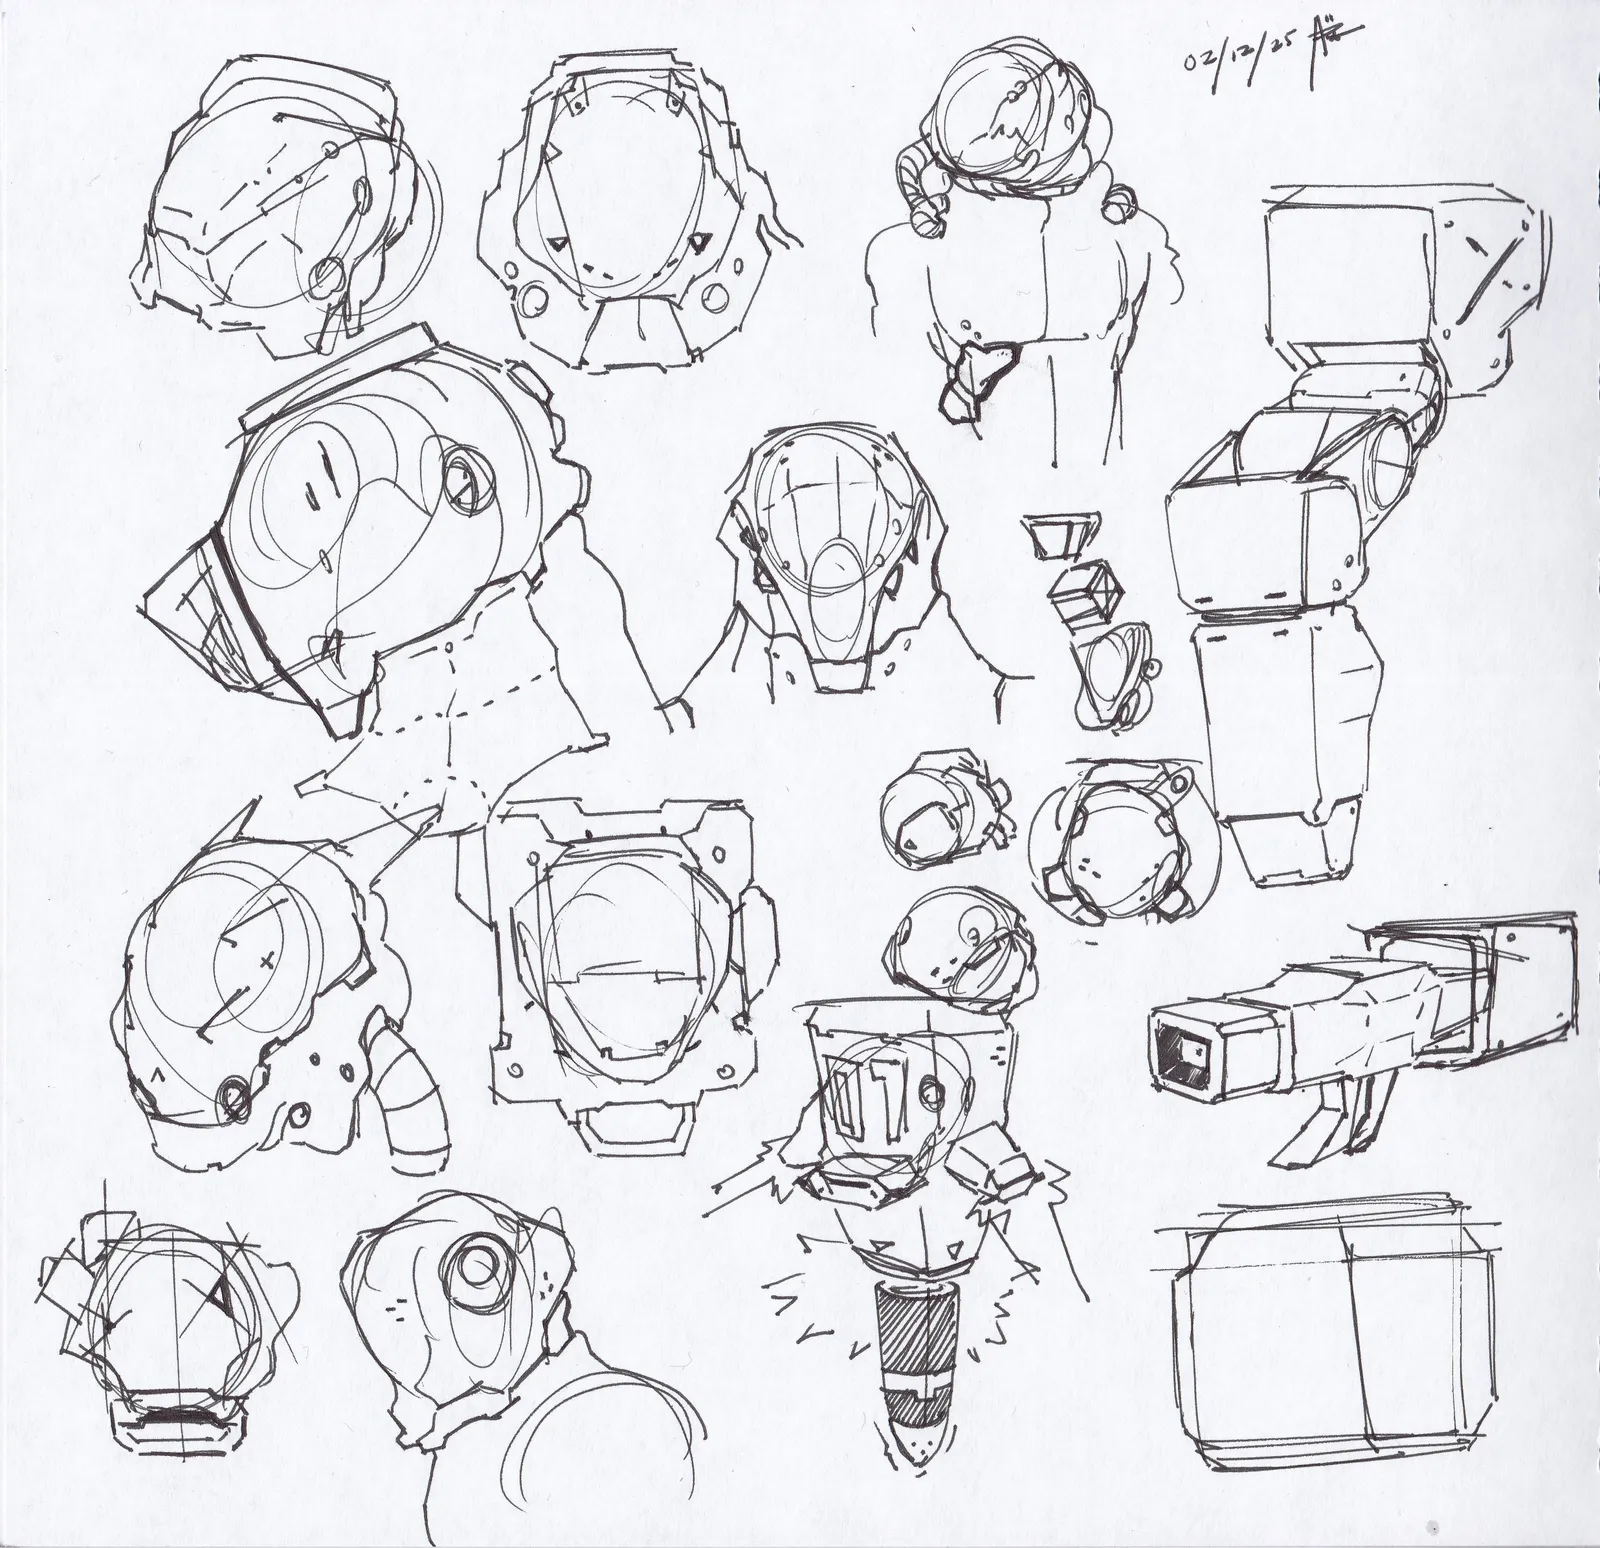
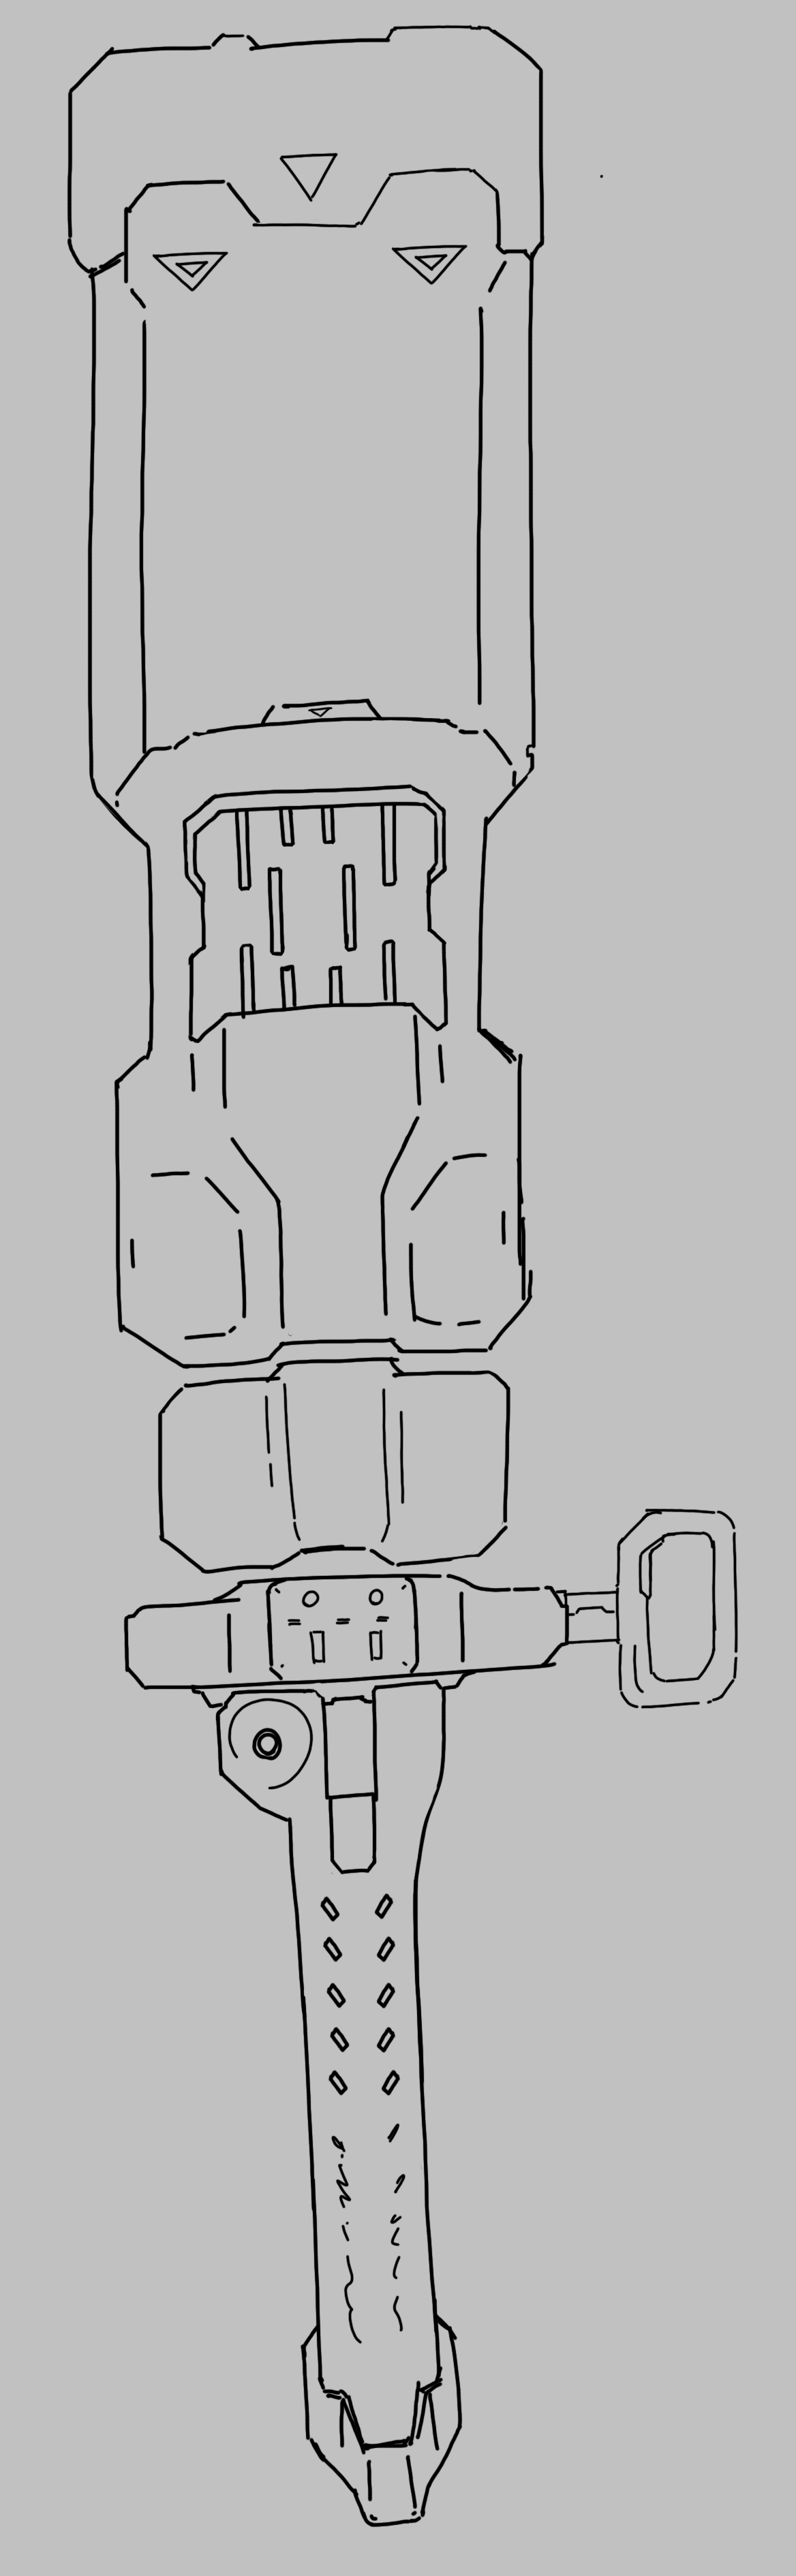
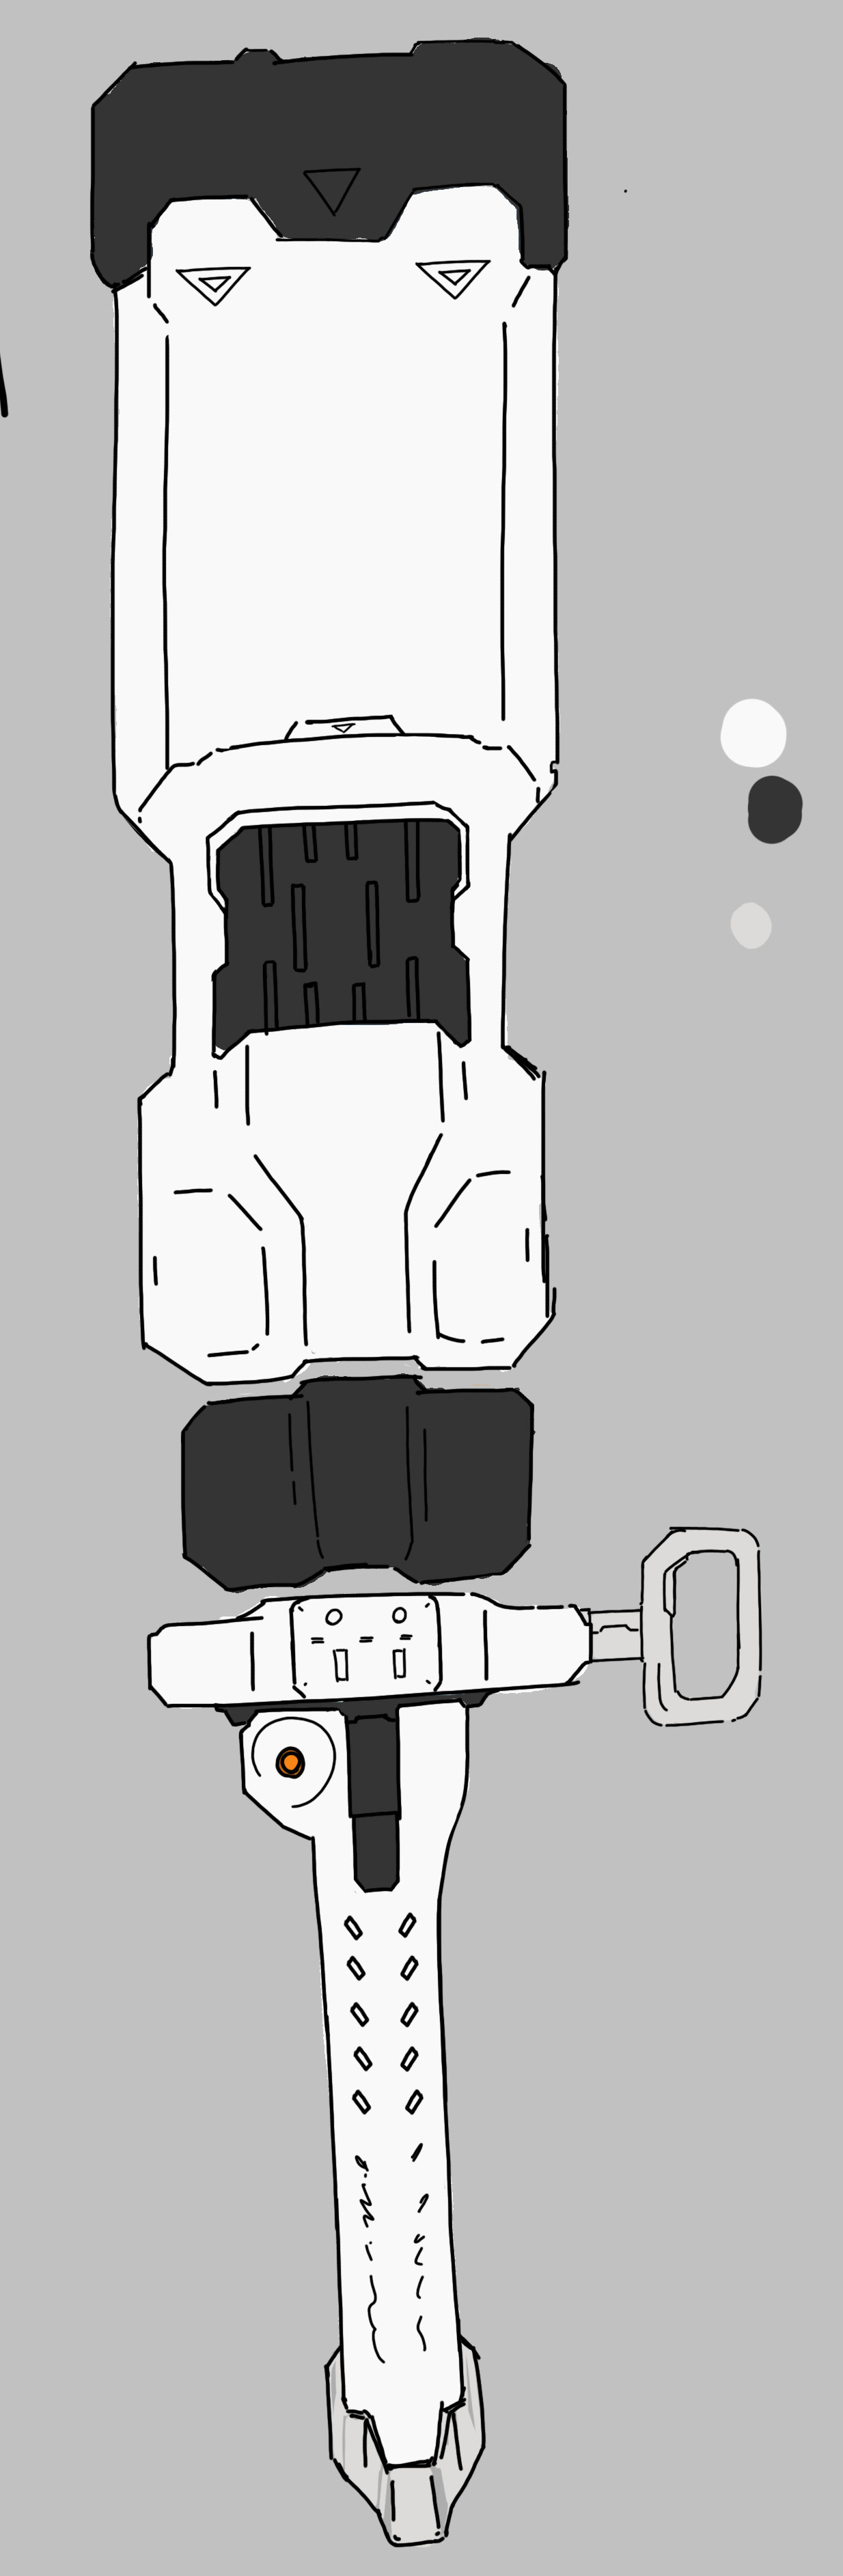
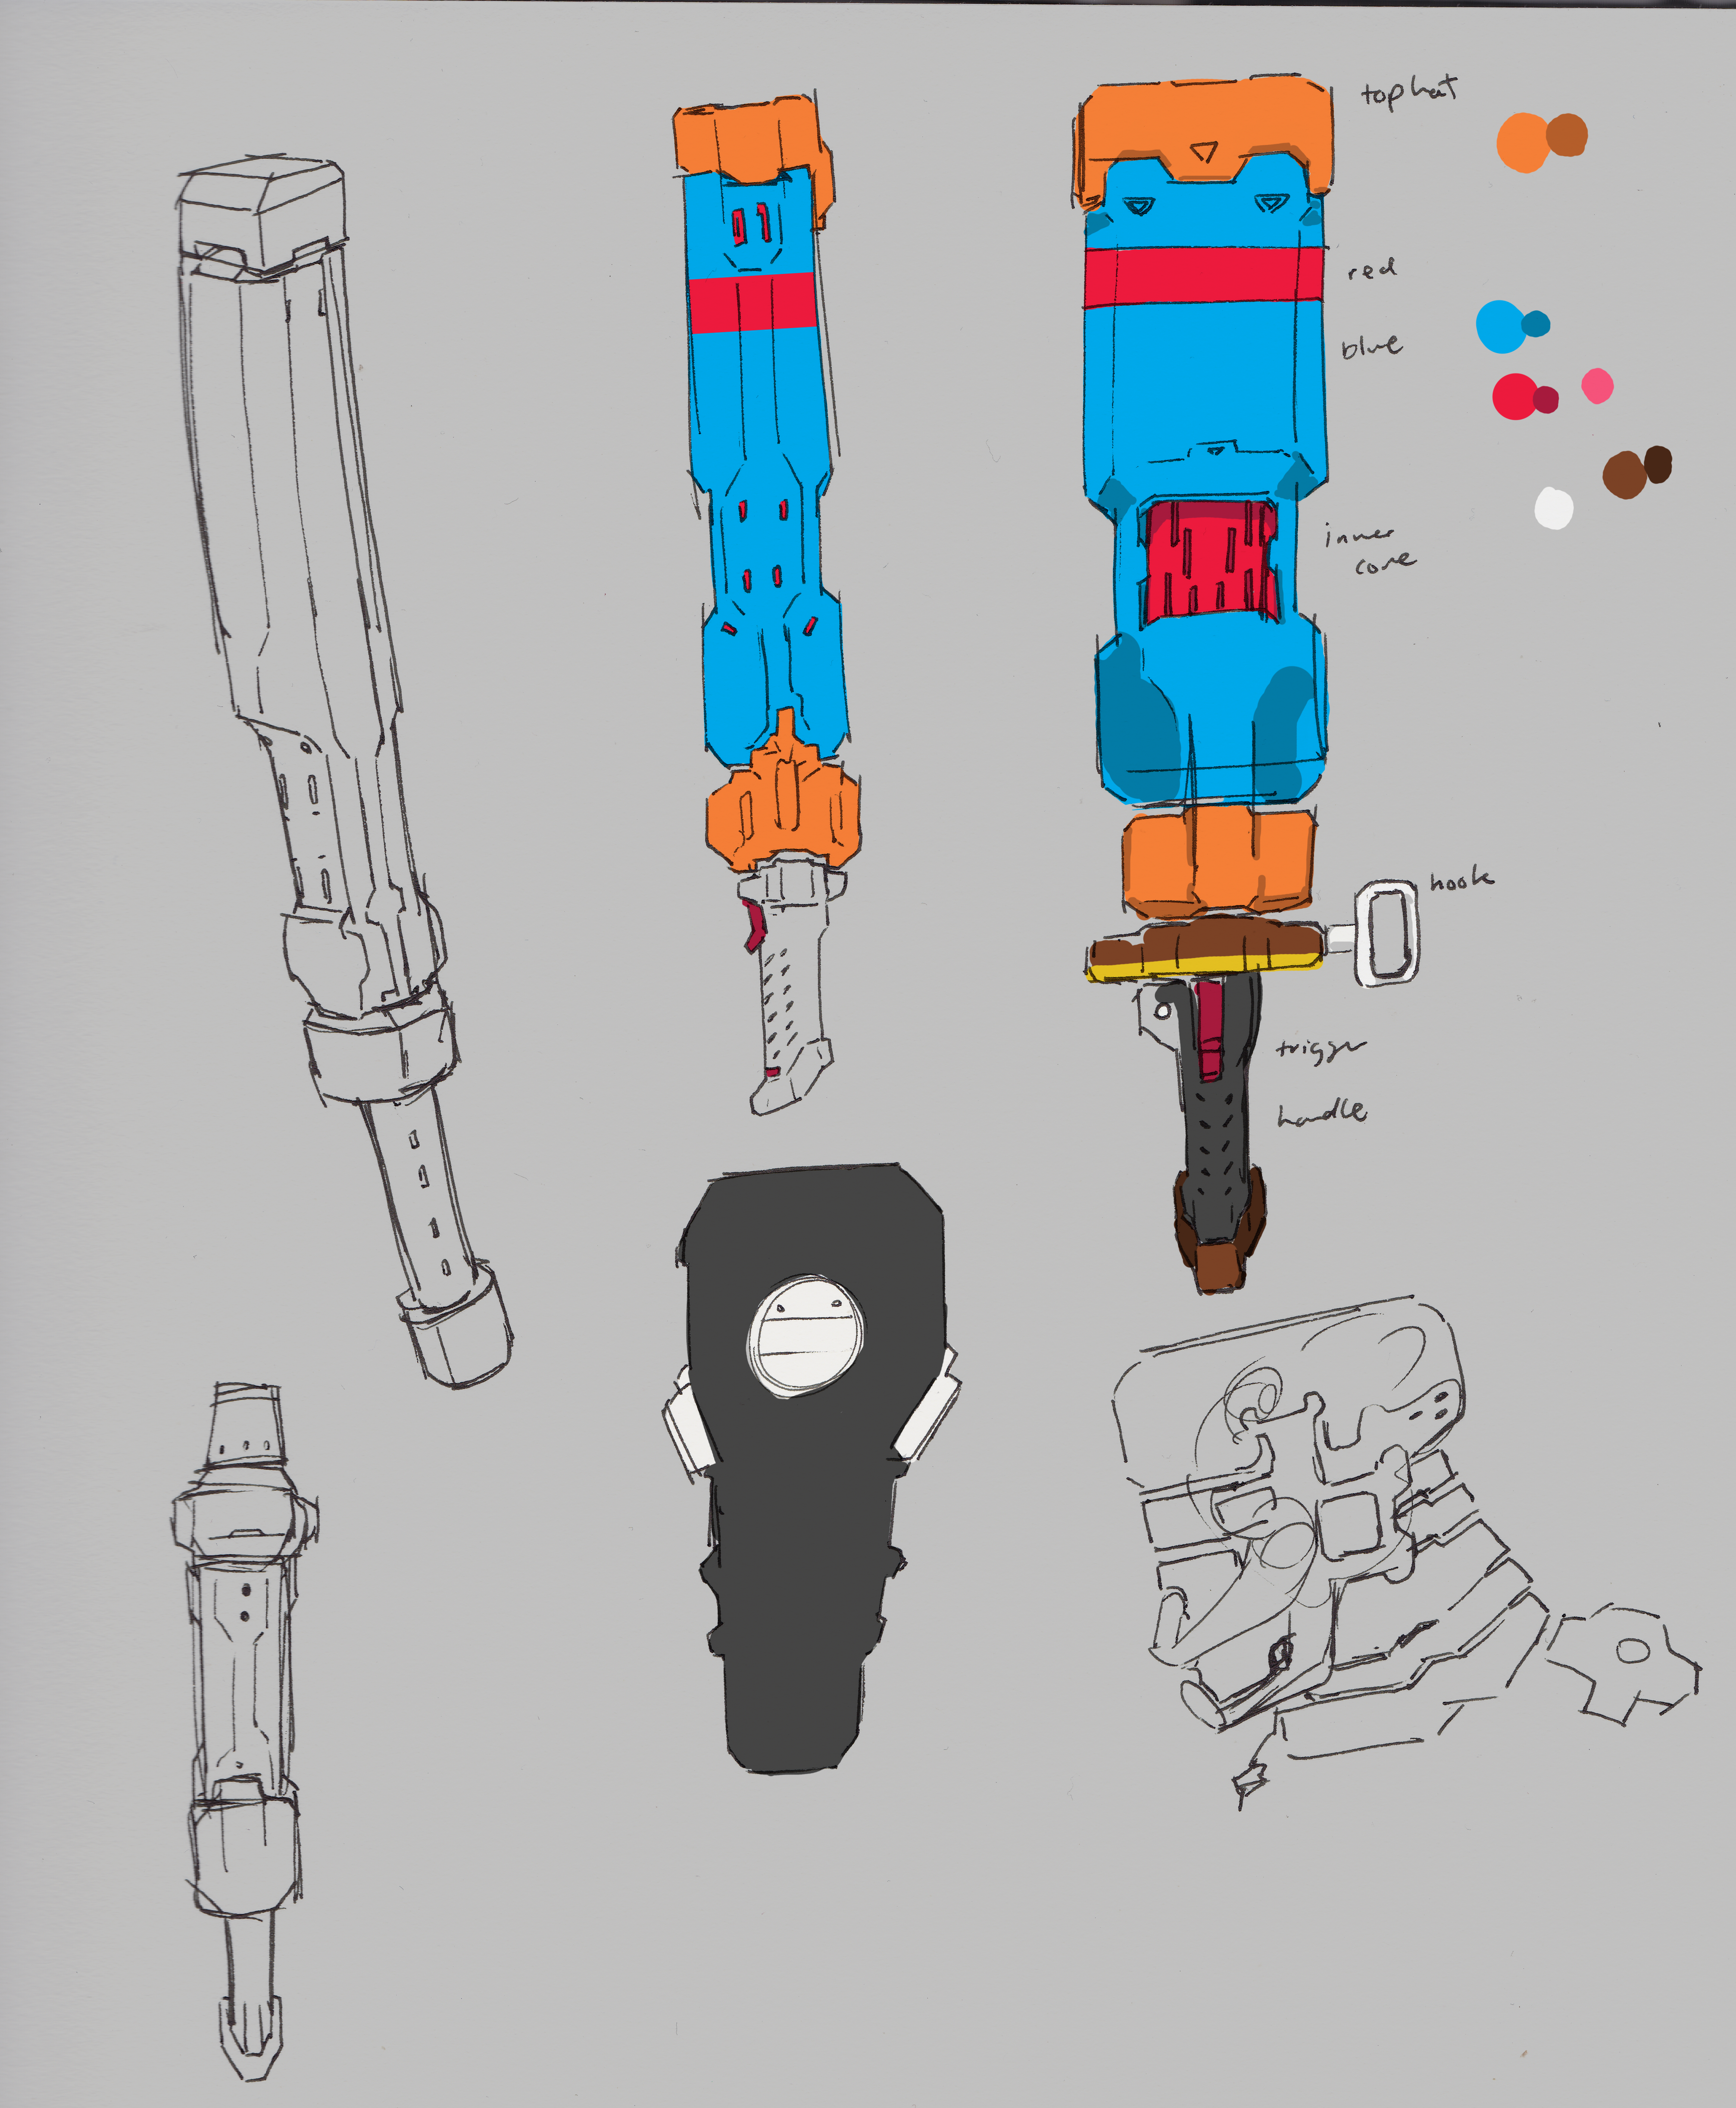
These were my week’s sketches I made while I went to the coffee shop
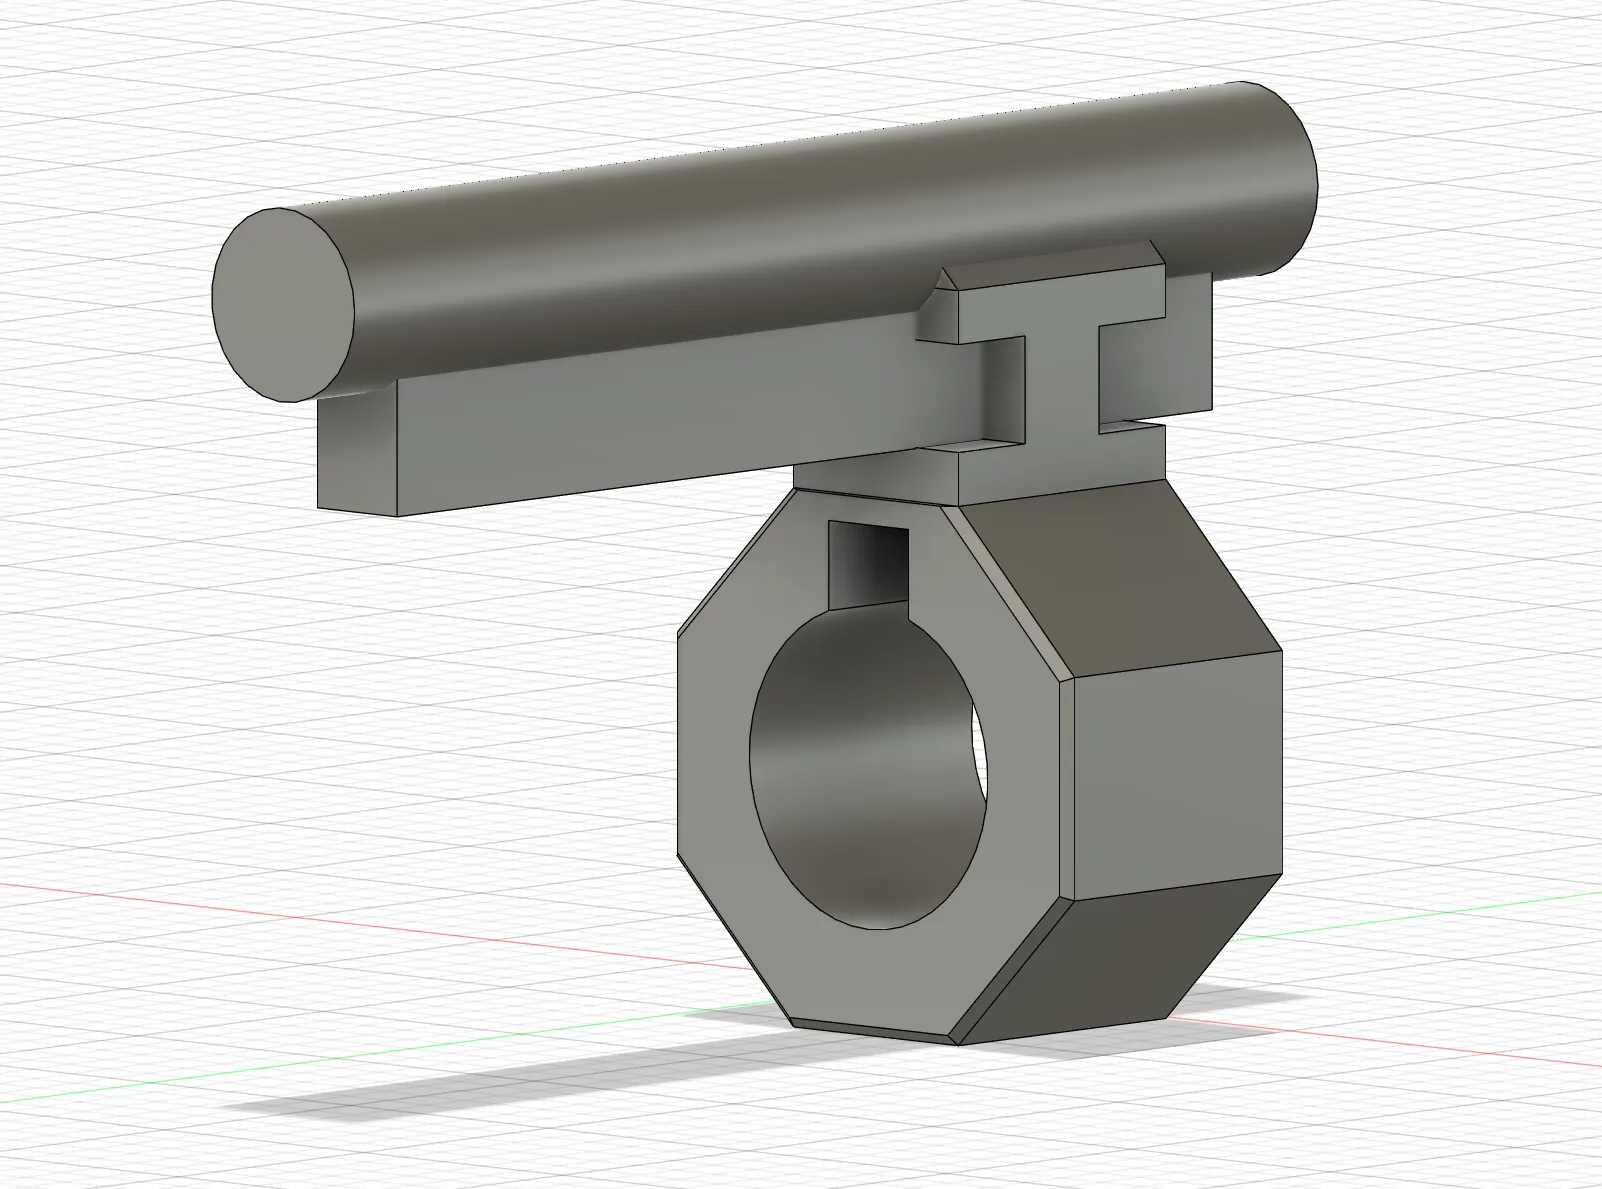
From the sketches I decided to model the baton looking tool
Going to work on modeling this later this week. see how it goes
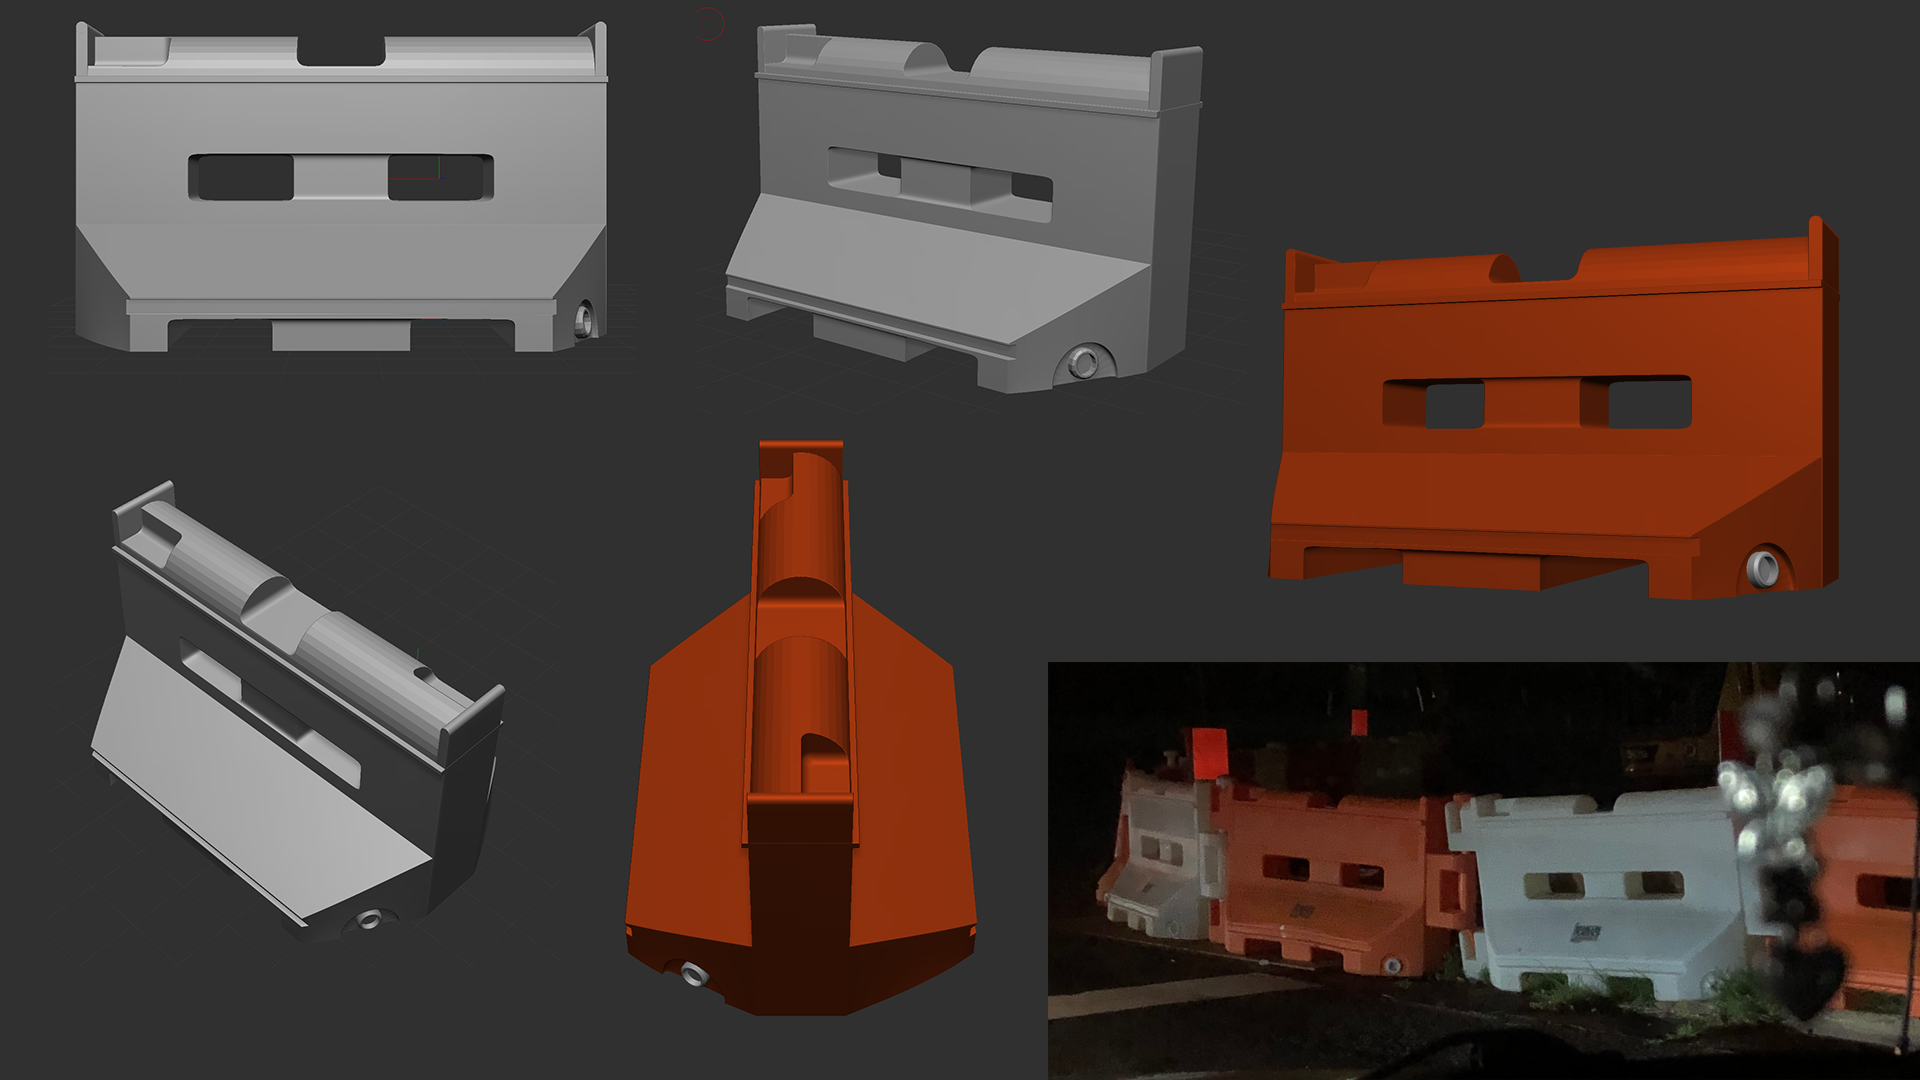
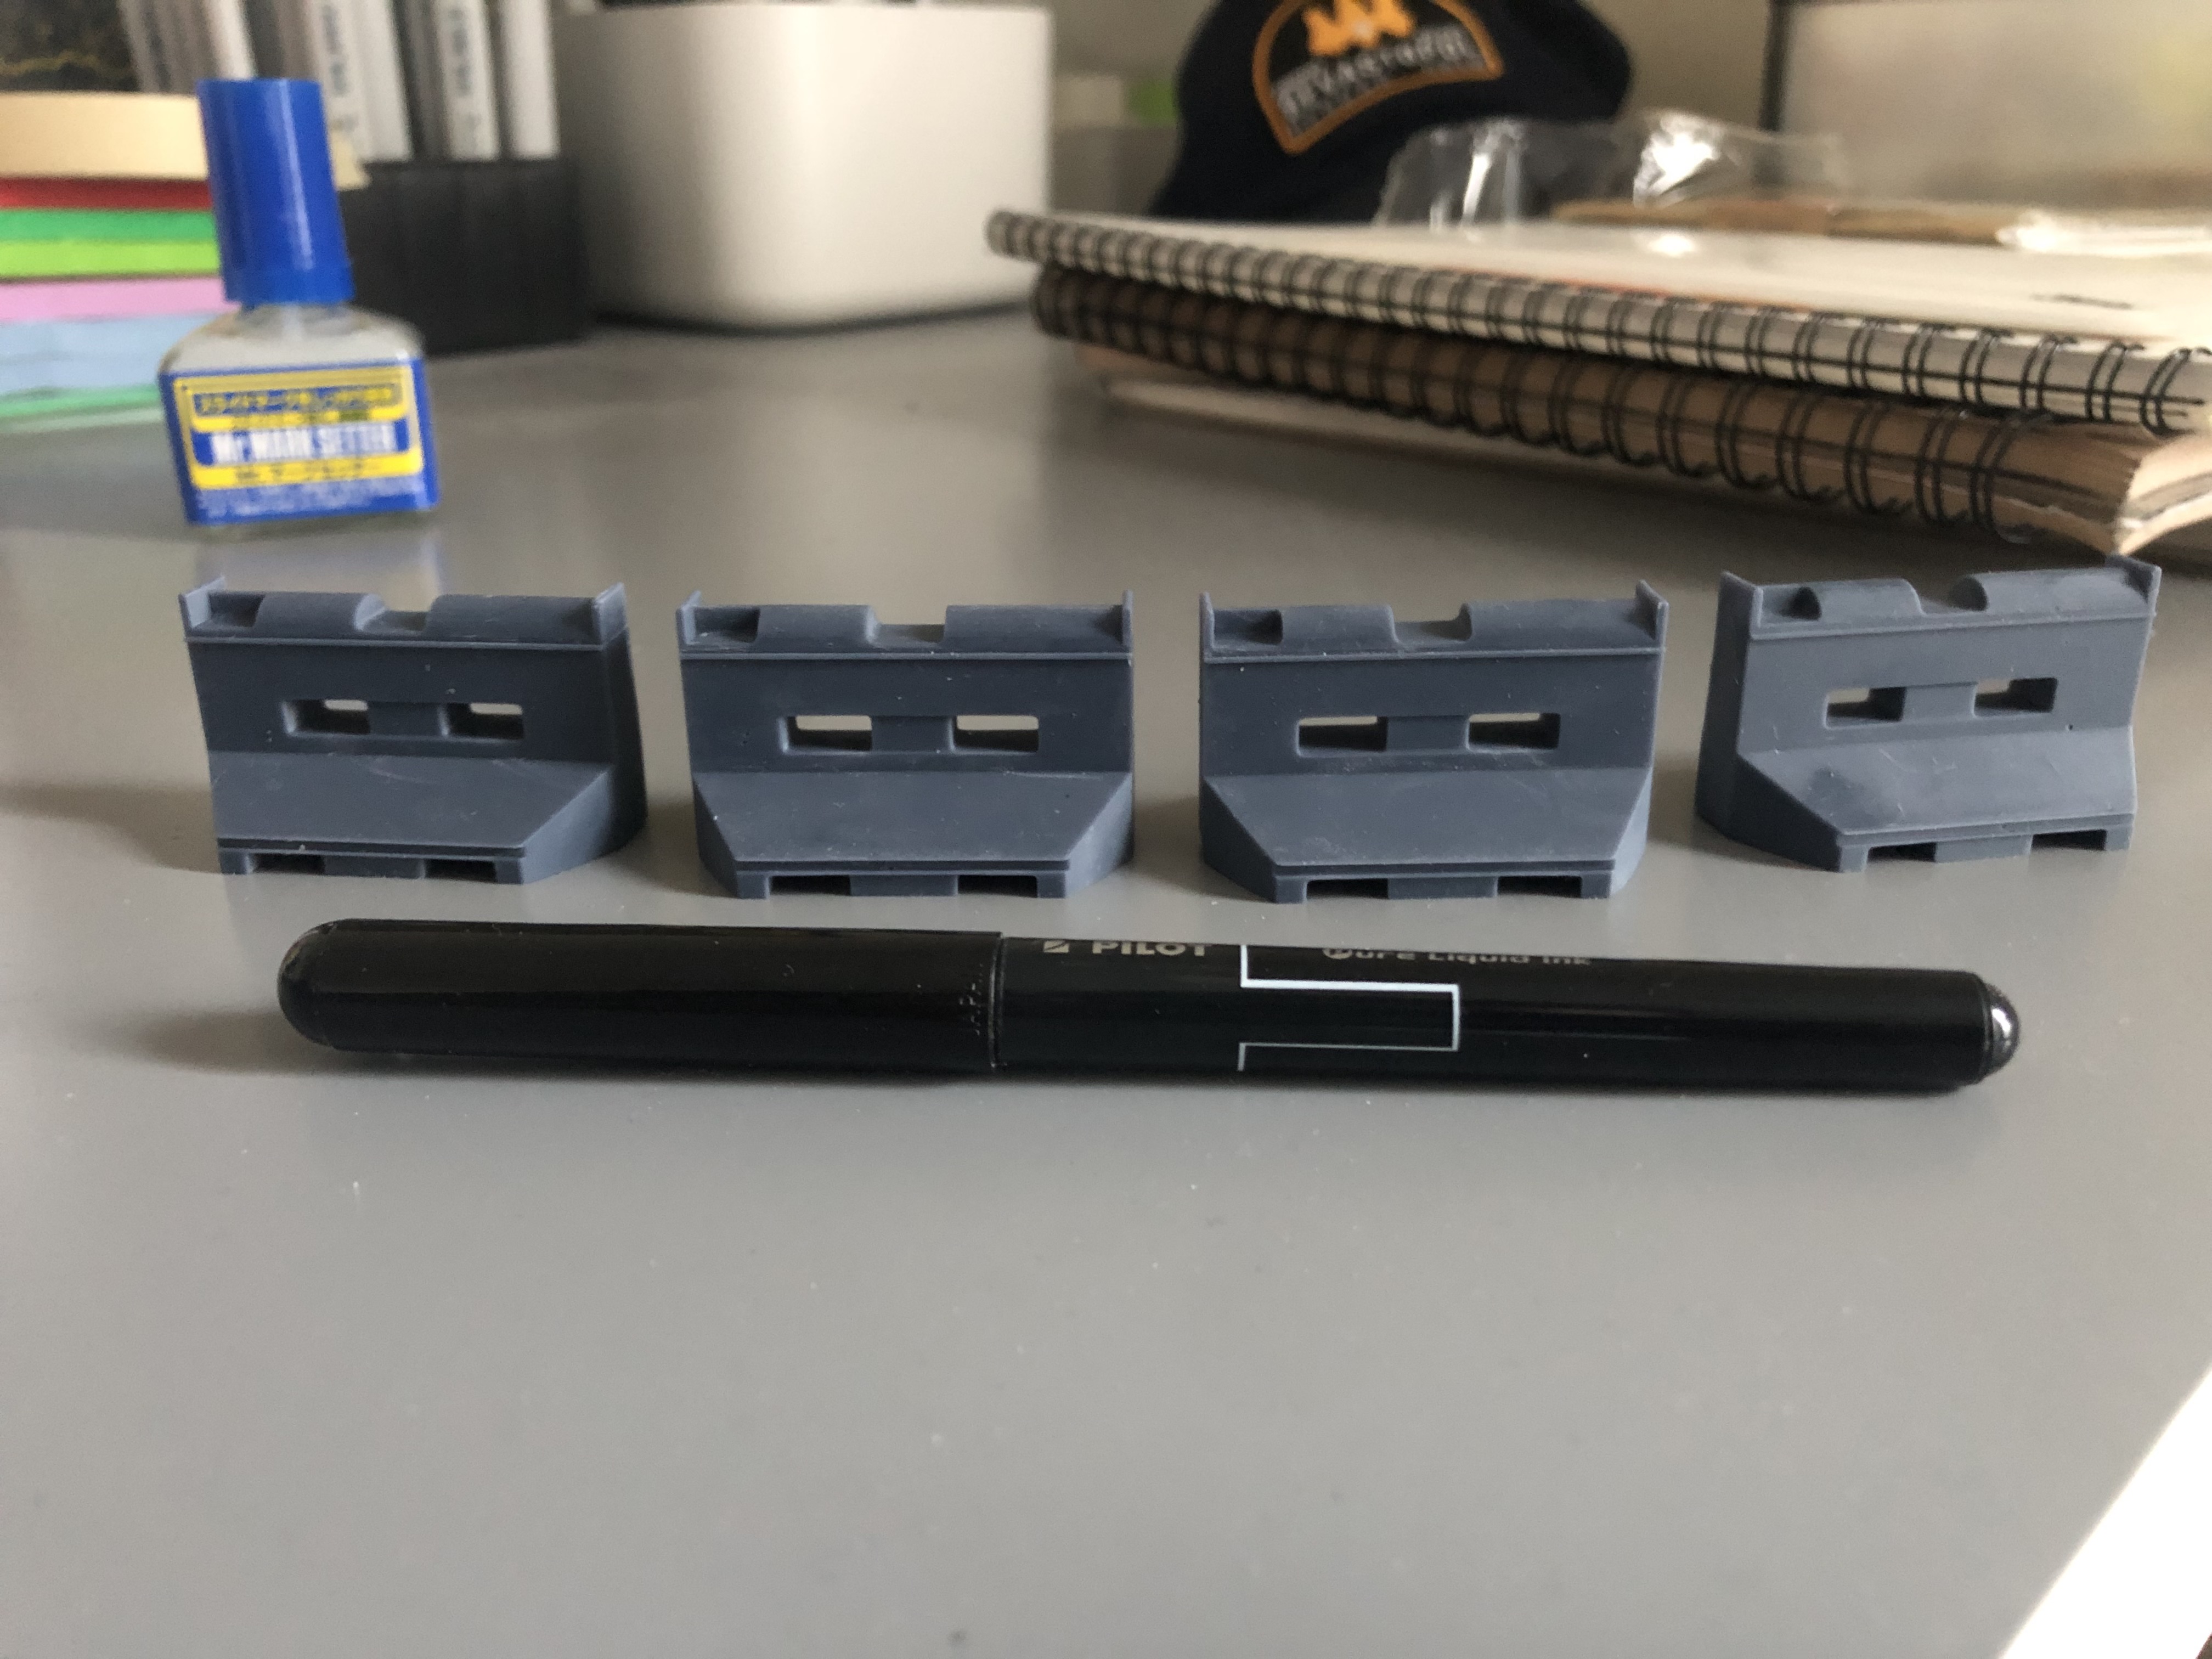
For this week though, I 3d printed a barricade model I made based on the one I found outside during my drive. (Albeit it’s missing the side hooks, if the model looks good, can work on adding those to make a chain of these…) Also ordered some sanding pads, paint and decals which will come later this week fingers crossed to start giving it a finished look
They came out tinier than I expected in my first run…….
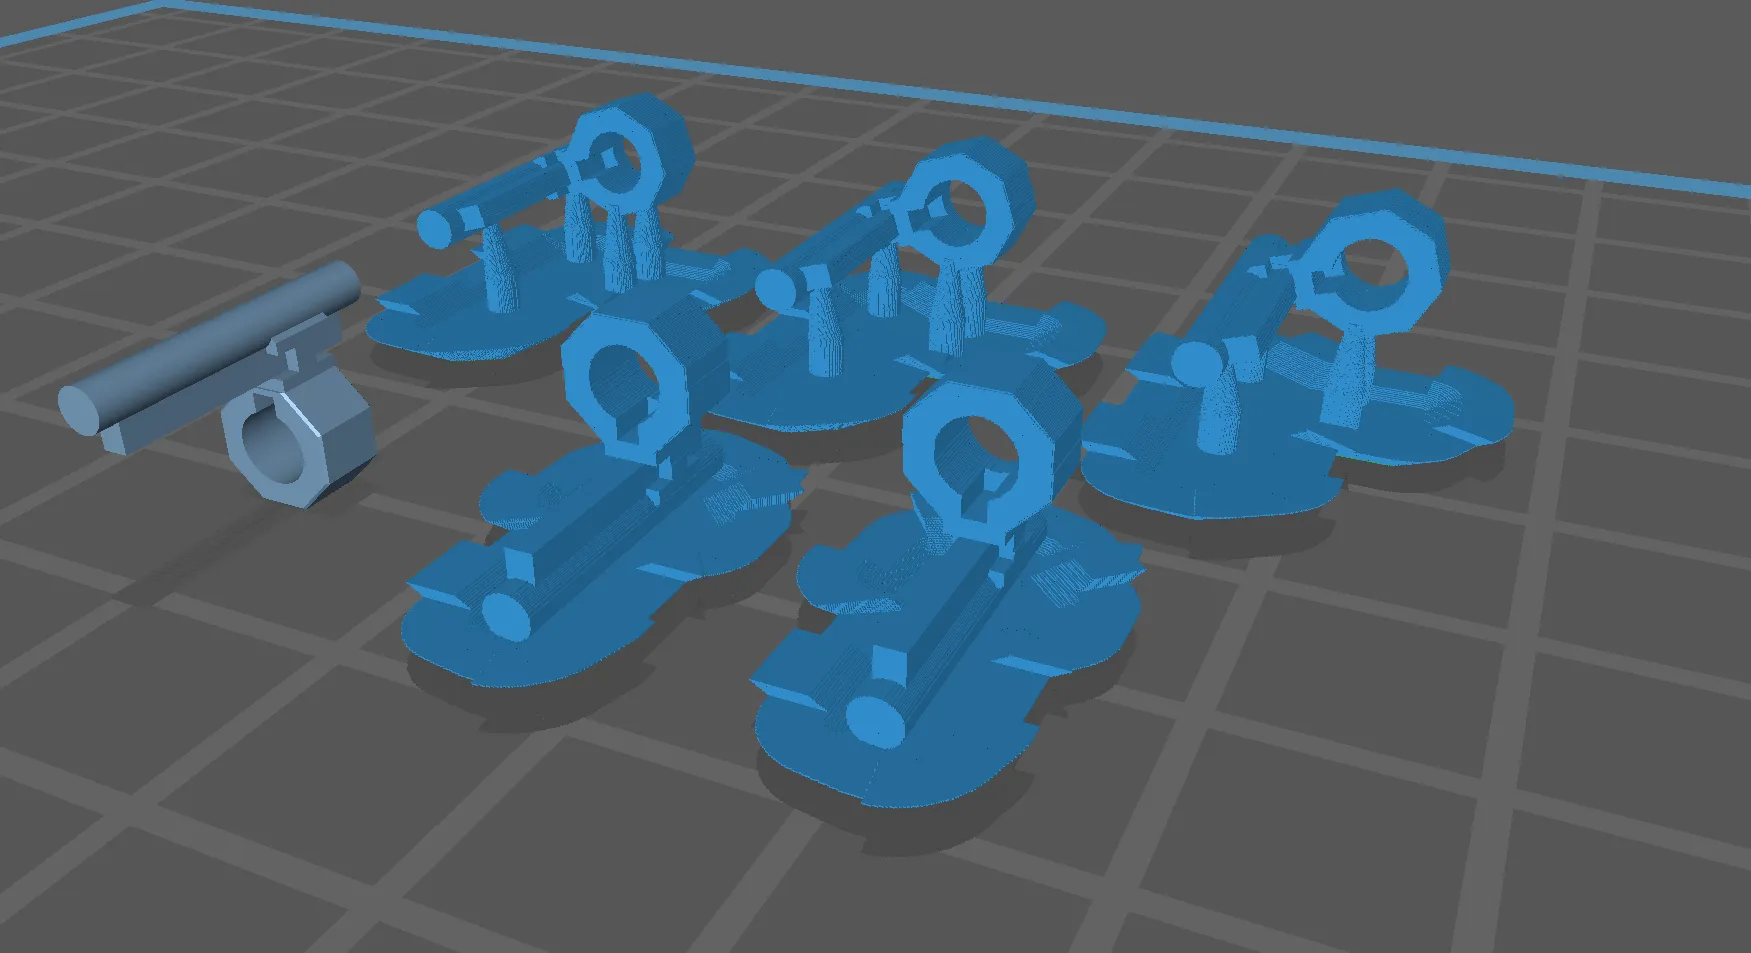
For that a reason a *jumbo* print was made, still waiting on that to finish printing, will post here eventually alongside the baton concept
This week I spent time getting into diving into different topics/projects I hope to work on.
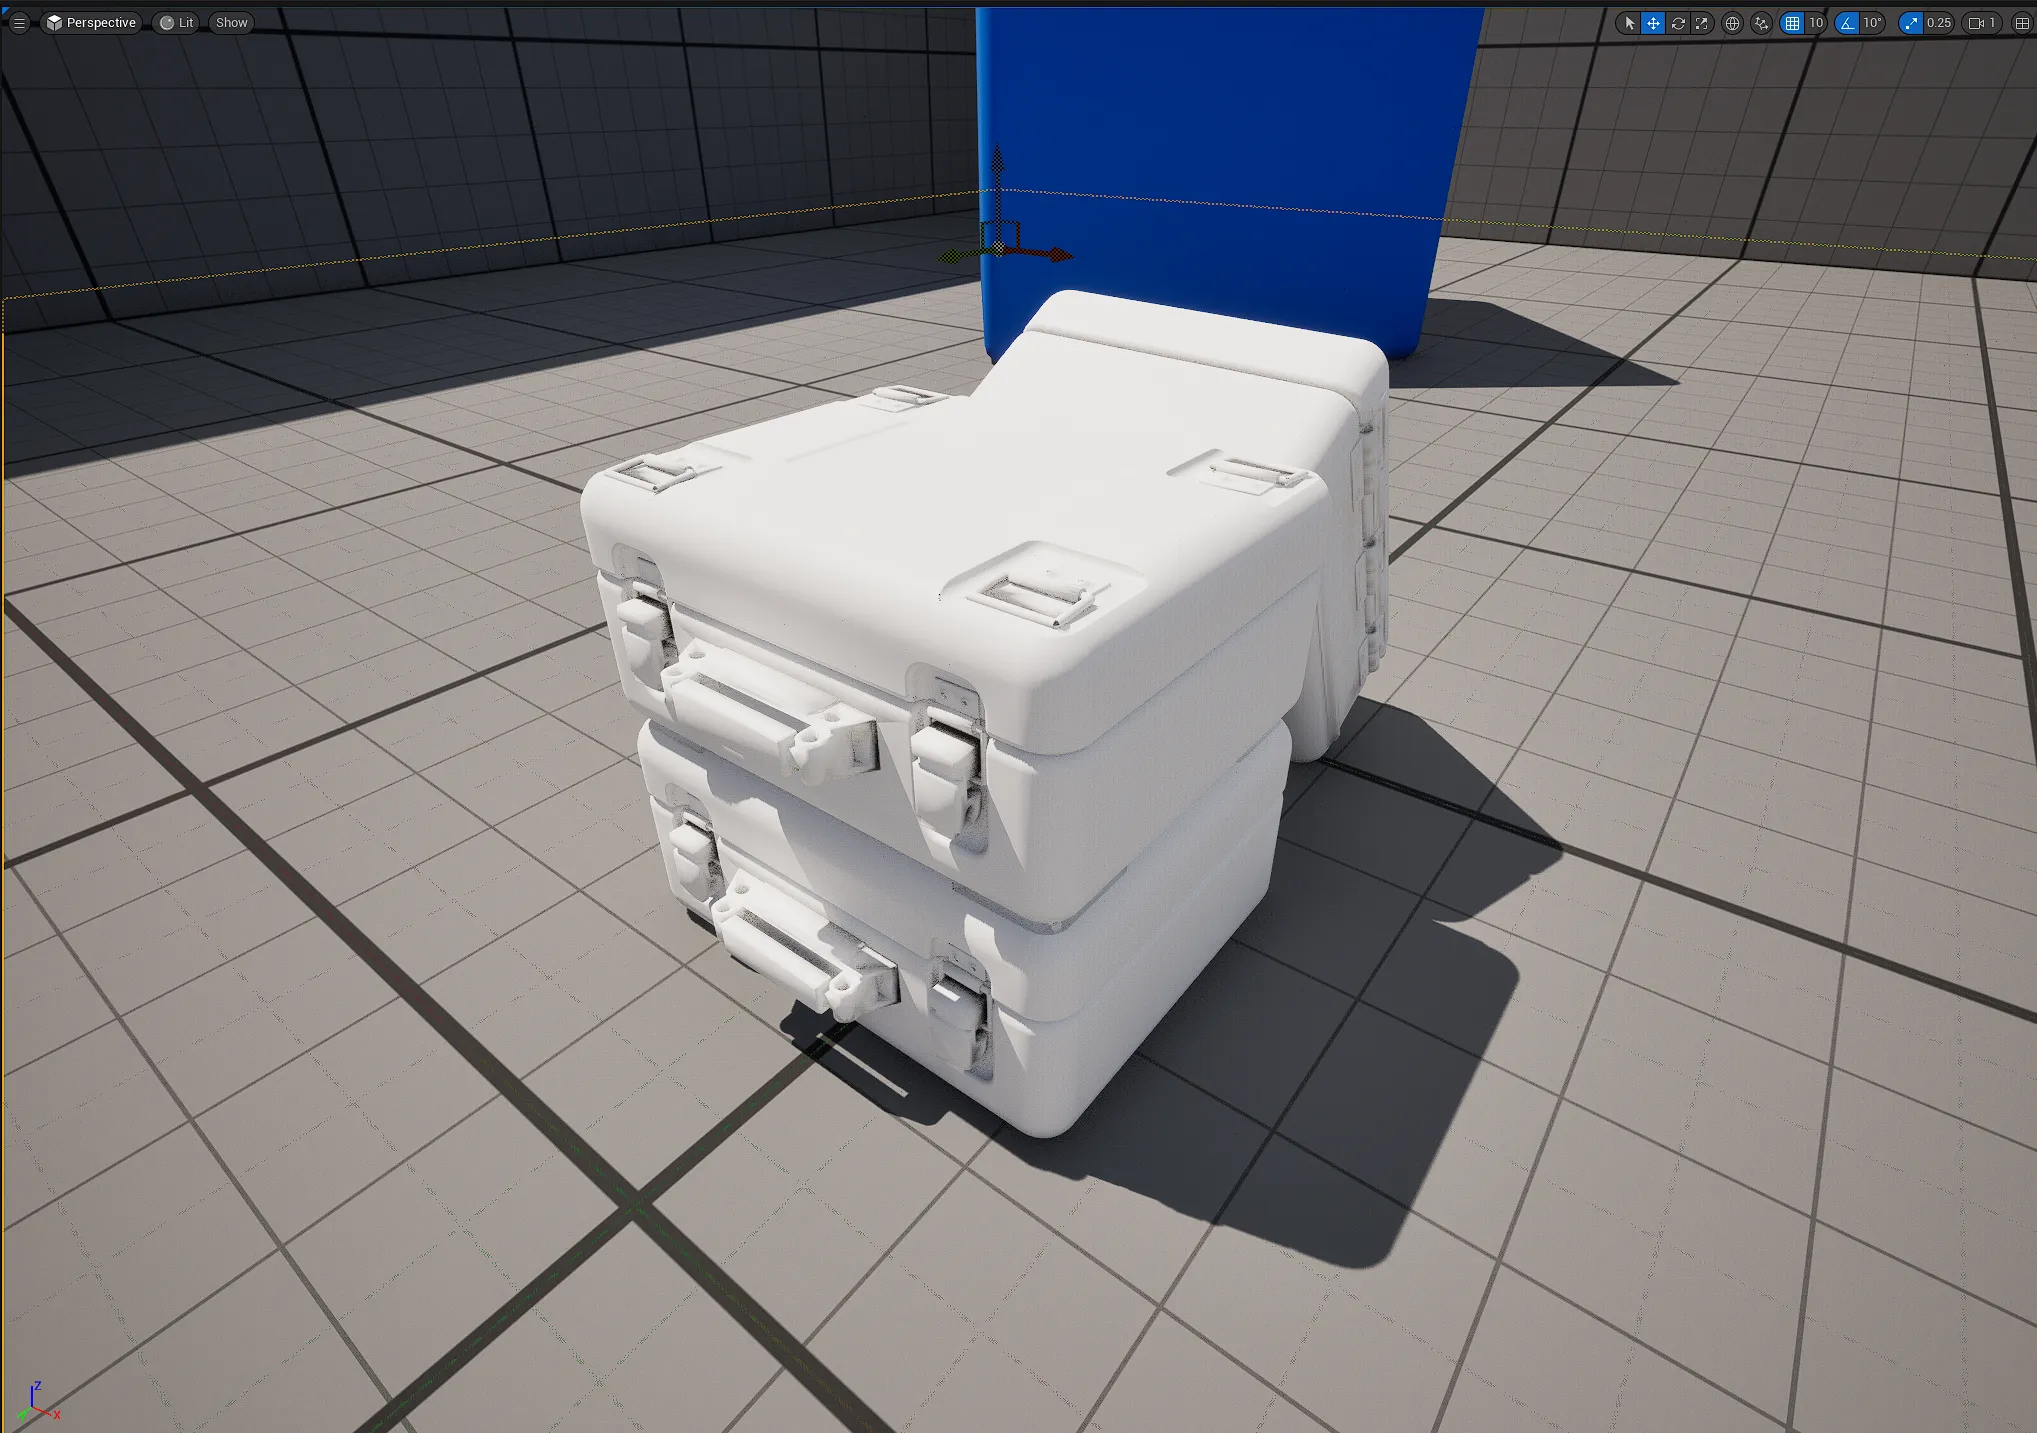
One such project, I call the Lab, which will be a 3D representation of my design studio and fictional hyperbolic time chamber. I wanted to use Unreal Engine 5 to make it a explorable environment and started by testing how I can import objects into this software. I took my MGSV container model from Fusion 360 and was able to successfully import it, but I quickly realized how you import the model is important. My model had multiple bodies, textures and shaders that came from the Fusion 360 software. After multiple runs, I simplified the model essentially by combining as many bodies as I could. Good to know for the future!
Here are three models stacked in the UE5 level:
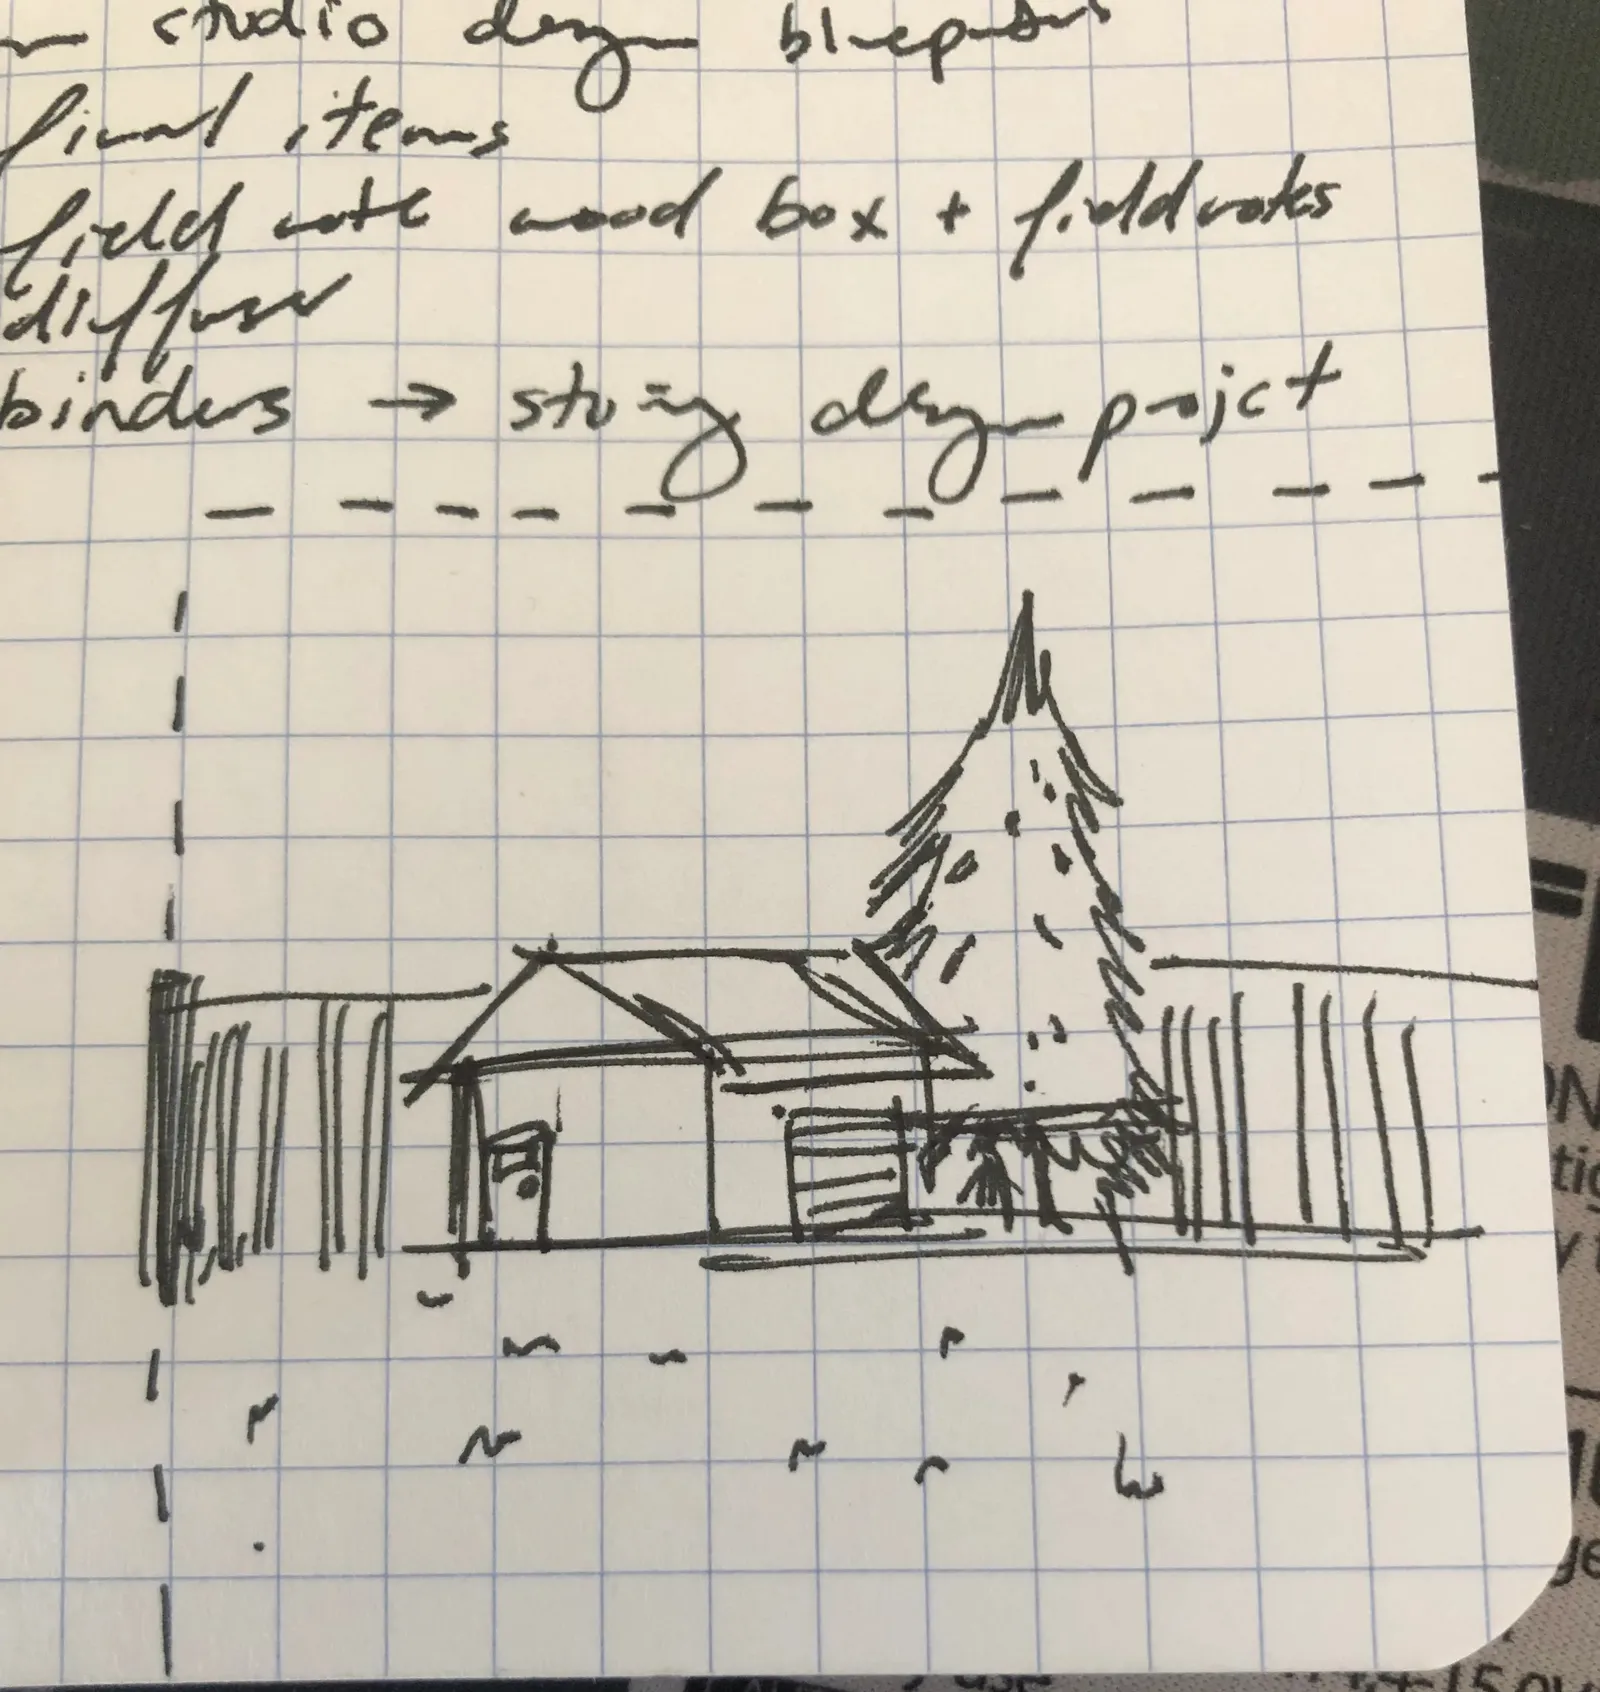
One thing I wanted to add was a mini-remote facility on the edge of the Lab, I got the idea one day during a roadtrip with family, I would see tiny facilities housed around by a metal fence, a small driveway for 1-2 vehicles, patch of grass, tiny trees and a small building that looks like a design team would go to everyday to do their work. I made a tiny sketch of what it could like if I gradually get to building the Lab:
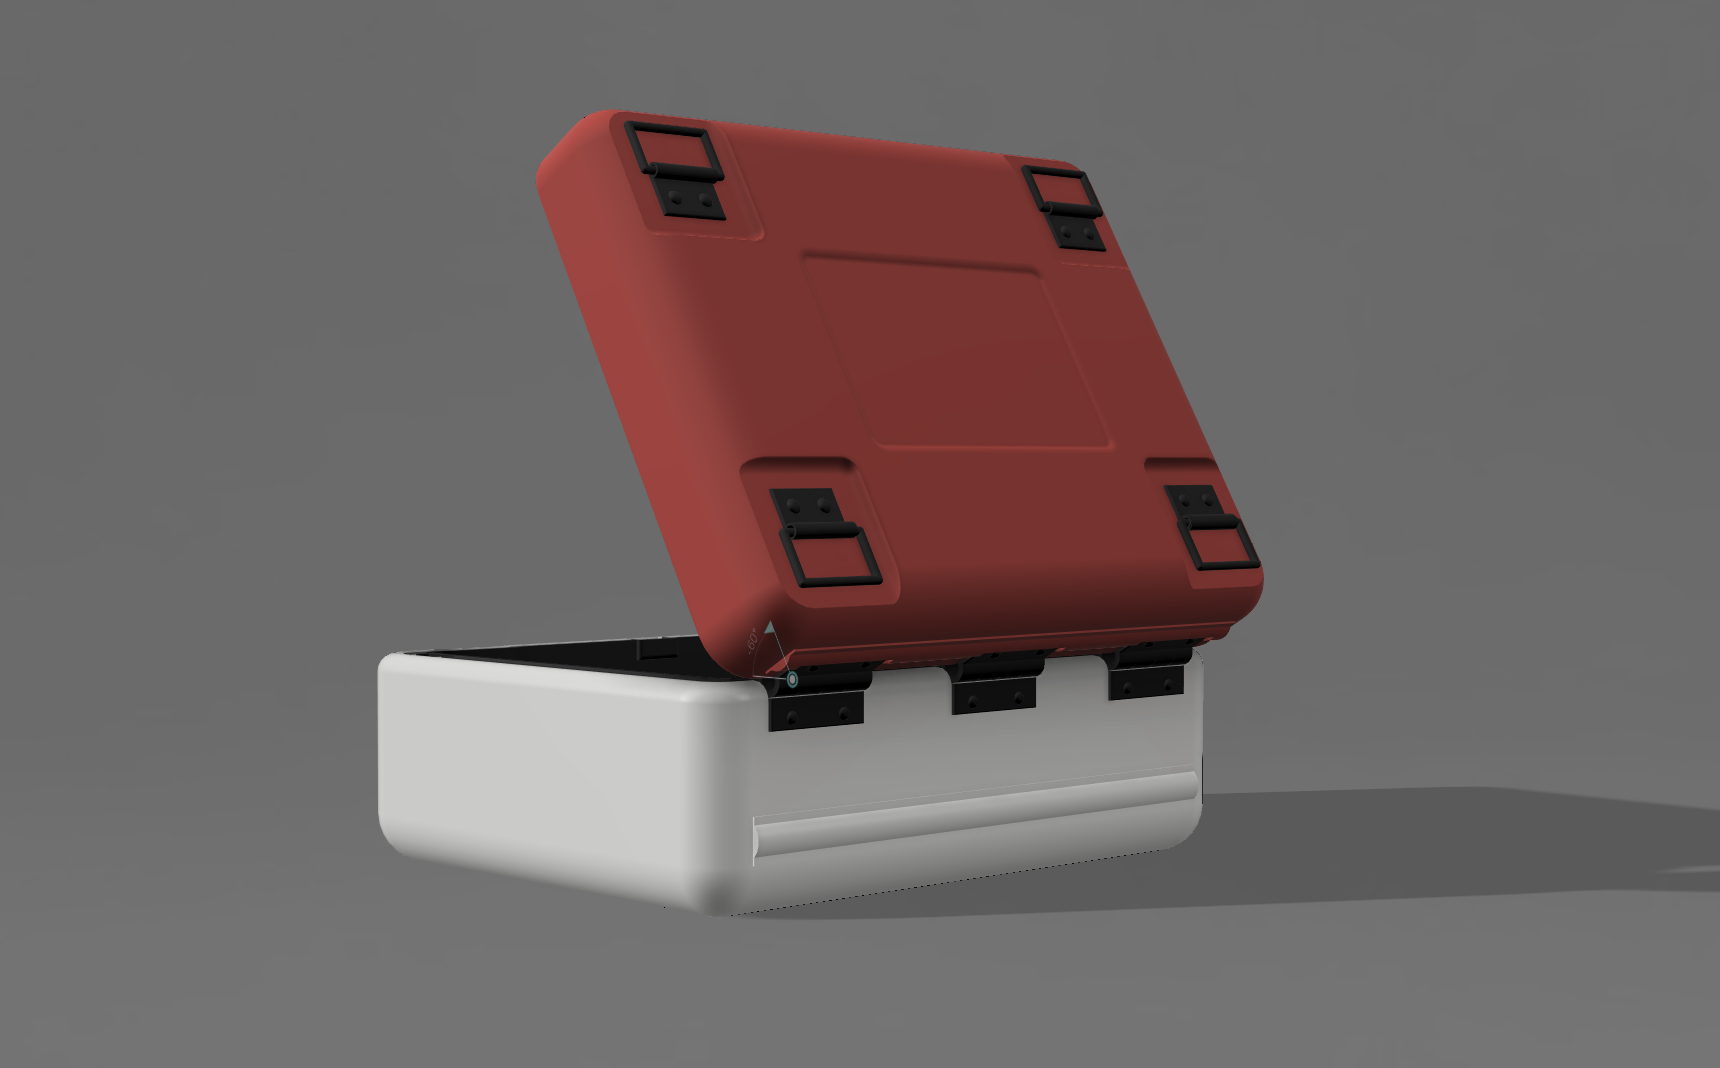
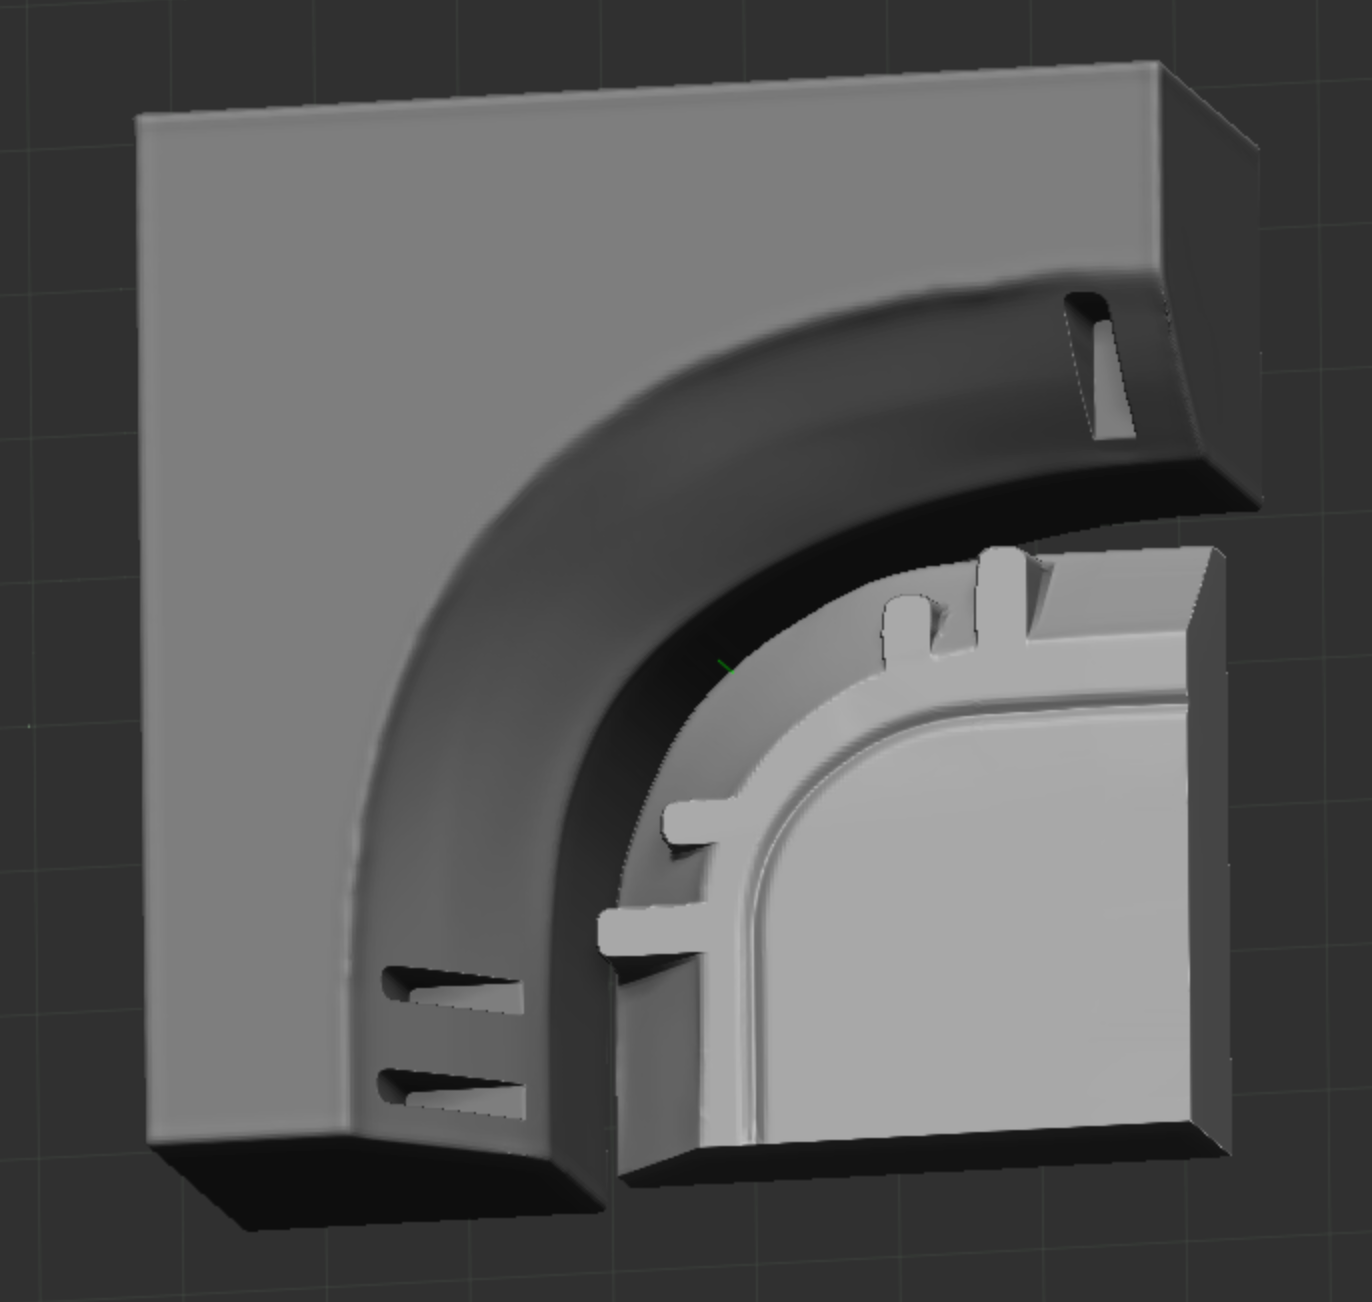
My little brother lost a piece from his Gundam Providence MG model kit, tasked me to model and 3d print it, the part ‘J10’ was modelled in Fusion 360 and made the slice run in Chitubox, tonight I will be printing it with him, hopefully they come out well!!
I started sketching at a coffee shop, hope to get back to the groove of things and to build a habit now as I grow my skillset.
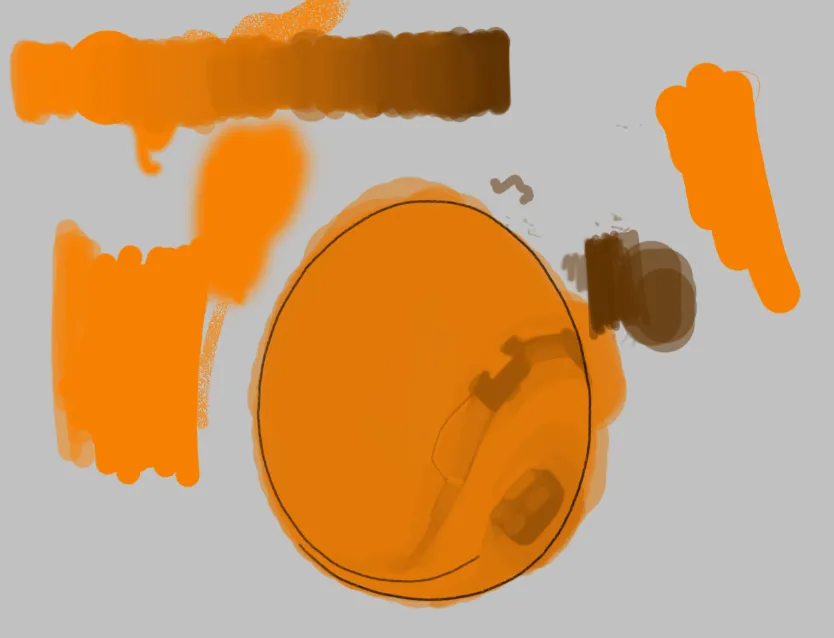
Here’s also a quick hour run in Photoshop, trying to re-learn how I used to blend paints, my current brush set is not really ideal though… might revert back to default brush pack…
Lastly I practiced hard-surface design through ZBrush, doing a couple hours each day at my local coffee shop:
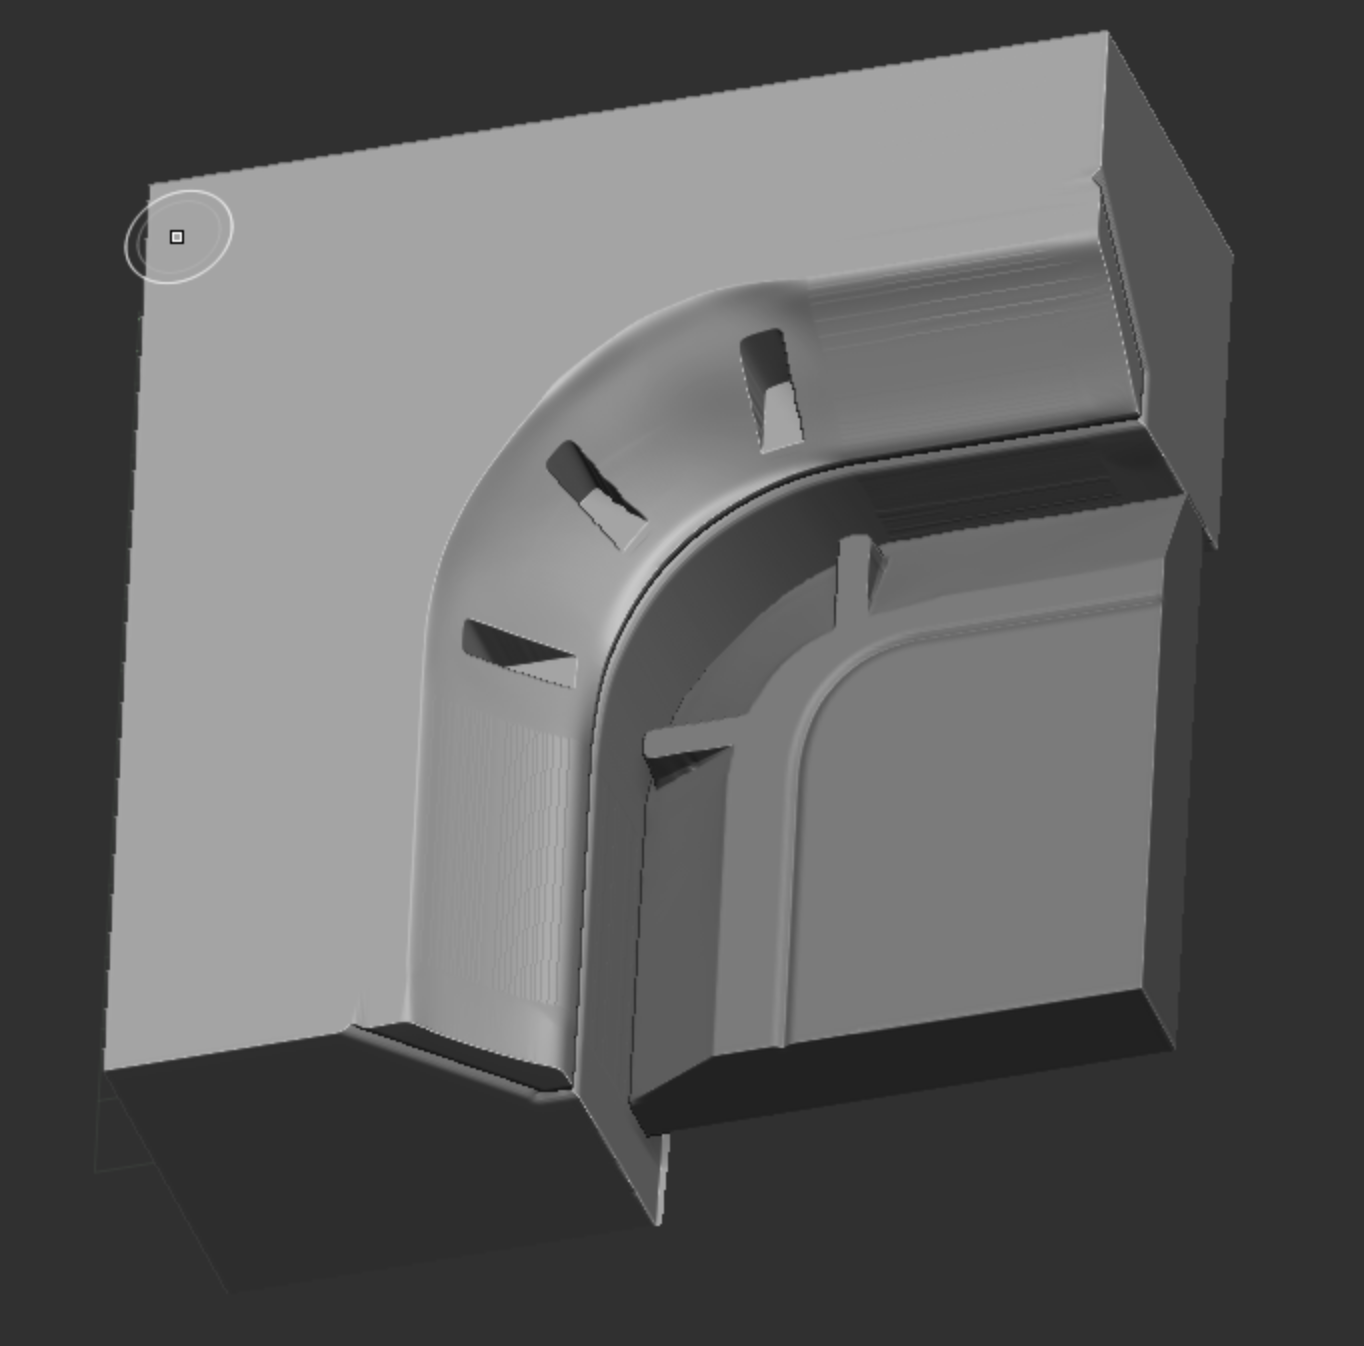
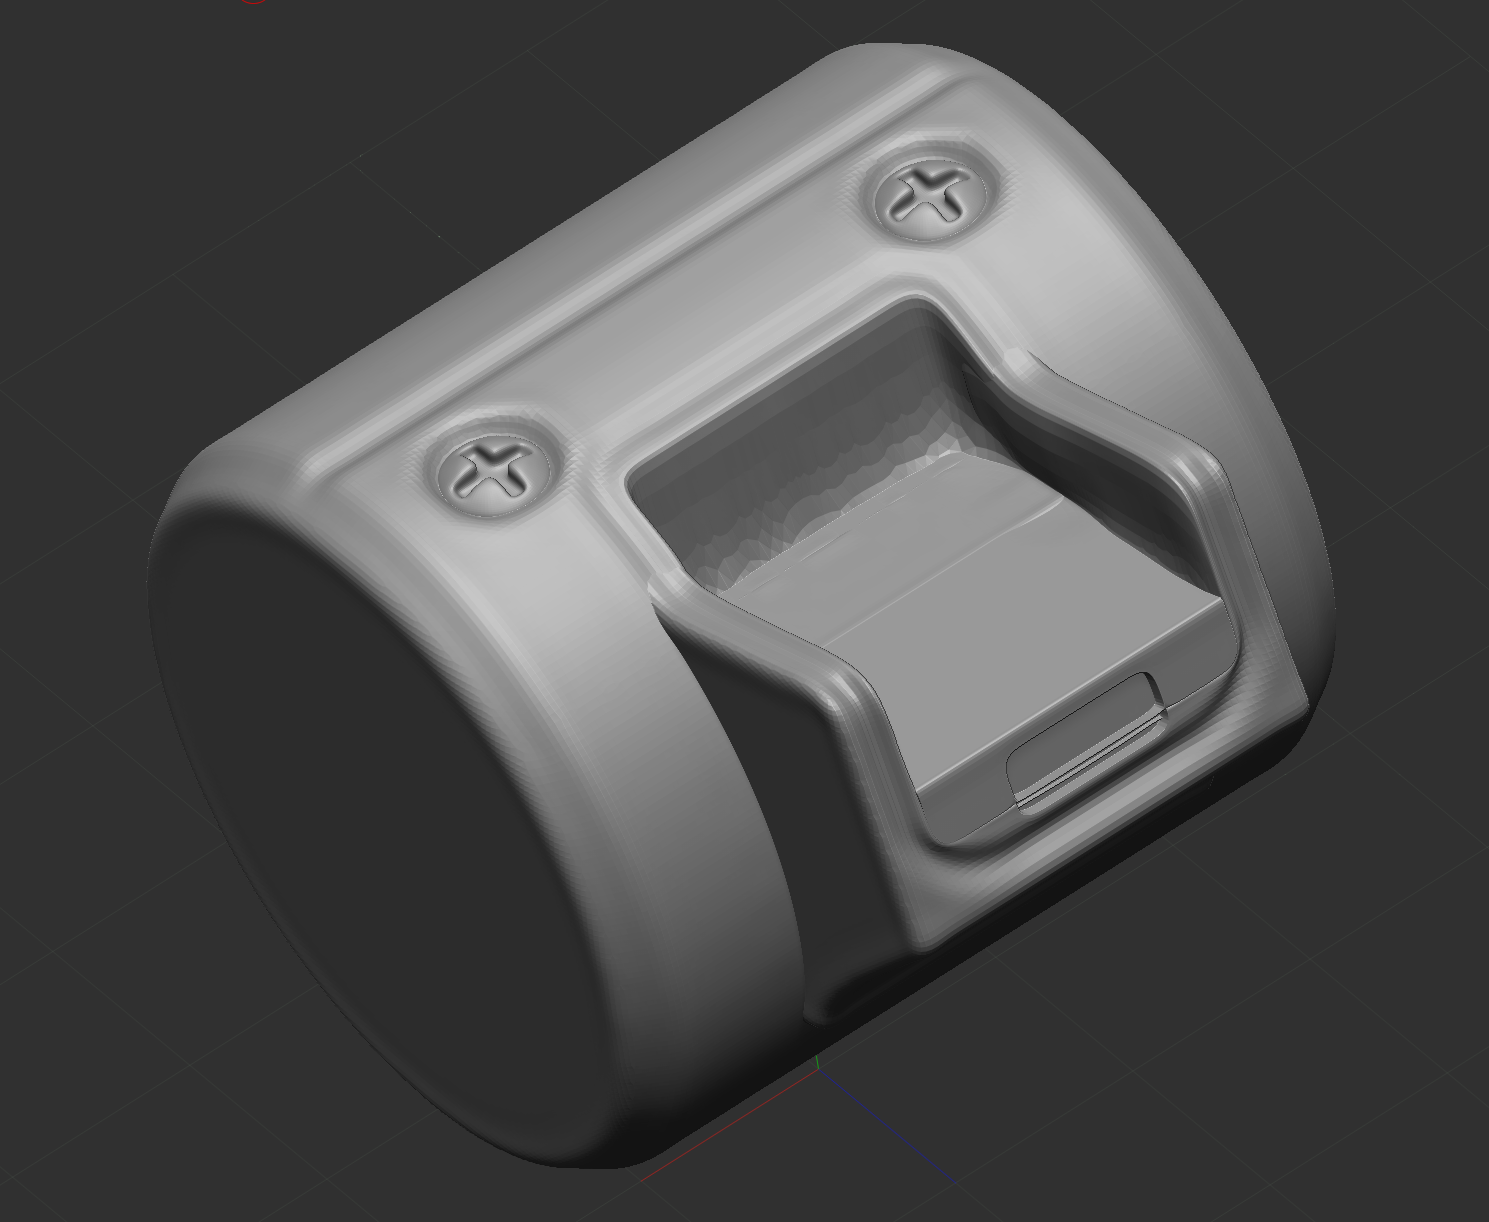
To kick things off… I always wanted to re-create the small container unit as seen in one of my all time favorite video-games, Metal Gear Solid V: Phantom Pain. This small container housed a type of resource mineral which Venom Snake could find in enemy bases and was color-coded to represent the resource. I don’t know why, but I was enamored by this container, it had good design and the graphics on it were simple and industrial.
After watching Wokkie’s video on how he creates his container projects, I started using Fusion 360 as well and was able to get to a finished first prototype build of the container.
Pretty happy with the result, the goal was to capture the look and feel from the game and even though some details are not accurate/perfect, it’s acceptable in my opinion. I was able to print it as well and will show the results in a future post. From here I was excited to look into how custom water decals should be constructed and how to spray paint this model.
It’s been a while since I wrote. Going to try to use this blog again and see what I can make of it.
My hope is to keep track and since this posts are live, live on an accountability mindset. I can code and I can draw (or at least would like to think am capable in some sort of degree for both skills).
So I got started (on a whim) on some designs I would submit for print-on-demand platforms. I randomly posted these two here on TeeSpring as a starting point. One thing I immediately noticed was that there was no tags section which gives an indication that TeeSpring may not advertise or endorse my products through SEO means. So in essence, my products could be in the dark unless I market them via social media or other means.
If I were to continue to progress in this business it’s definitely going to take a lot more work! This is especially outside of the art and design production side of things! Which is (not going to lie) a bit discouraging so far, but hey if it were that easy, everyone would be doing it.
One endeavor that I was looking forward was to somehow get into a creative side gig that could earn me some pocket money while continuing to work on art was to pursue print-on-demand businesses such as RedBubble. I had various ideas of creating designs around Metroid helmets, Cyberpunk 2077 references and Nintendo controllers. But three things I learned very quickly:
Copyright infringement and trademark work is not encouraged.
Basically creating a design that resembles another intellectual property is actually against the law. This confused and quite honestly bummed me out as I see literally thousands of designs on RedBubble using intellectual properties. If everyone else is doing it, why can’t I? Digging deeper into it, anyone can post fan art or use references to intellectual properties until their account gets banned. Big companies such as Nintendo and Disney also aren’t that strict it seems to send cease-and-desist letters to every account using their properties. In the long run, it does not seem worth it, but is a uphill battle if you want to get noticed above this popular trending topics.
Few of the designs you will see when you look for Metroid related designs, most highly (if not completely) resemble Nintendo’s intellectual property
It is not a sprint, but a marathon.
Or even better a journey to get some decent income from a print-on-demand business. It takes hard work and consistent effort on your channel to get some income down the road. From what I’ve learned in the numerous online tutorials, to have some success, you should be working a couple hours every day and posting as many designs as possible to start building traction.
Aim your designs on trending pocket niches
But even then, you should aim to focus on trending pocket niches that can help grab customer’s attention to your channel. There’s a lot of good info on the web about this, but essentially what many designers do is they figure out what is a good trend/niche subject that people are interested in (such as meme shirts or coffee) and if that topic doesn’t produce many designs/results, it is a sweet spot for that designer to submit designs to that topic. That way users that are looking at that niche will most likely see your designs first, resulting in better probability of sales for you.
This week I certainly learned a lot about how print-on-design businesses work and what it takes to try in getting some success. It is not as simple as I first thought, but now I am considering trying to still tackle it, either way it would be experience. My goal is to use my artwork mainly if I am to open a RedBubble channel.
If you have any thoughts on the subject matter, leave a comment below! I am new to this, so any feedback is openly welcomed. How has your past experience been in the print-on-demand realm? Do you know something that would help and I missed here?


![Week 3 [FEB 2025]](https://aonepathan.blog/wp-content/uploads/2025/02/image-6-1.png?w=700&h=430&crop=1)


![Week 2 [FEB25]](https://aonepathan.blog/wp-content/uploads/2025/02/image-4.png?w=700&h=430&crop=1)